YangonPOS User Guide
Note: This documentation provides a detailed overview of YangonPOS, a versatile Point of Sale (POS) system designed for businesses. It covers key features, pricing plans, setup instructions, and best practices for leveraging the system to streamline sales, inventory management, and financial reporting.
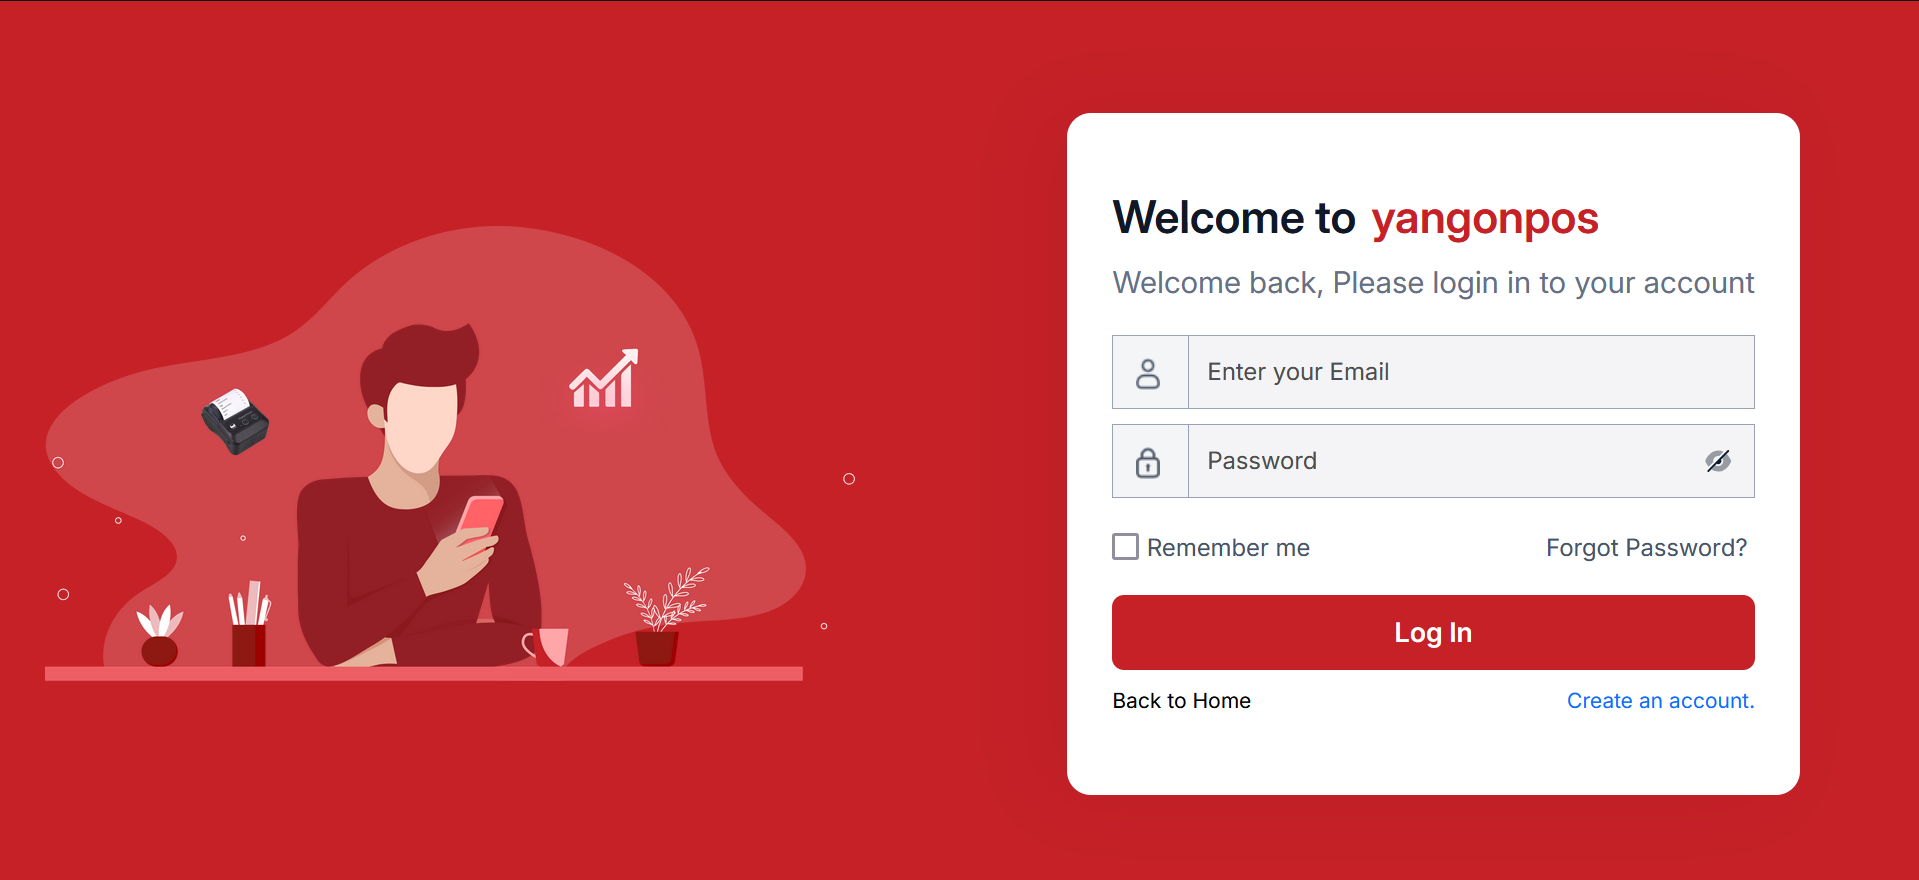
Sign Up
By clicking "Don't have an account" or "Create an account," a sign-up pop-up will appear, allowing you to create an account.
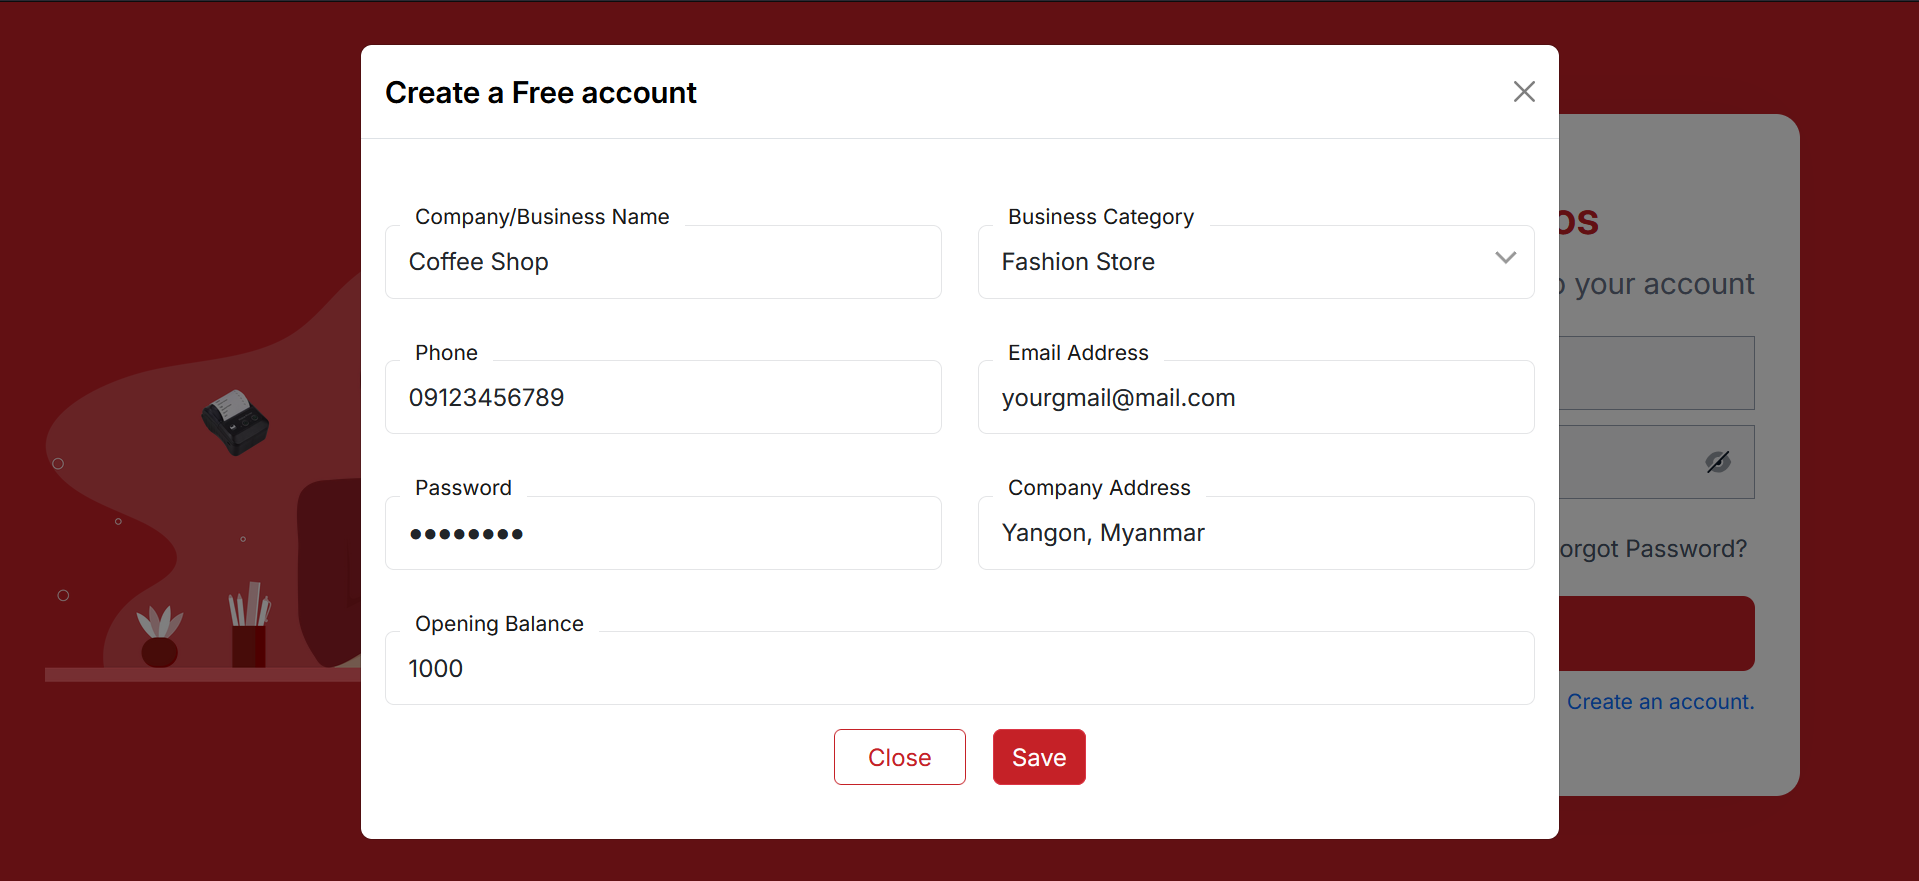
Create Account
You can create an account by filling in the required fields. Remember to provide your email and password. Once you're ready, click the save button.A verification pop-up will appear, and a verification code will be sent to your email.
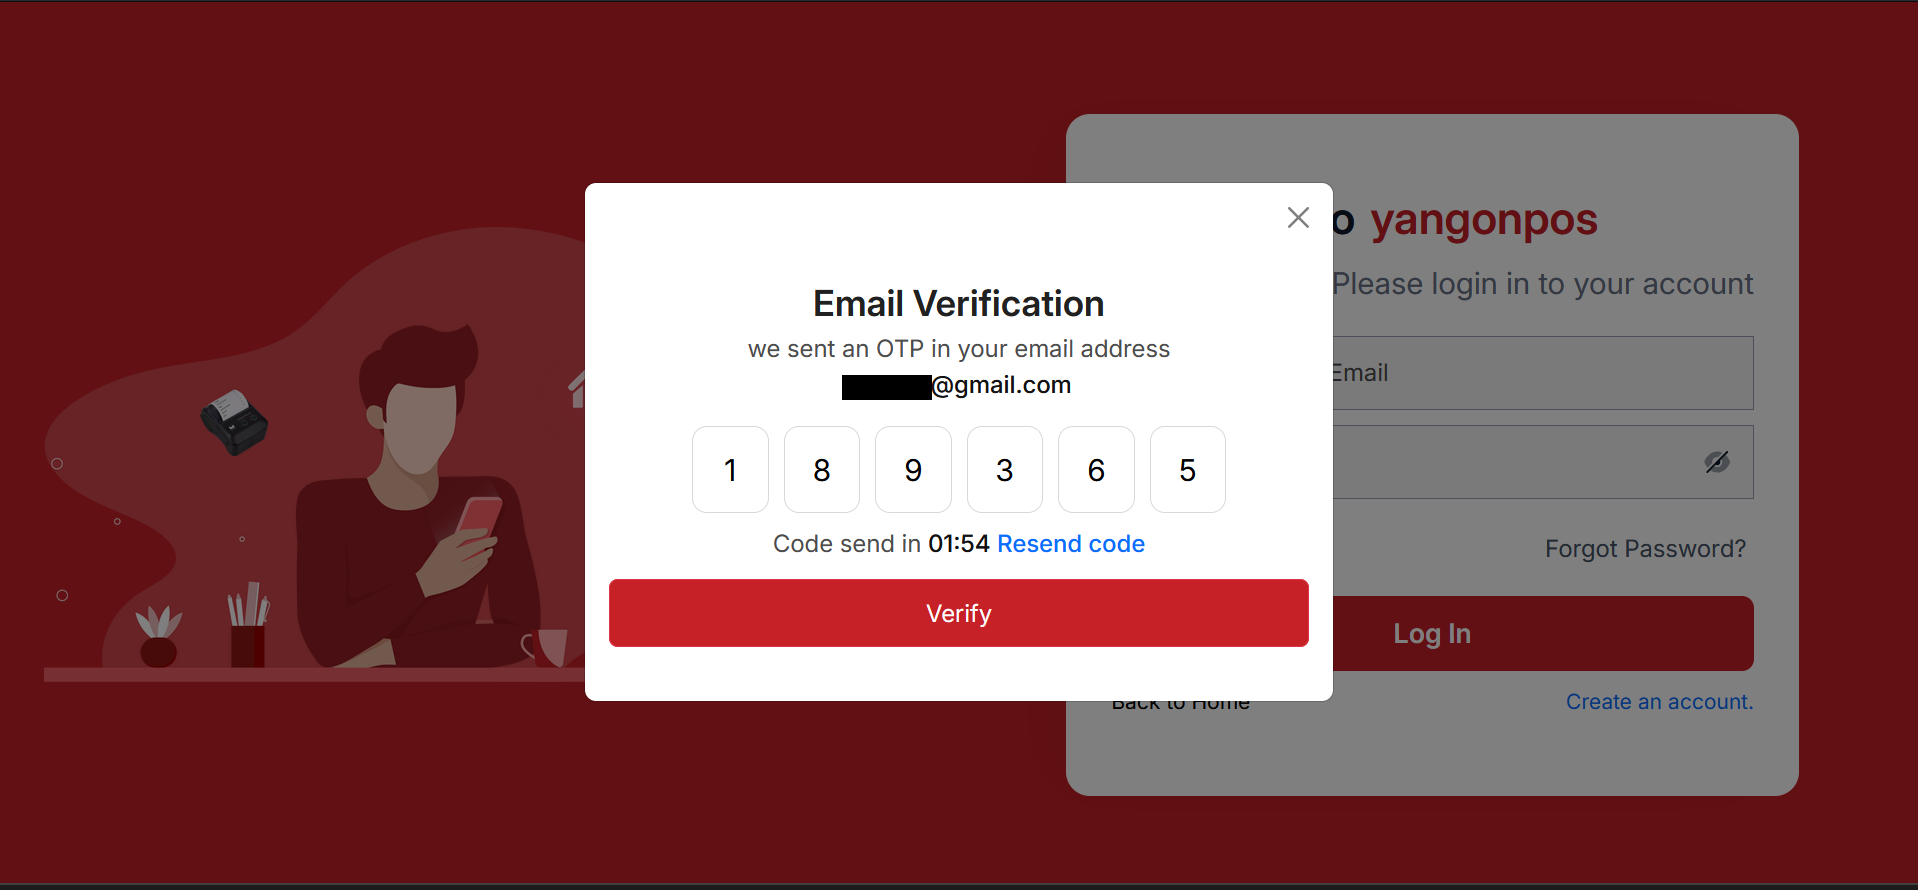
Verification
Enter the verification code sent to your email here. If the code is valid, a success pop-up will appear. If needed, you can request a new code after a certain period.
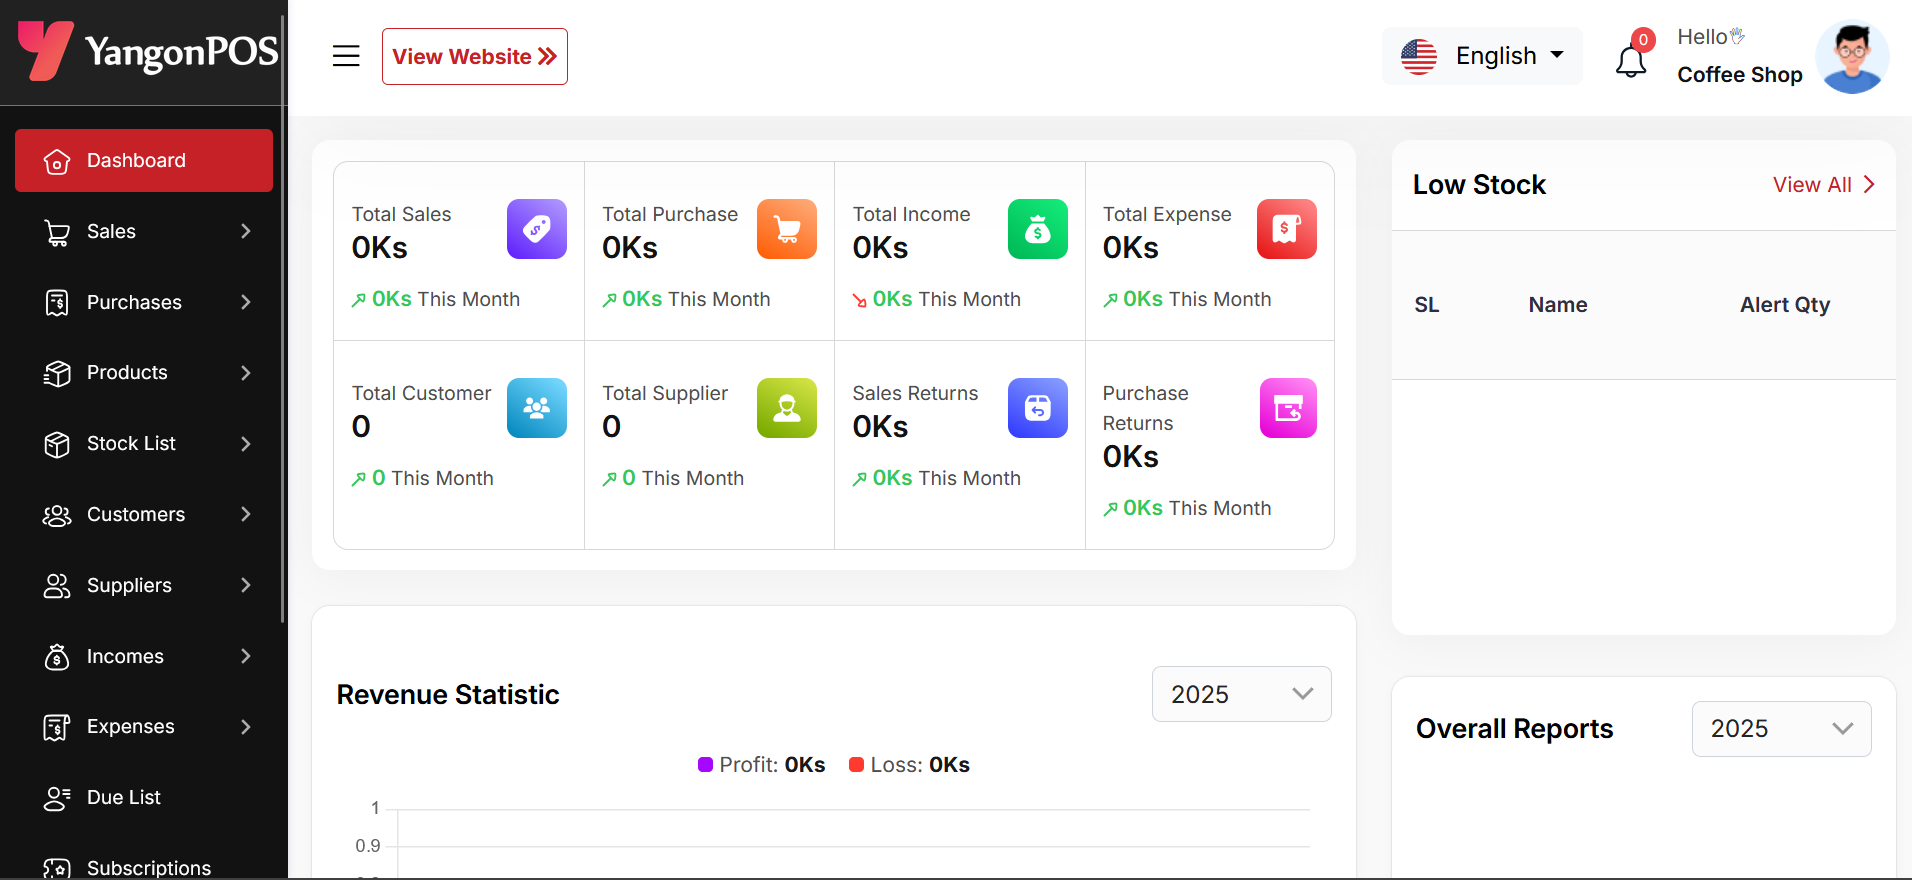
Dashboard
This is the dashboard page, where key project information is presented.
Create Sale
By clicking on "Sale New," you can create a new sale. First, select a customer. If you choose "Guest," an optional field is available to provide a phone number. By selecting register customer the product prices displayed on the right will automatically update based on the selected customer's type (Retailer, Wholesaler, or Dealer).
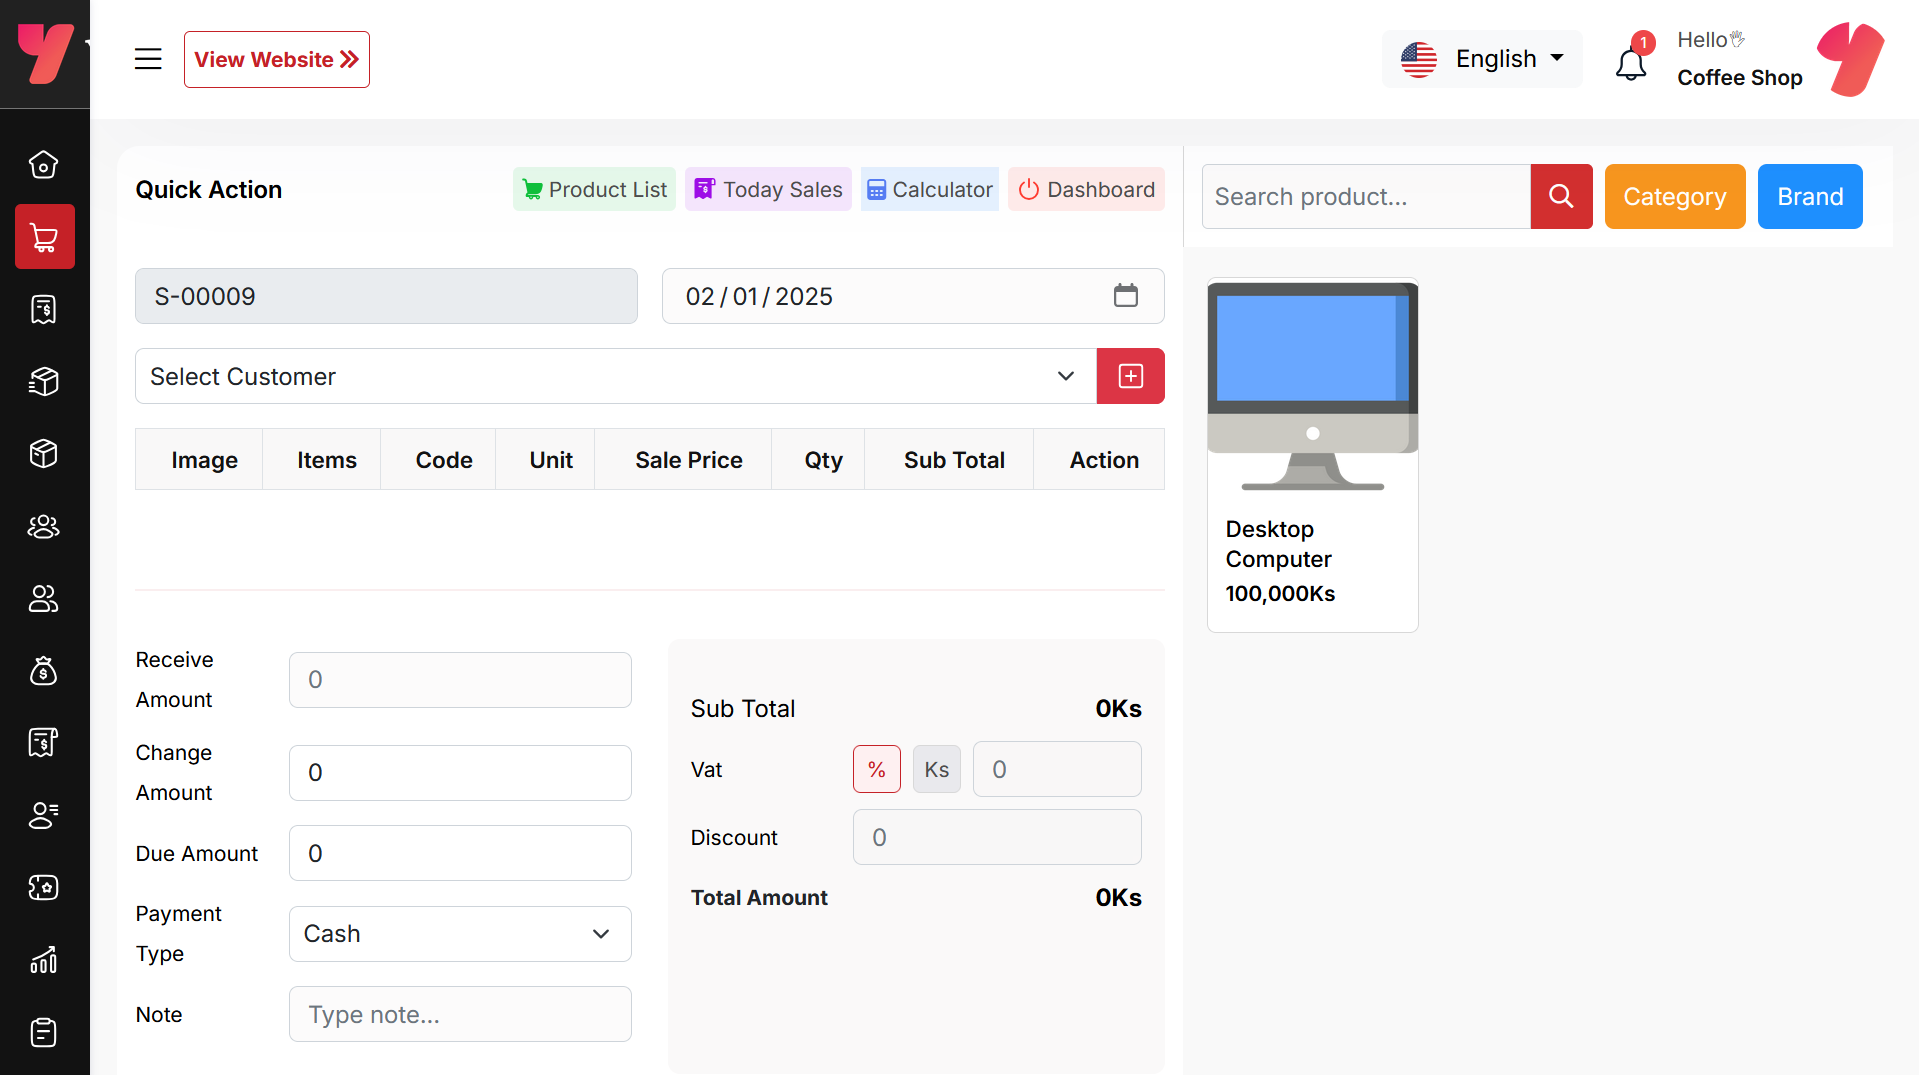
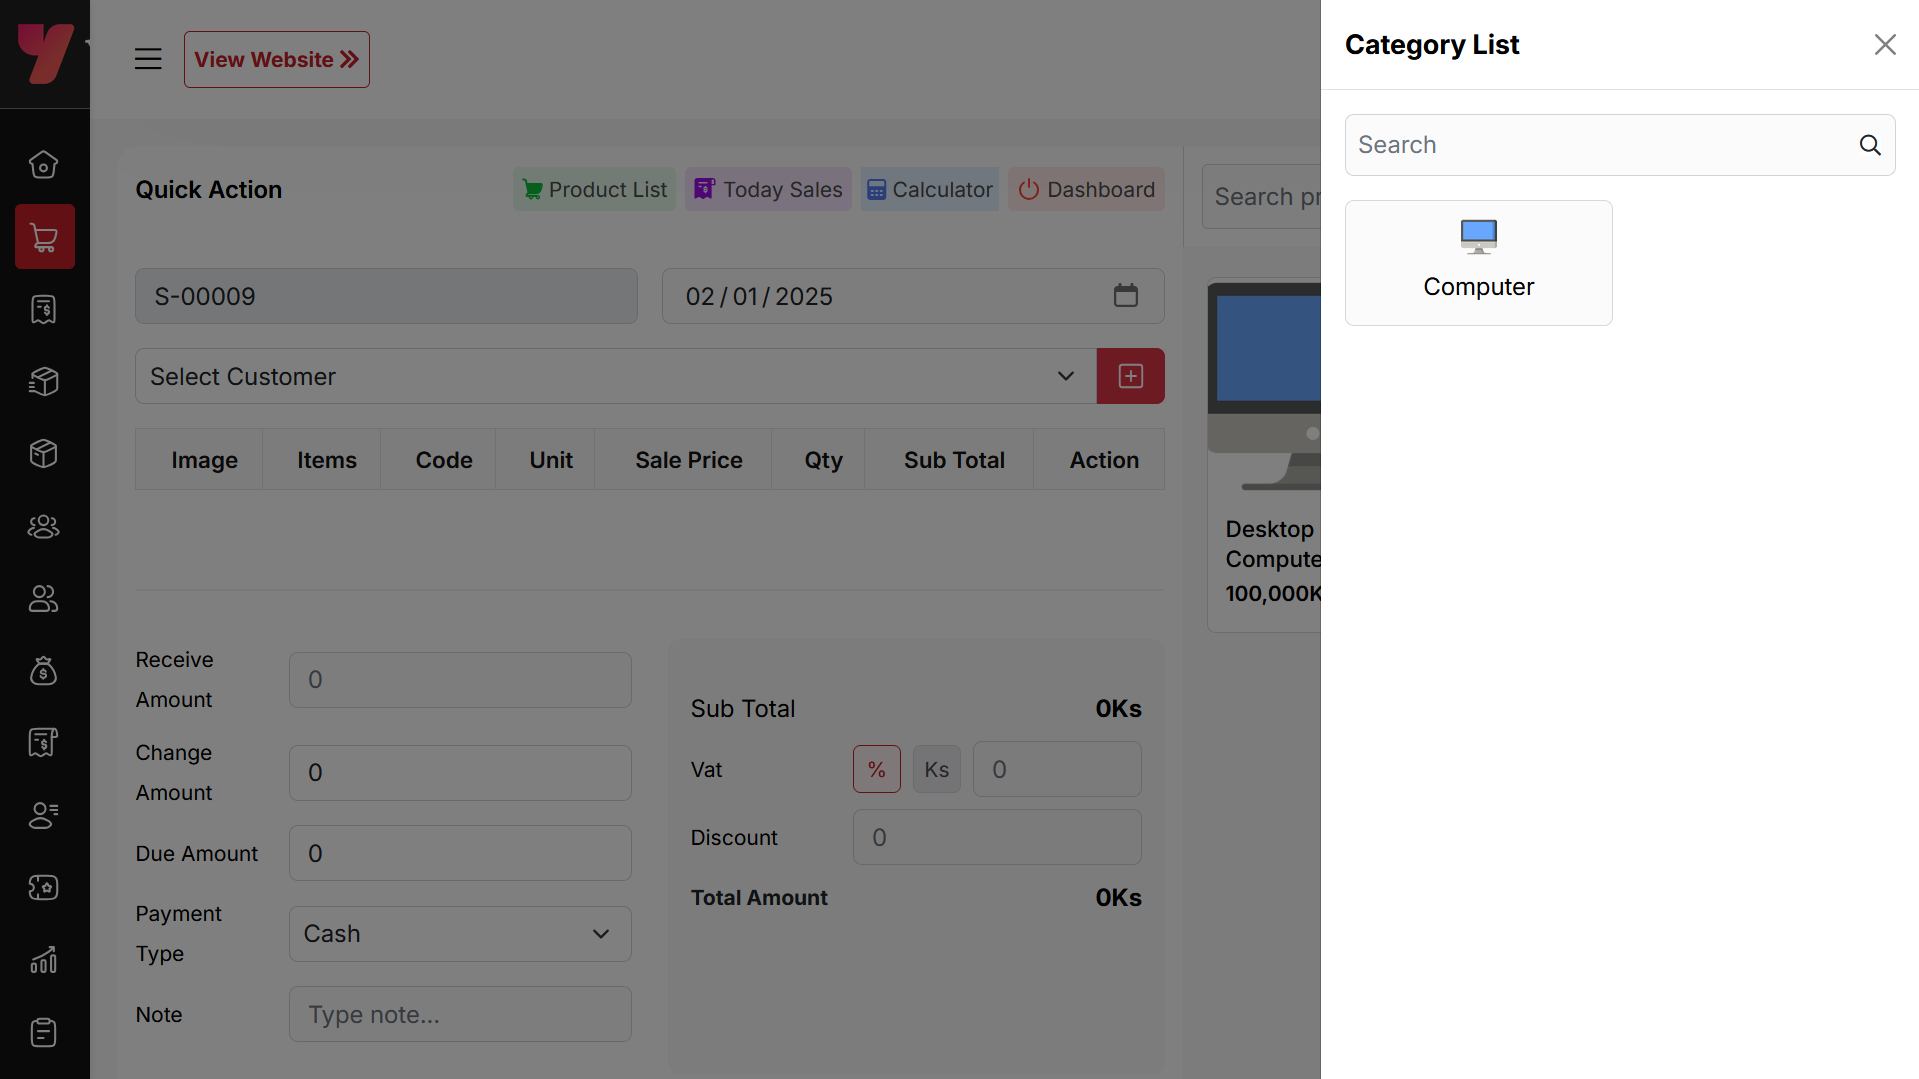
Select Product
Next, you need to select a product for the sale. You have the option to search by product name or code. Additionally, you can filter products by Category or Brand. For example, if you click on the category, you will see a list of categories. From there, you can select a category, and the products will be filtered accordingly. A screenshot is provided for the Category Filter. The same process applies for filtering by Brand.
Add to Cart & store product
When you click on a product, it will be automatically added to the cart if this product available in stock. You can adjust the quantity by using the plus or minus buttons, or directly update the quantity by entering a value. To remove a product from the cart, simply click the red cross button.
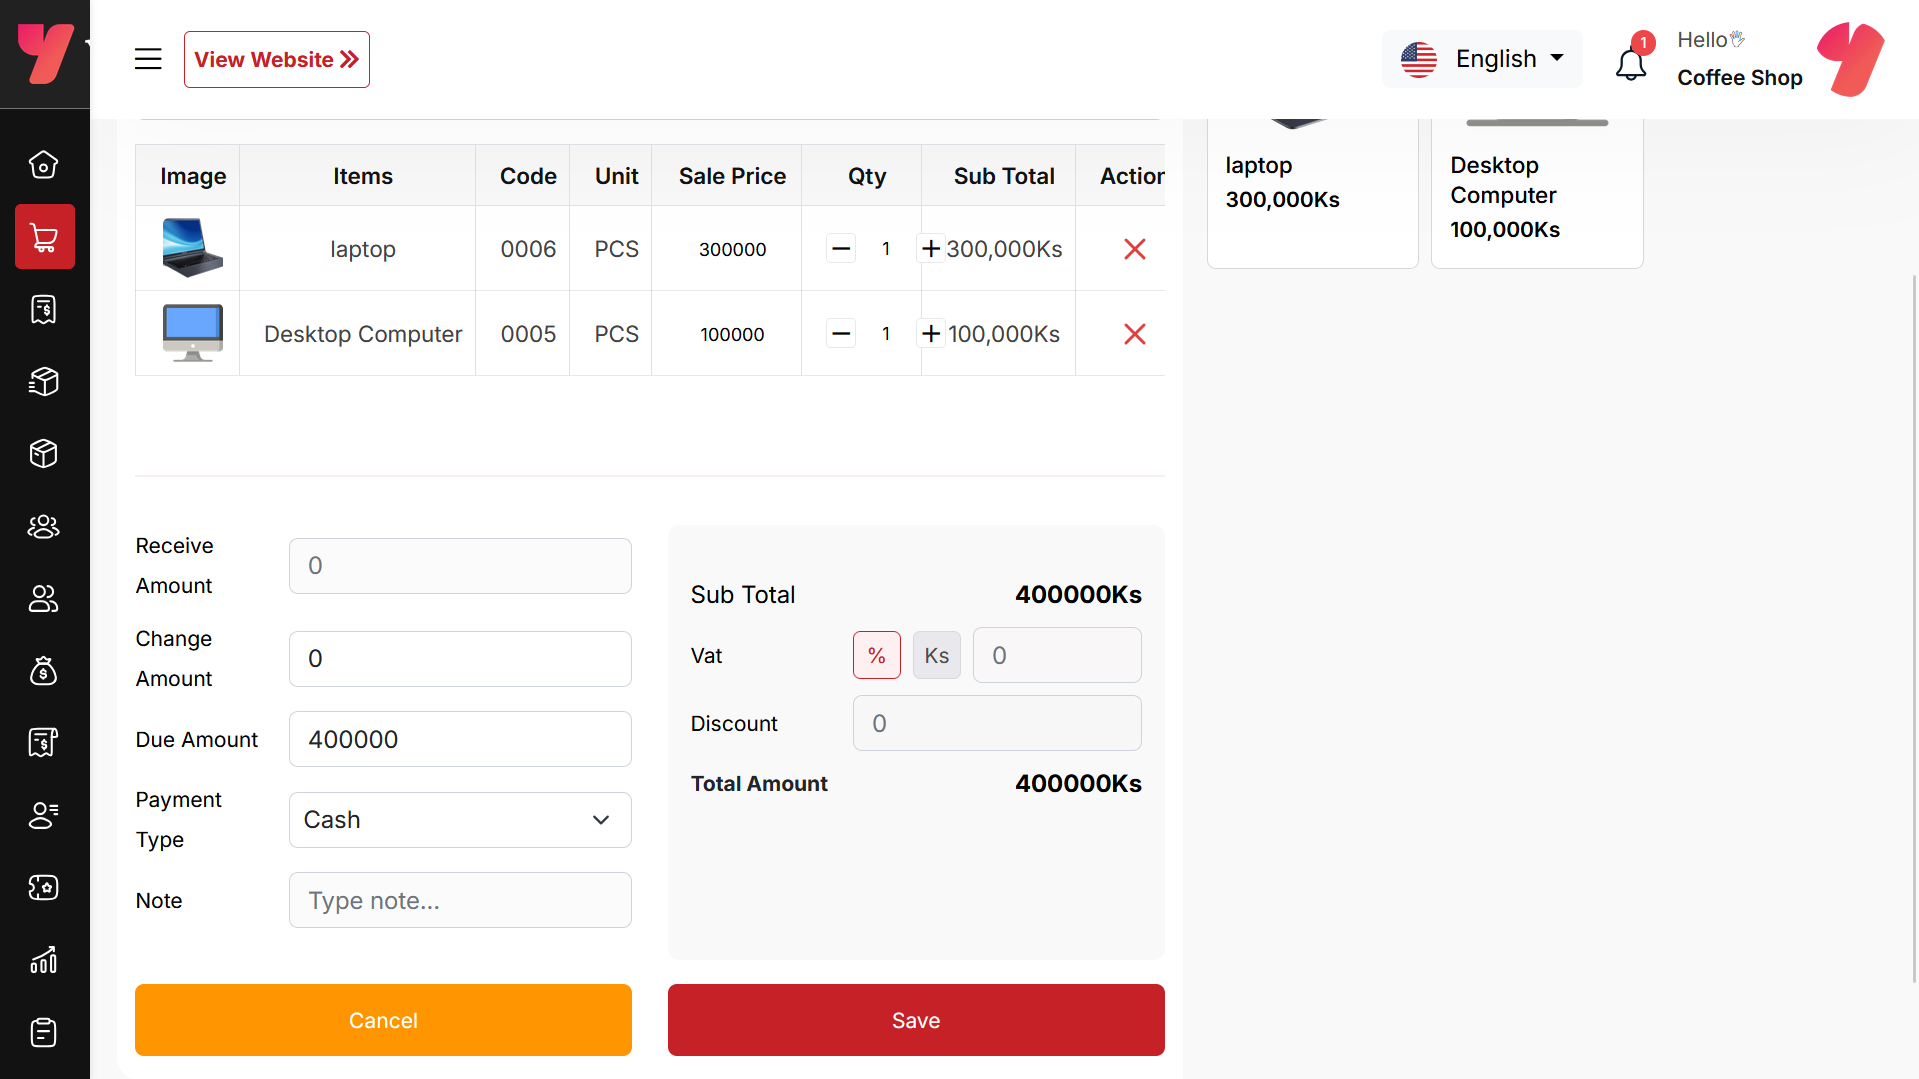
Below, you will see the subtotal of all products. You can also add VAT or a discount to the subtotal. After the calculations, the total amount will be displayed. Next, you can enter the received amount. If the received amount is greater than the total amount, the remaining balance will be shown in the "Change Amount" field. If the received amount is less, the "Due Amount" field will display the difference. If you want to remove all products from the list, click the cancel button. Once everything is correct, click the save button to complete the sale.
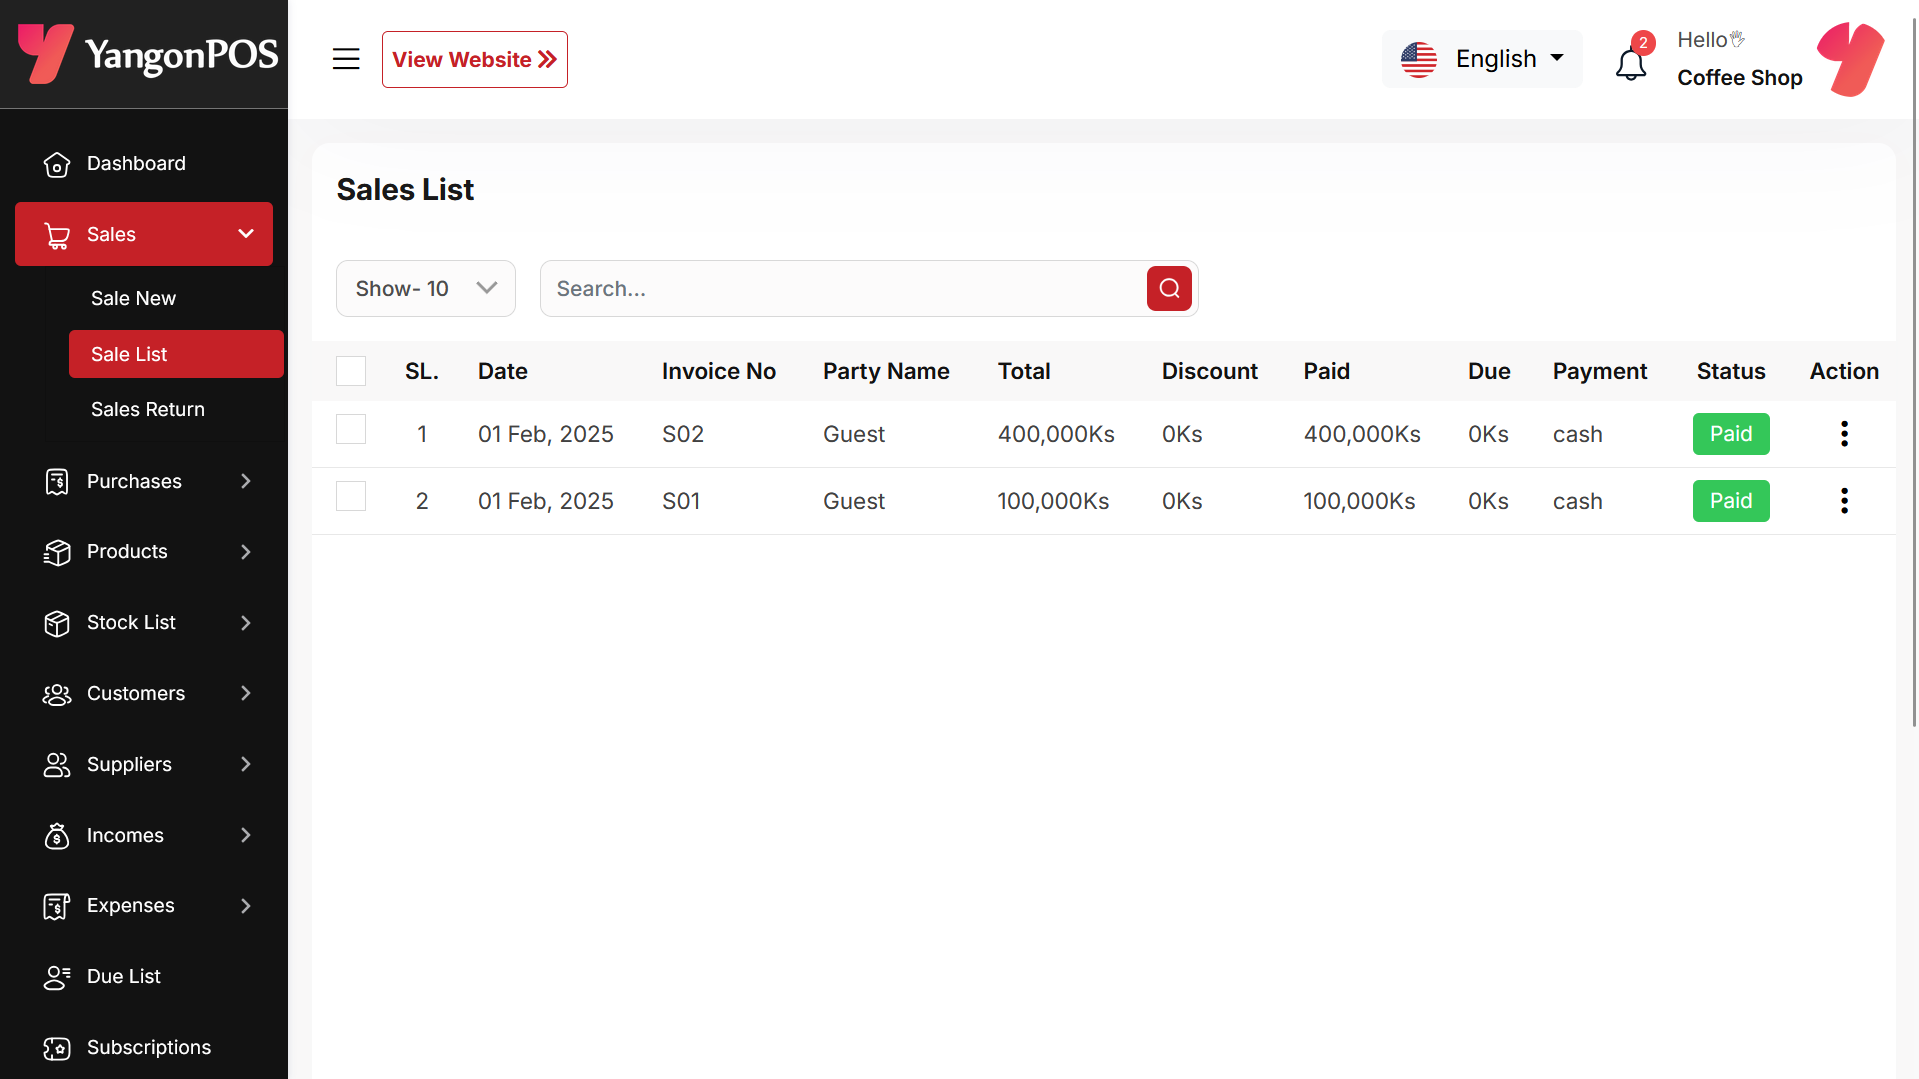
Sale List
This appears to be a screenshot of the Sale list page, where you can filter data using the search function. Additionally, you can view invoices, as well as edit, delete, or use the multi-delete option. Furthermore, you will have the option to initiate a Sale Return from this list. Please note, once a sale return is processed, you will no longer be able to update or delete the sale.
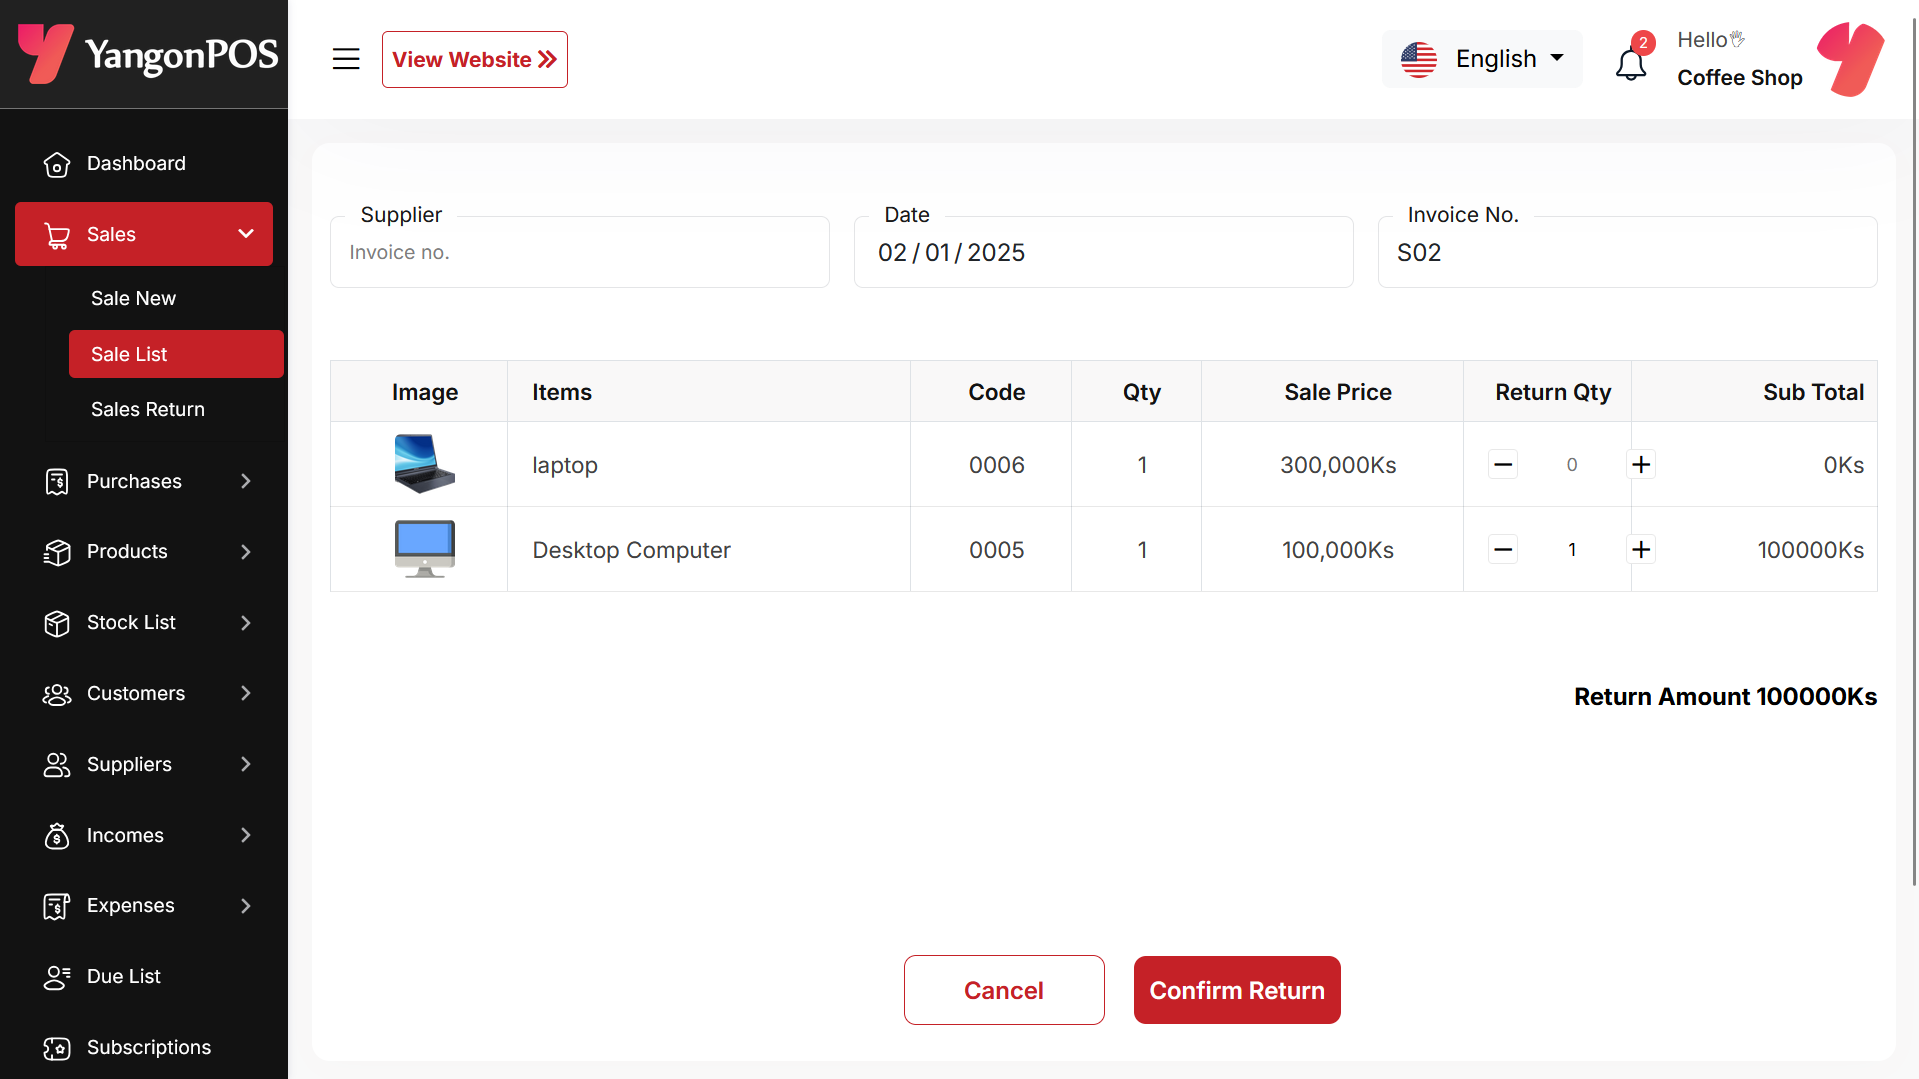
Create Sale Return
From the Sale list, when you click on Sales Return, this page will appear. By adjusting the quantity, you can return the desired amount. However, you cannot return more than the quantity sold.
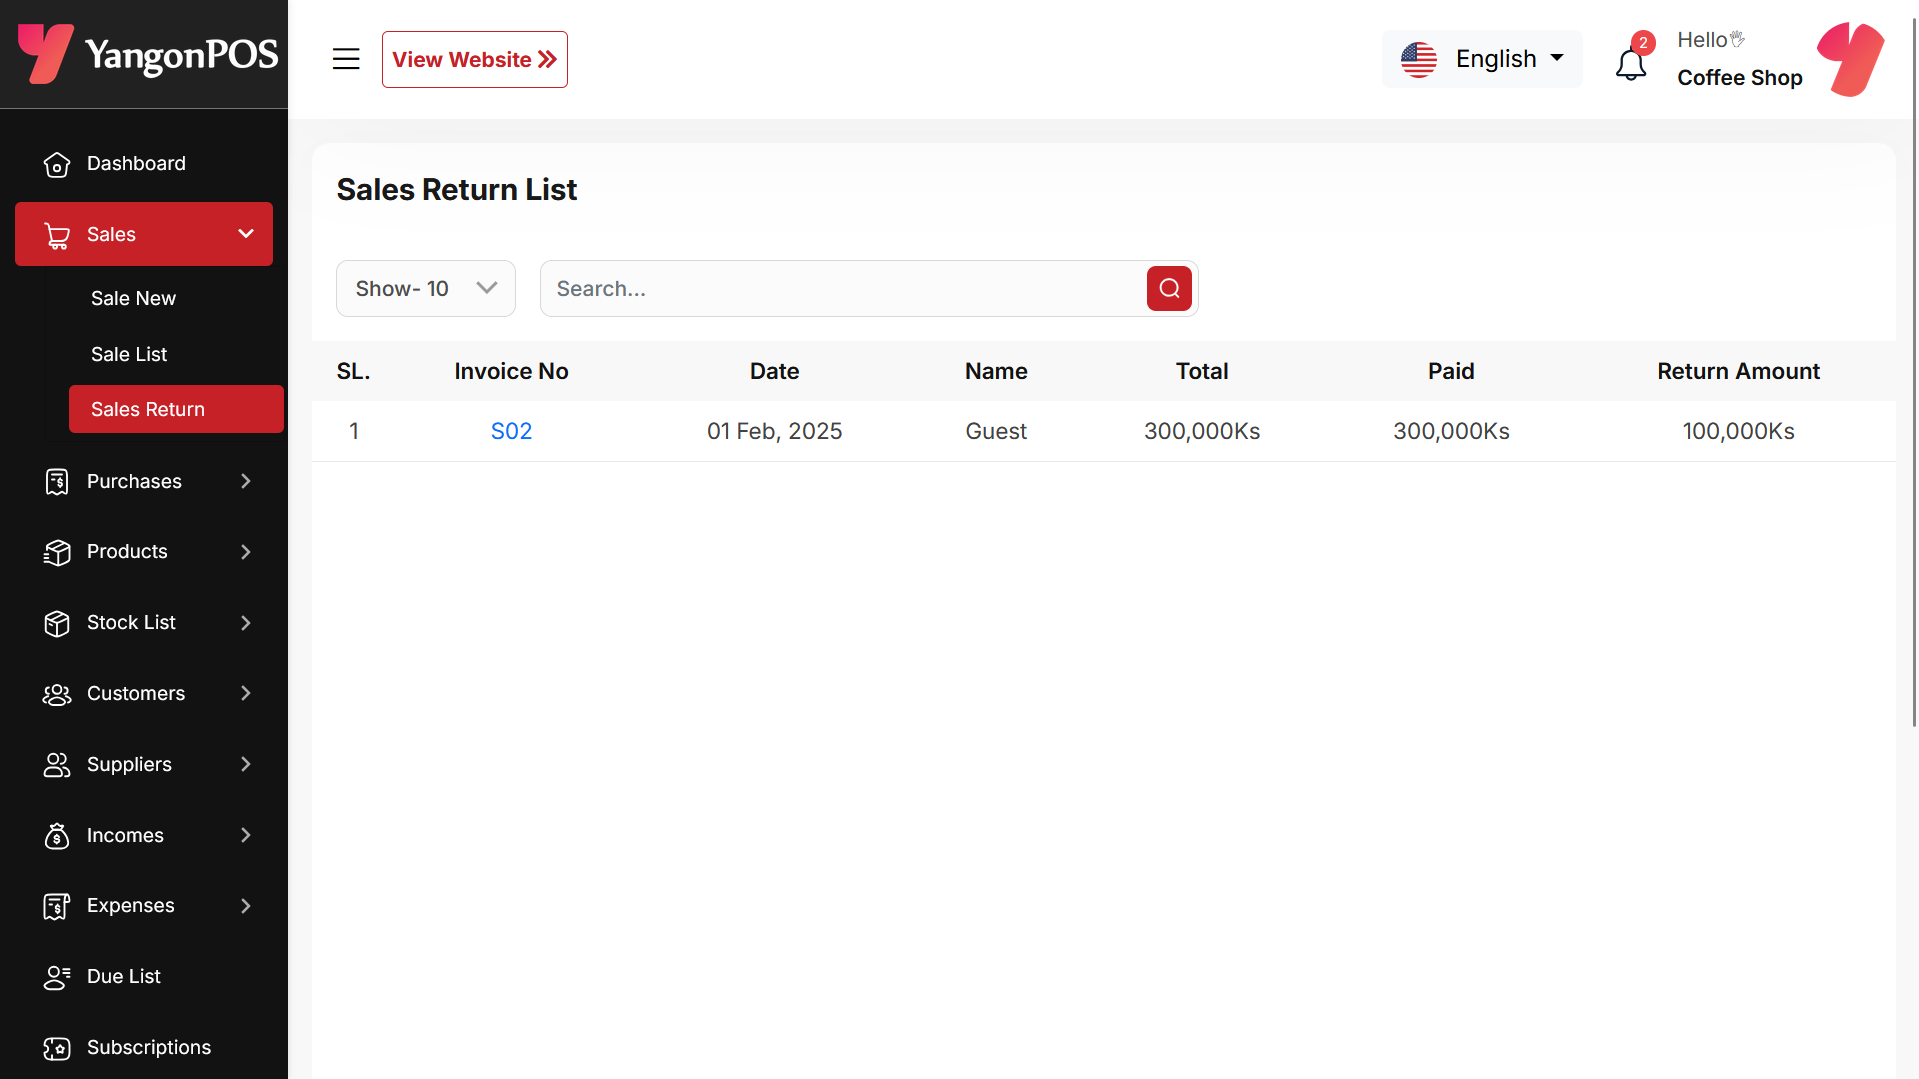
Sale Return List
Here, you can view the complete list of sale returns with a filtering option. To view an invoice, simply click on the invoice No.
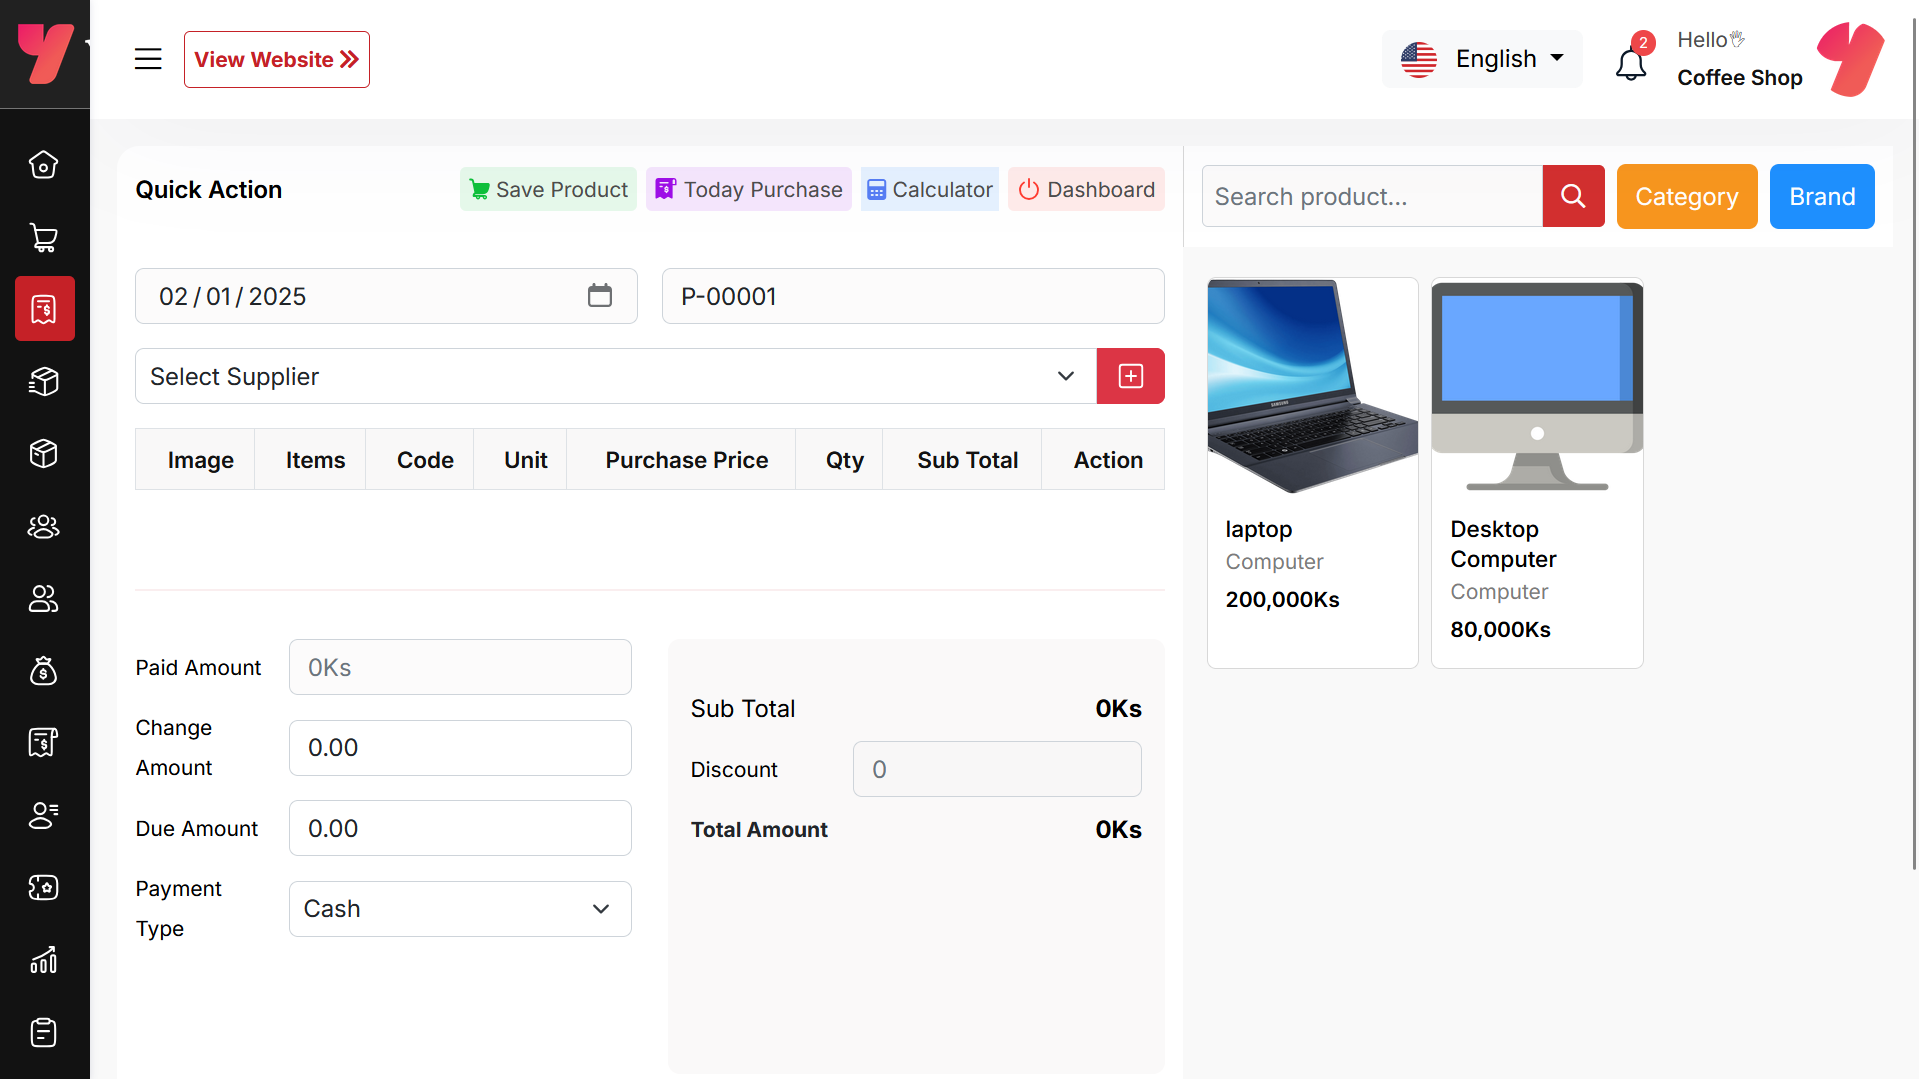
Create Purchase
By clicking on "Purchase New," you can create a new purchase. First, select a supplier. Next, choose a product for the purchase. Additionally, you can filter products by Category or Brand, using the same filters as in the Sale process.
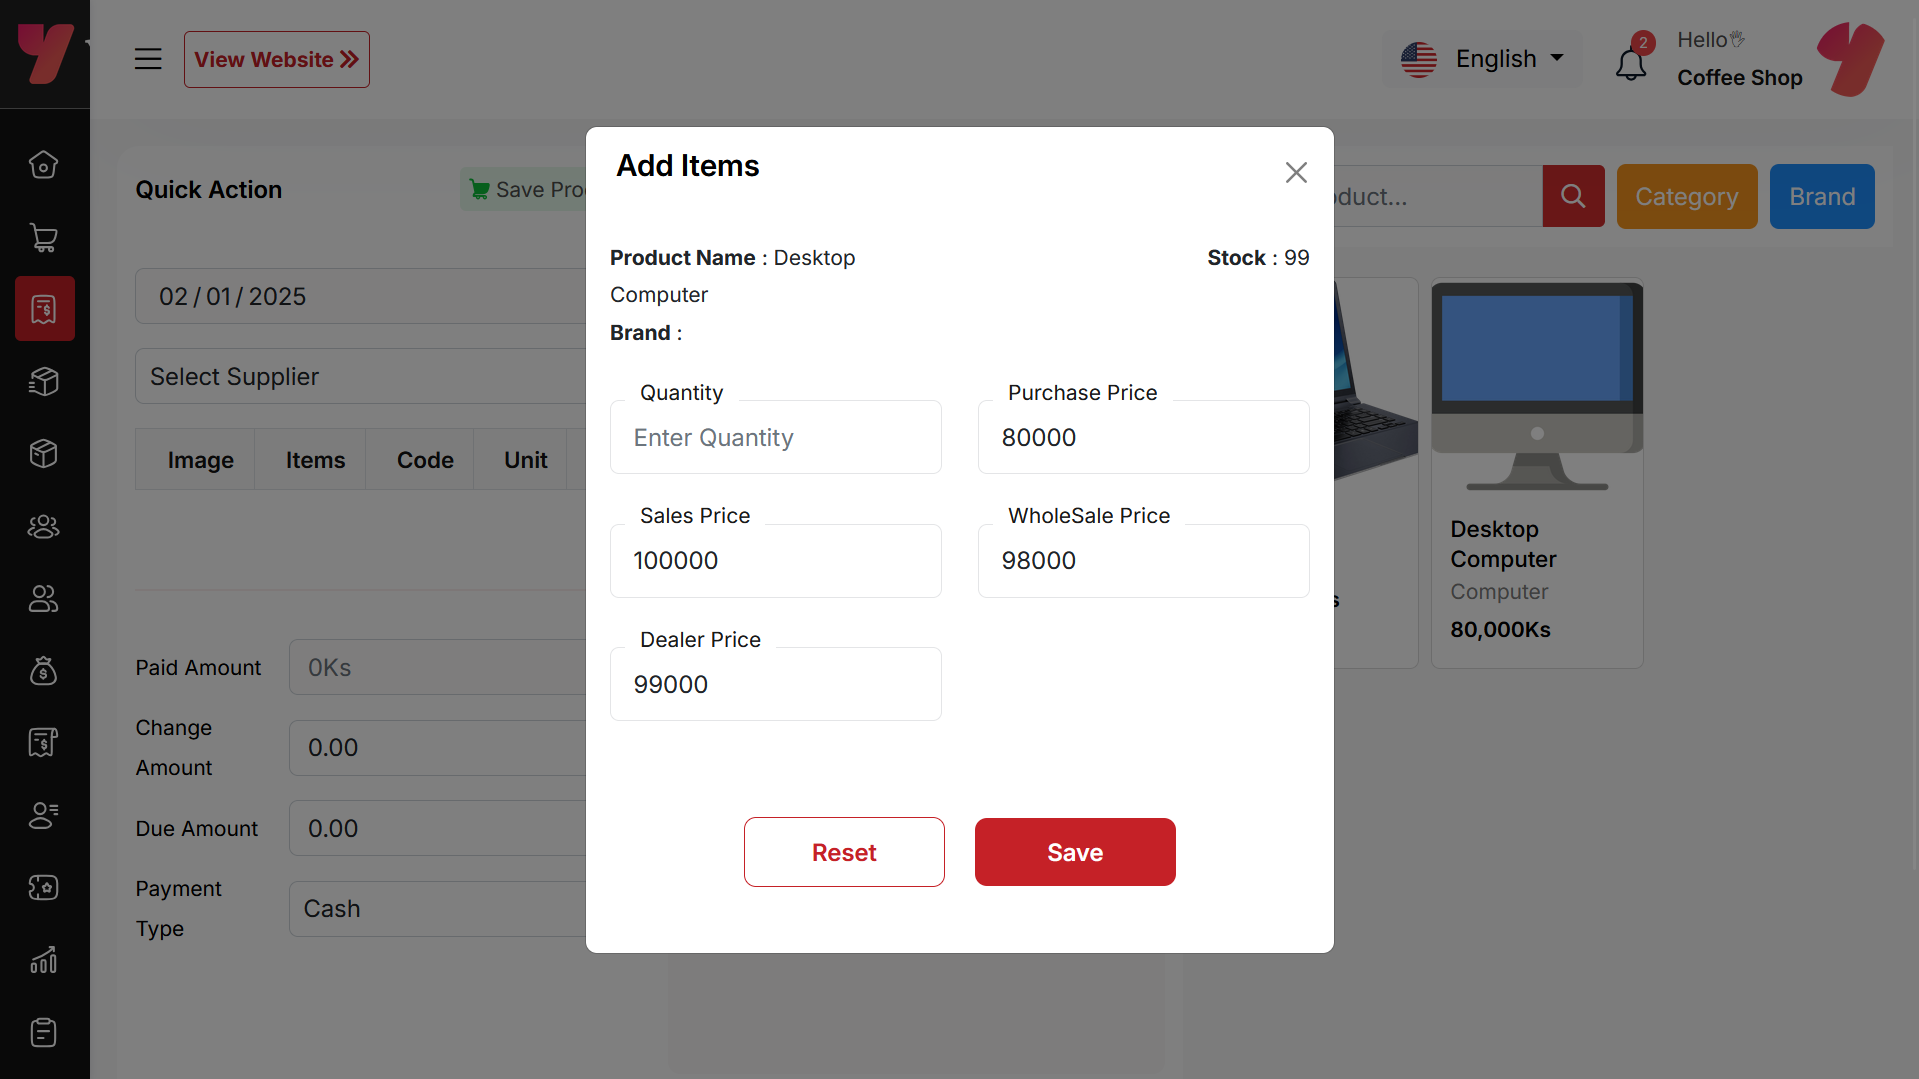
Select Product
Next, select a product for the purchase. When you choose a product, a pop-up will appear. Enter the quantity you wish to purchase and update the prices as needed. Once done, click save.
Add to Cart & store product
After clicking the save button in the pop-up window, the product will automatically appear in the cart list. You can adjust the quantity using the plus or minus buttons or update it directly by entering a value. To remove a product from the cart, click the red cross button.
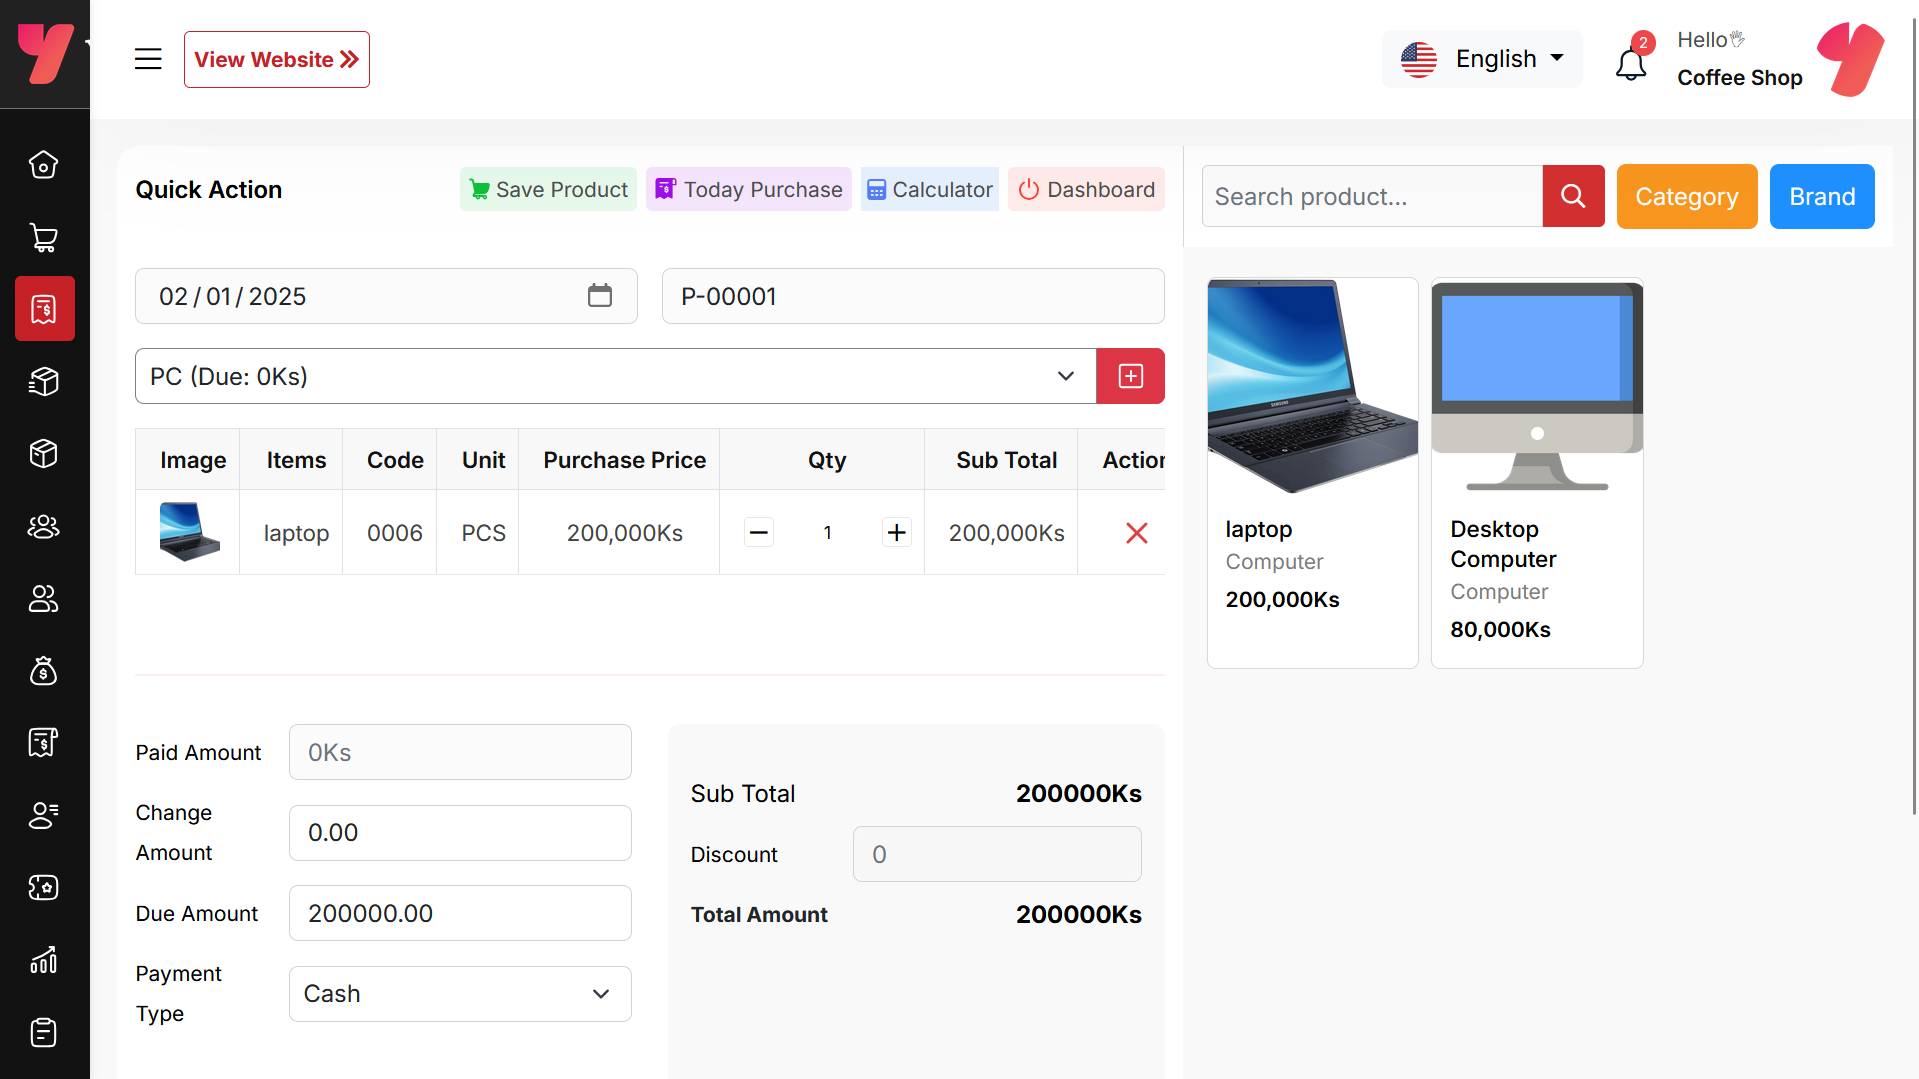
Below, you will see the subtotal of all products. You can also add discount to the subtotal. After the calculations, the total amount will be displayed. Next, you can enter the received amount. If the received amount is greater than the total amount, the remaining balance will be shown in the "Change Amount" field. If the received amount is less, the "Due Amount" field will display the difference. If you want to remove all products from the list, click the cancel button. Once everything is correct, click the save button to complete the purchase.
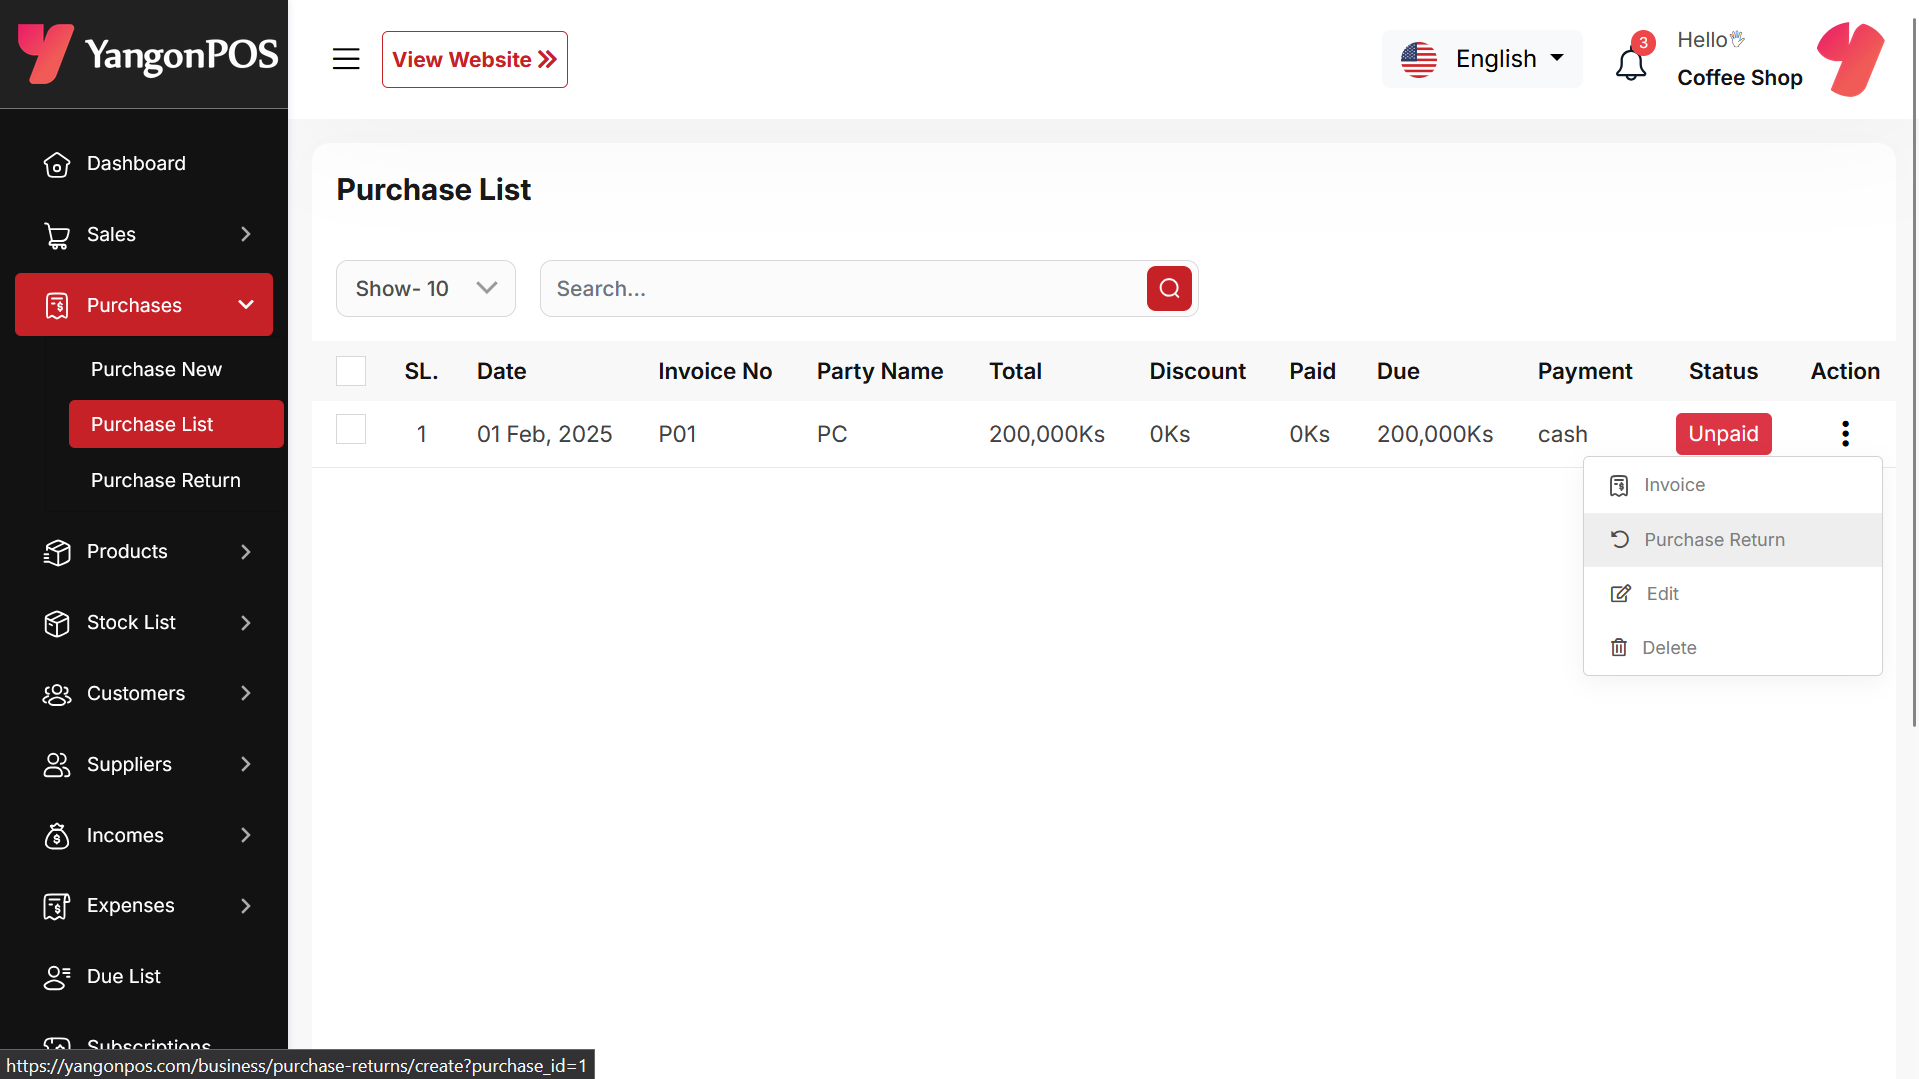
Purchase List
This appears to be a screenshot of the Purchase list page, where you can filter data using the search function. Additionally, you can view invoices, as well as edit, delete, or use the multi-delete option. Furthermore, you will have the option to initiate a Purchase Return from this list. Please note, once a Purchase return is processed, you will no longer be able to update or delete the Purchase.
Create Purchase Return
From the Purchase list, clicking on Purchases Return will open this page. You can adjust the quantity to return the desired amount, but you cannot return more than the purchased quantity.

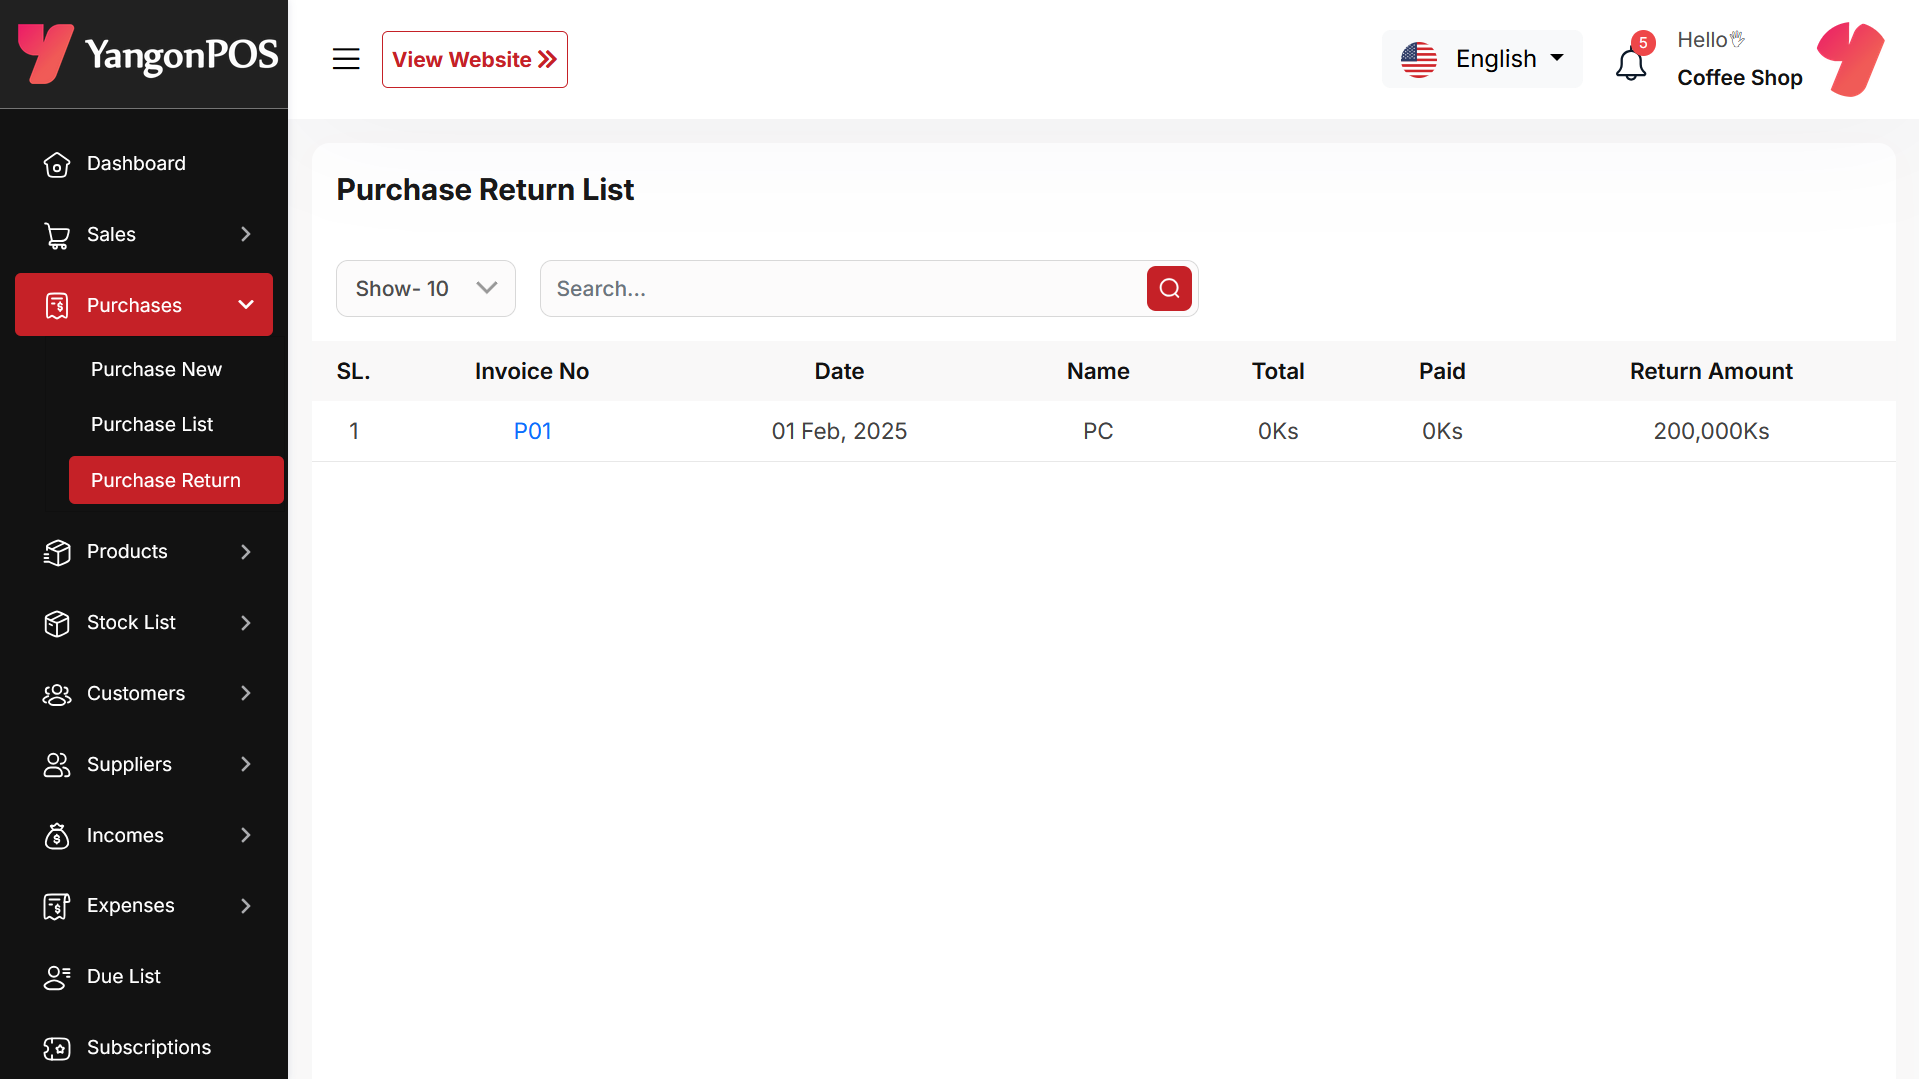
Return List
Here, you can view the complete list of Purchase returns with a filtering option. To view an invoice, simply click on the invoice No.
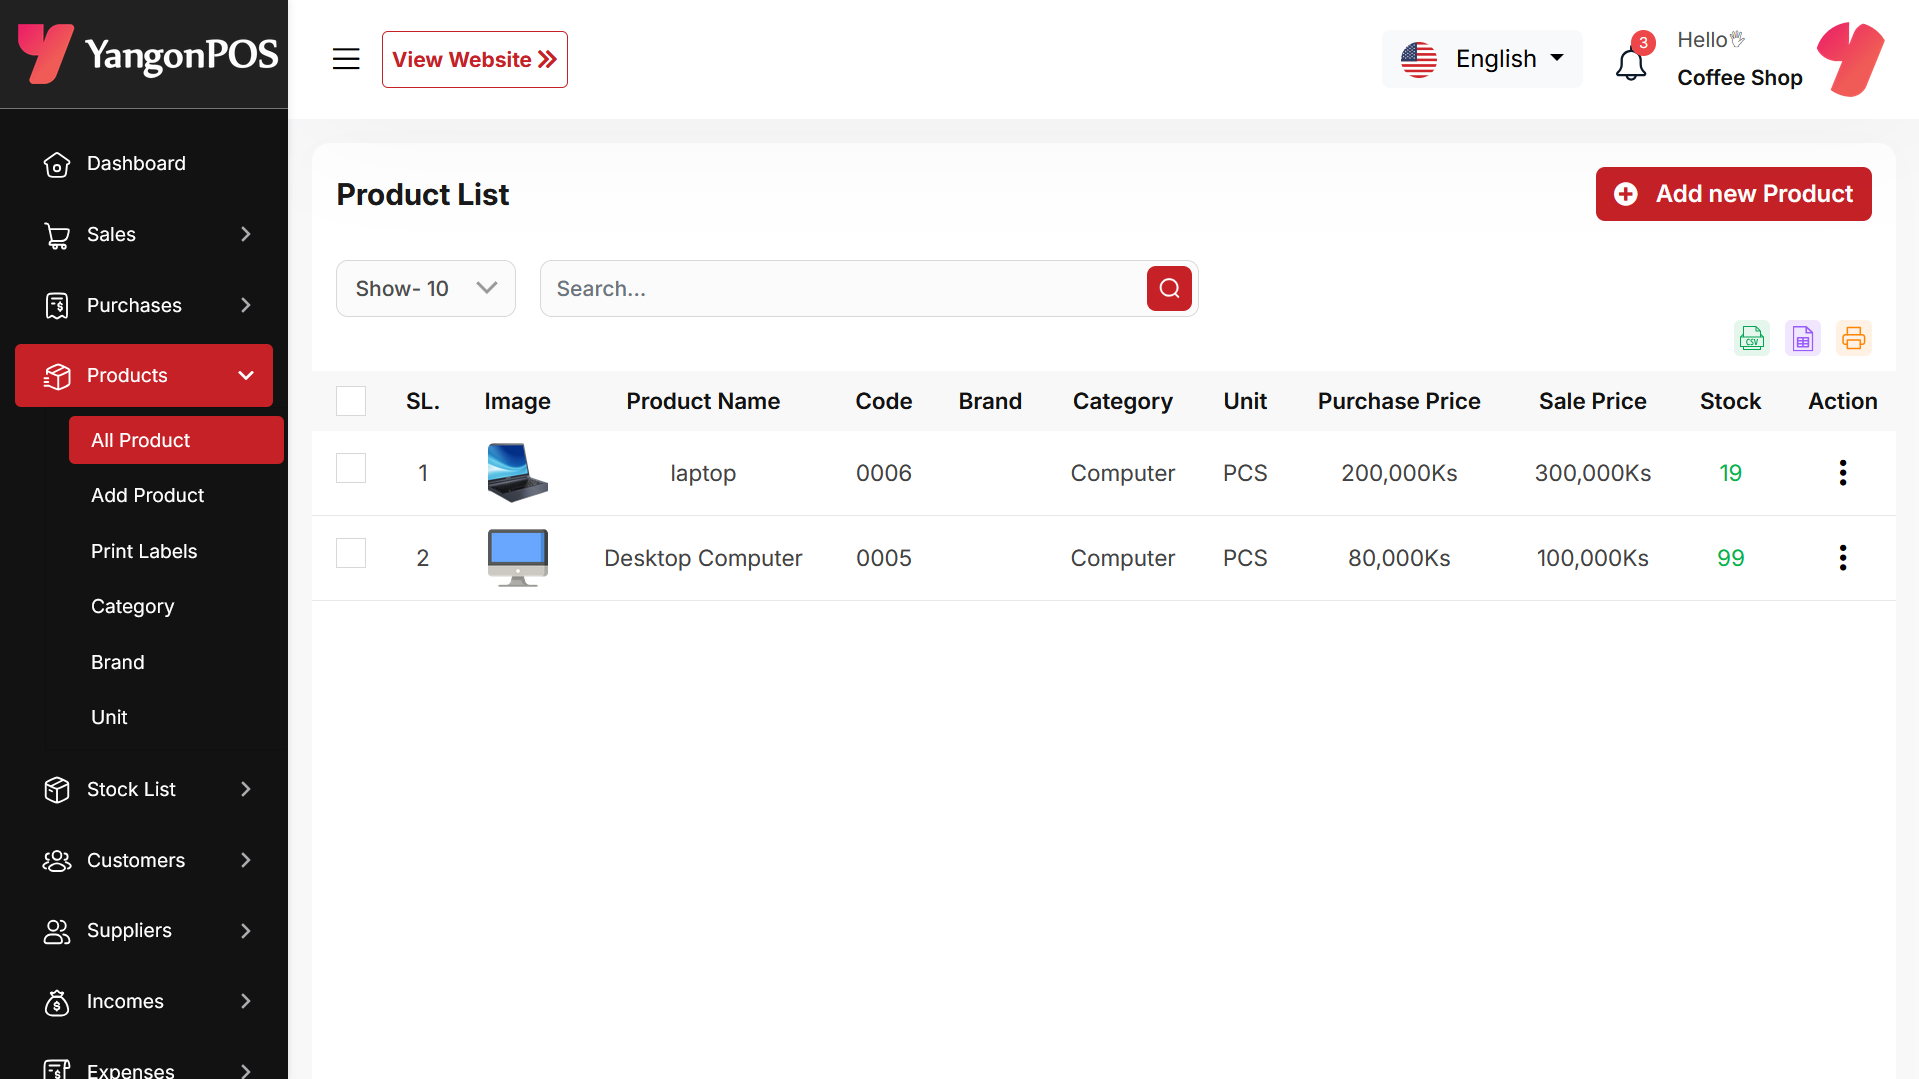
Product List
Here, you can view the Product list with filtering options available. The list can be exported as Excel, CSV, and there is also a print option. By clicking the "View" button, you can see details in a pop-up window. Additionally, you can edit, delete, or perform multi-delete actions.
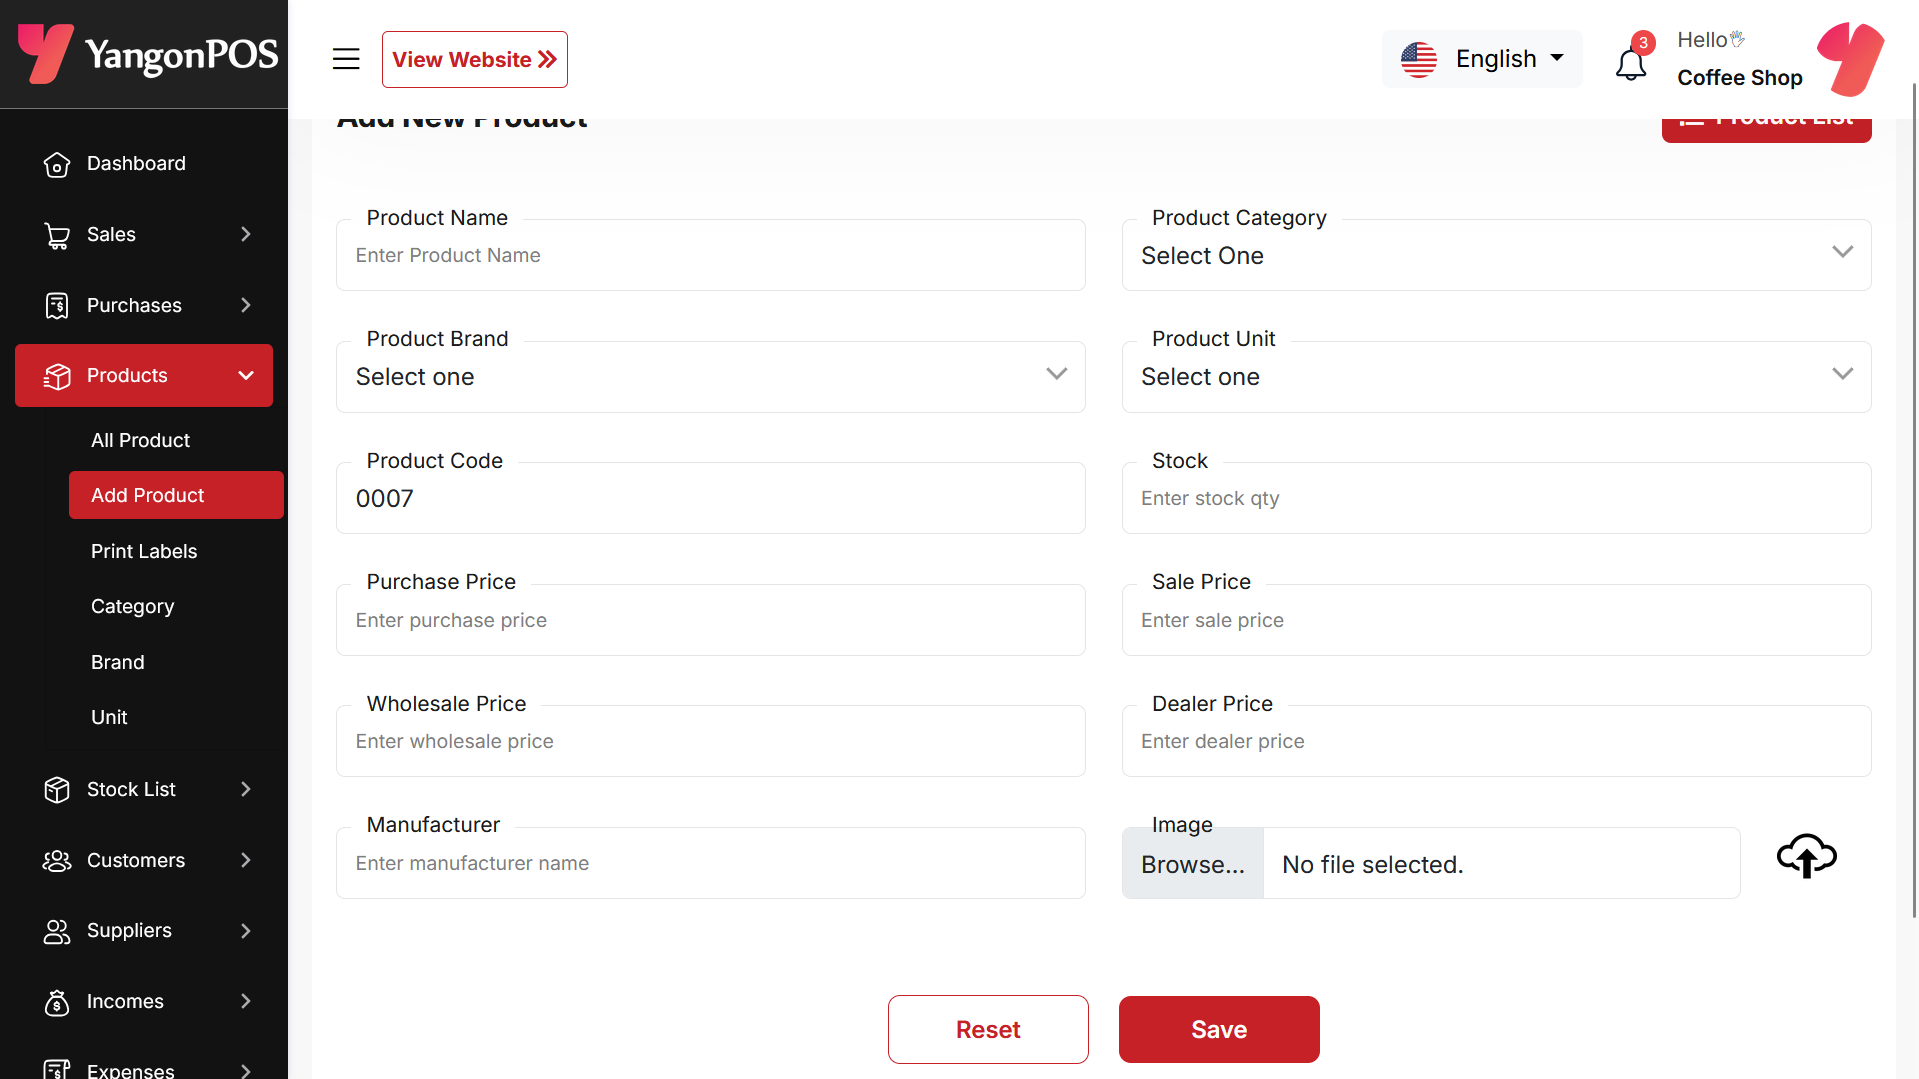
Create Product
You can create a product by filling in the required fields. When you select a Product Category, the associated variation fields (such as capacity, color, size, type, or weight) linked to that category will appear. You can then provide the necessary variations. The Product Code field will suggest a code by default, but you can update it if needed. Ensure you carefully input the product price. If everything is correct, click the save button to store the product.
Category List
You can view the Category list with available filtering options. Furthermore, you have the ability to edit, delete, or use the multi-delete function.

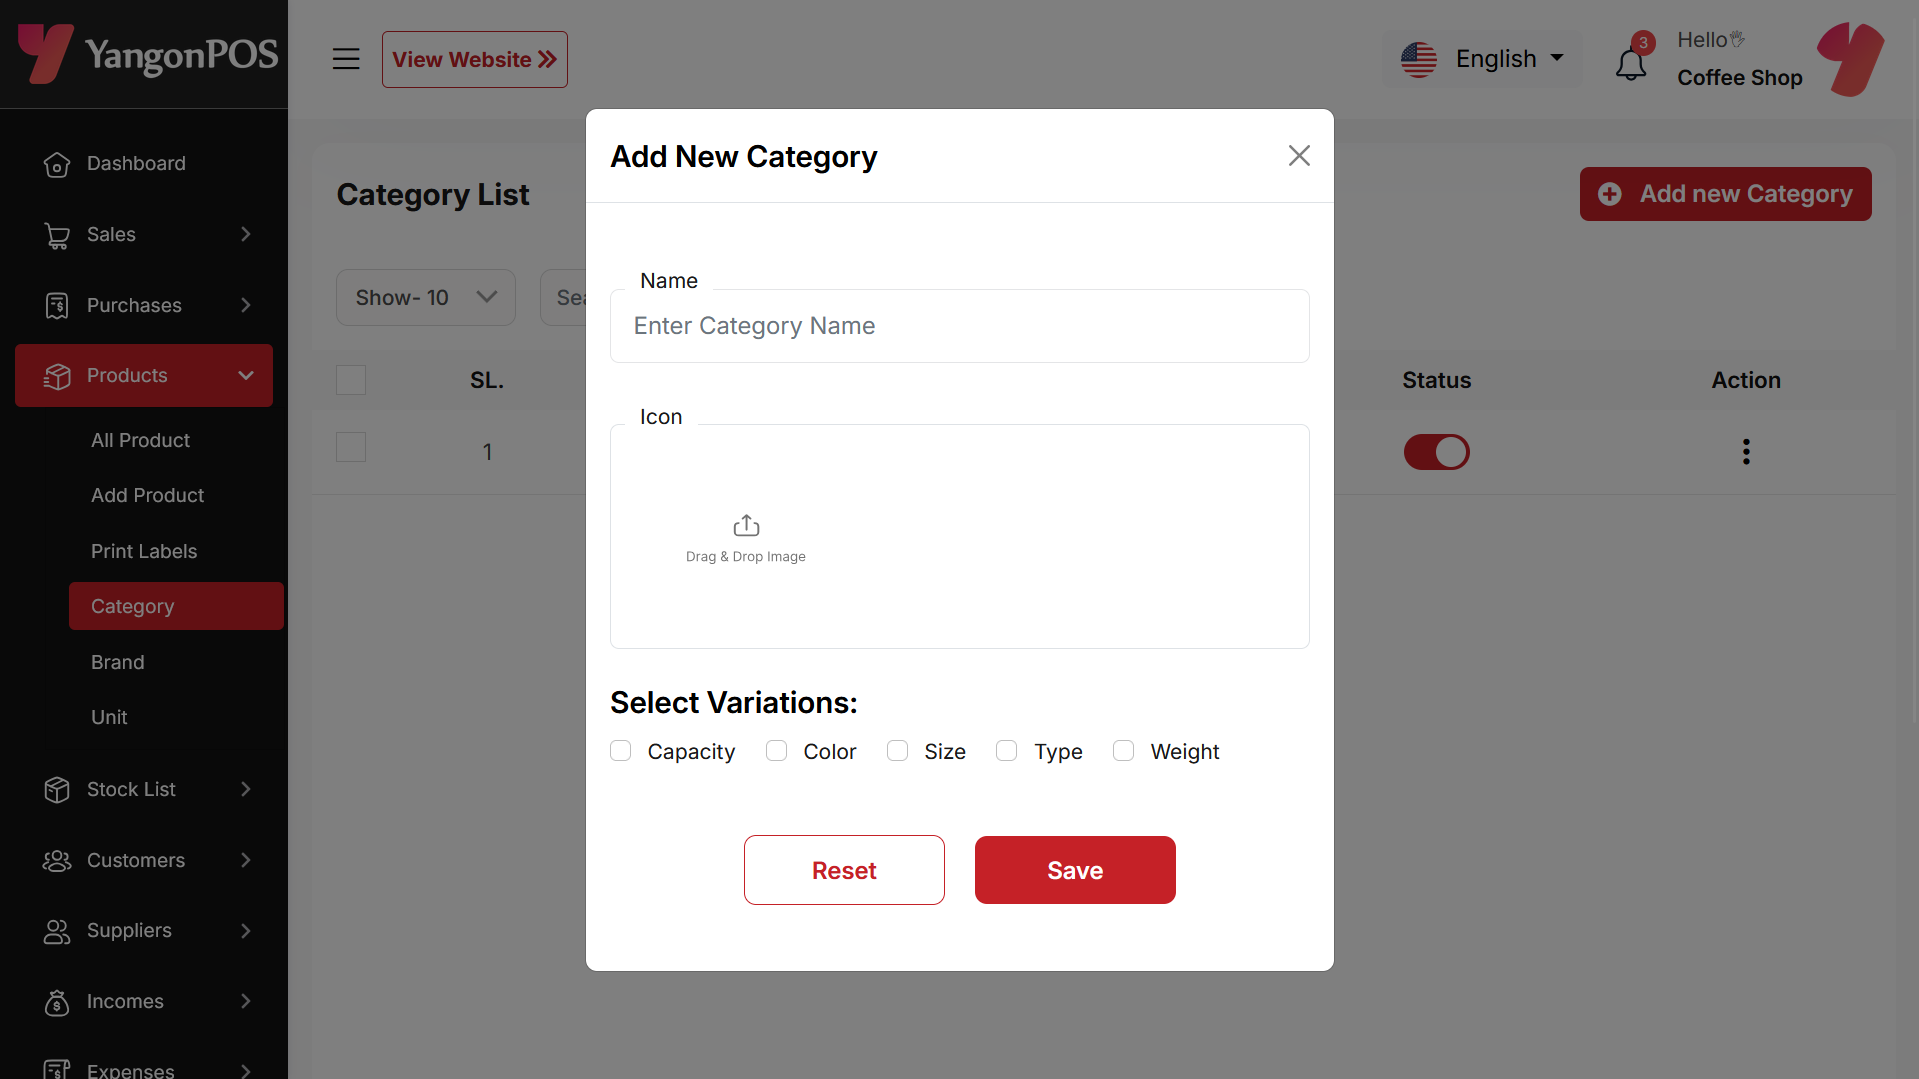
Create Category
You can create a Category by filling in the required fields and selecting the desired variation.
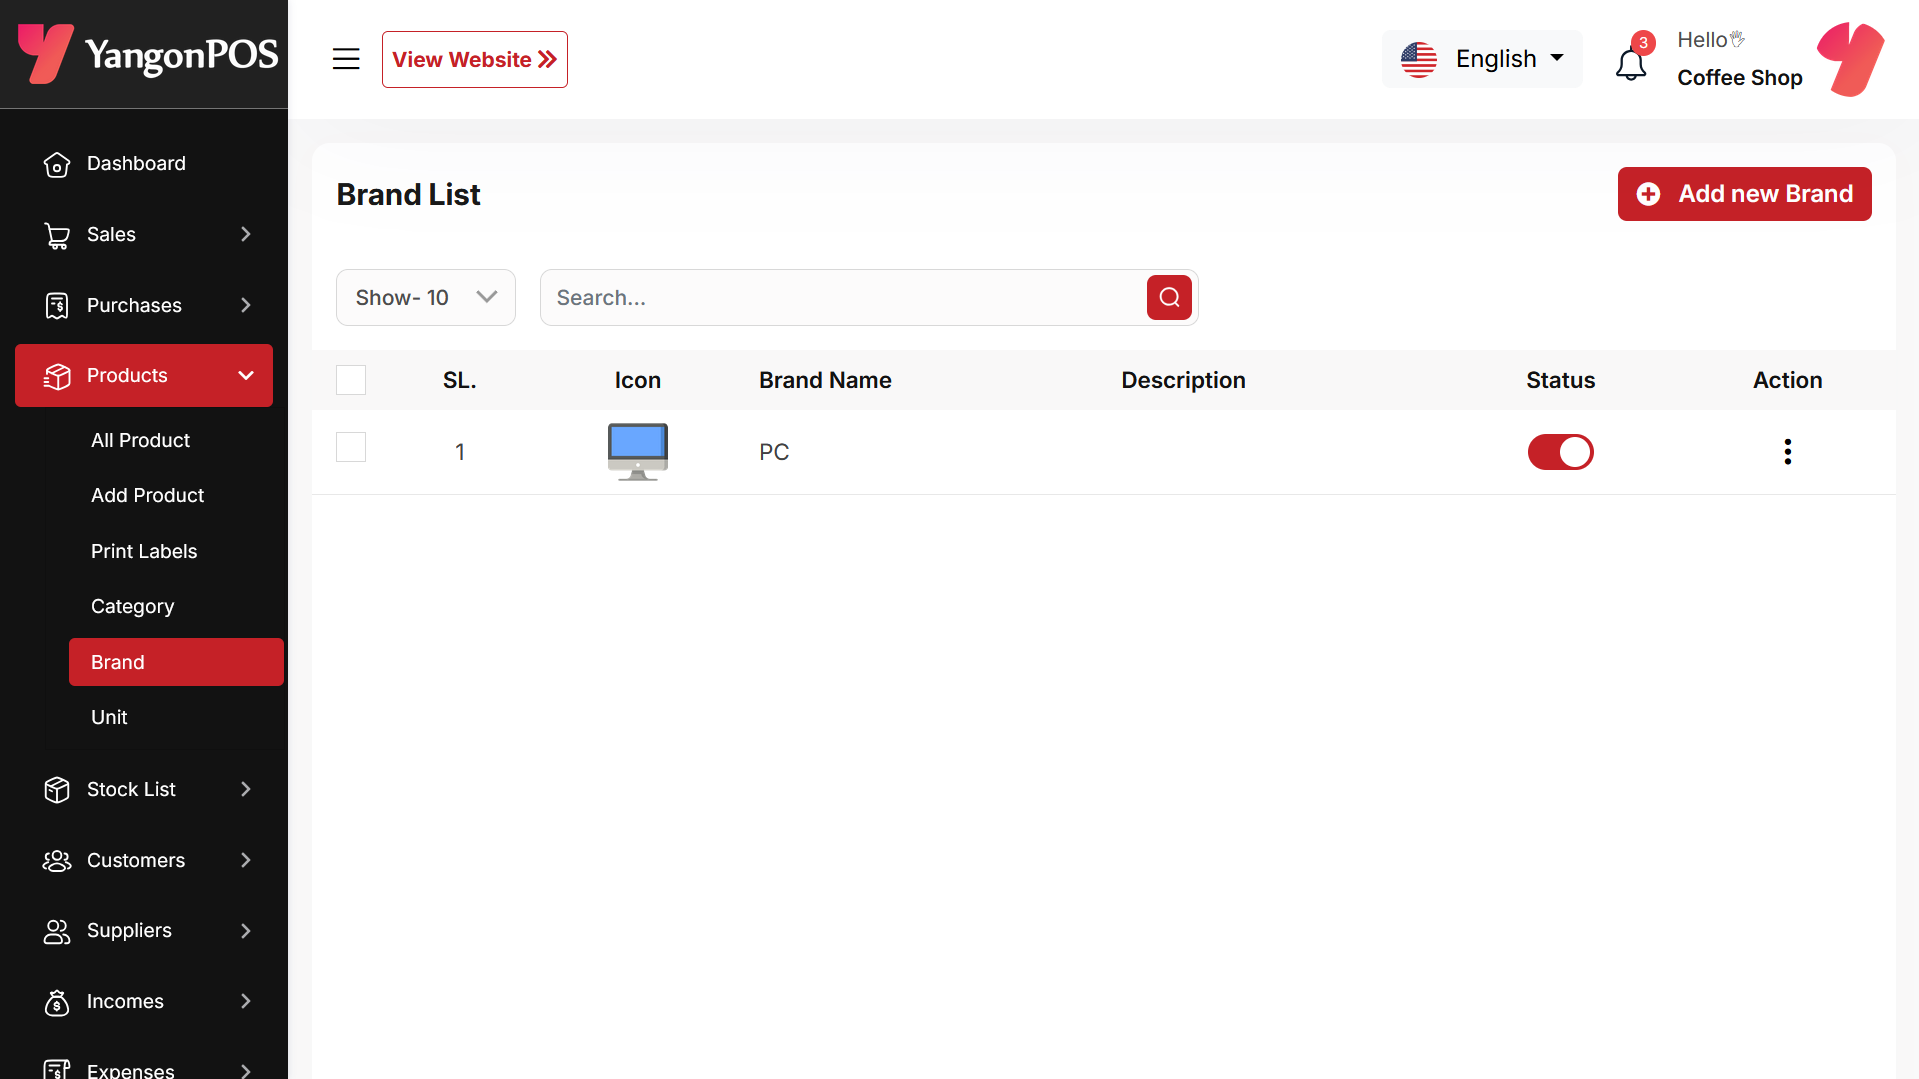
Brand List
You can view the Brand list with available filtering options. Furthermore, you have the ability to edit, delete, or use the multi-delete function.
Create Brand
You can create a Brand by filling in the required fields.

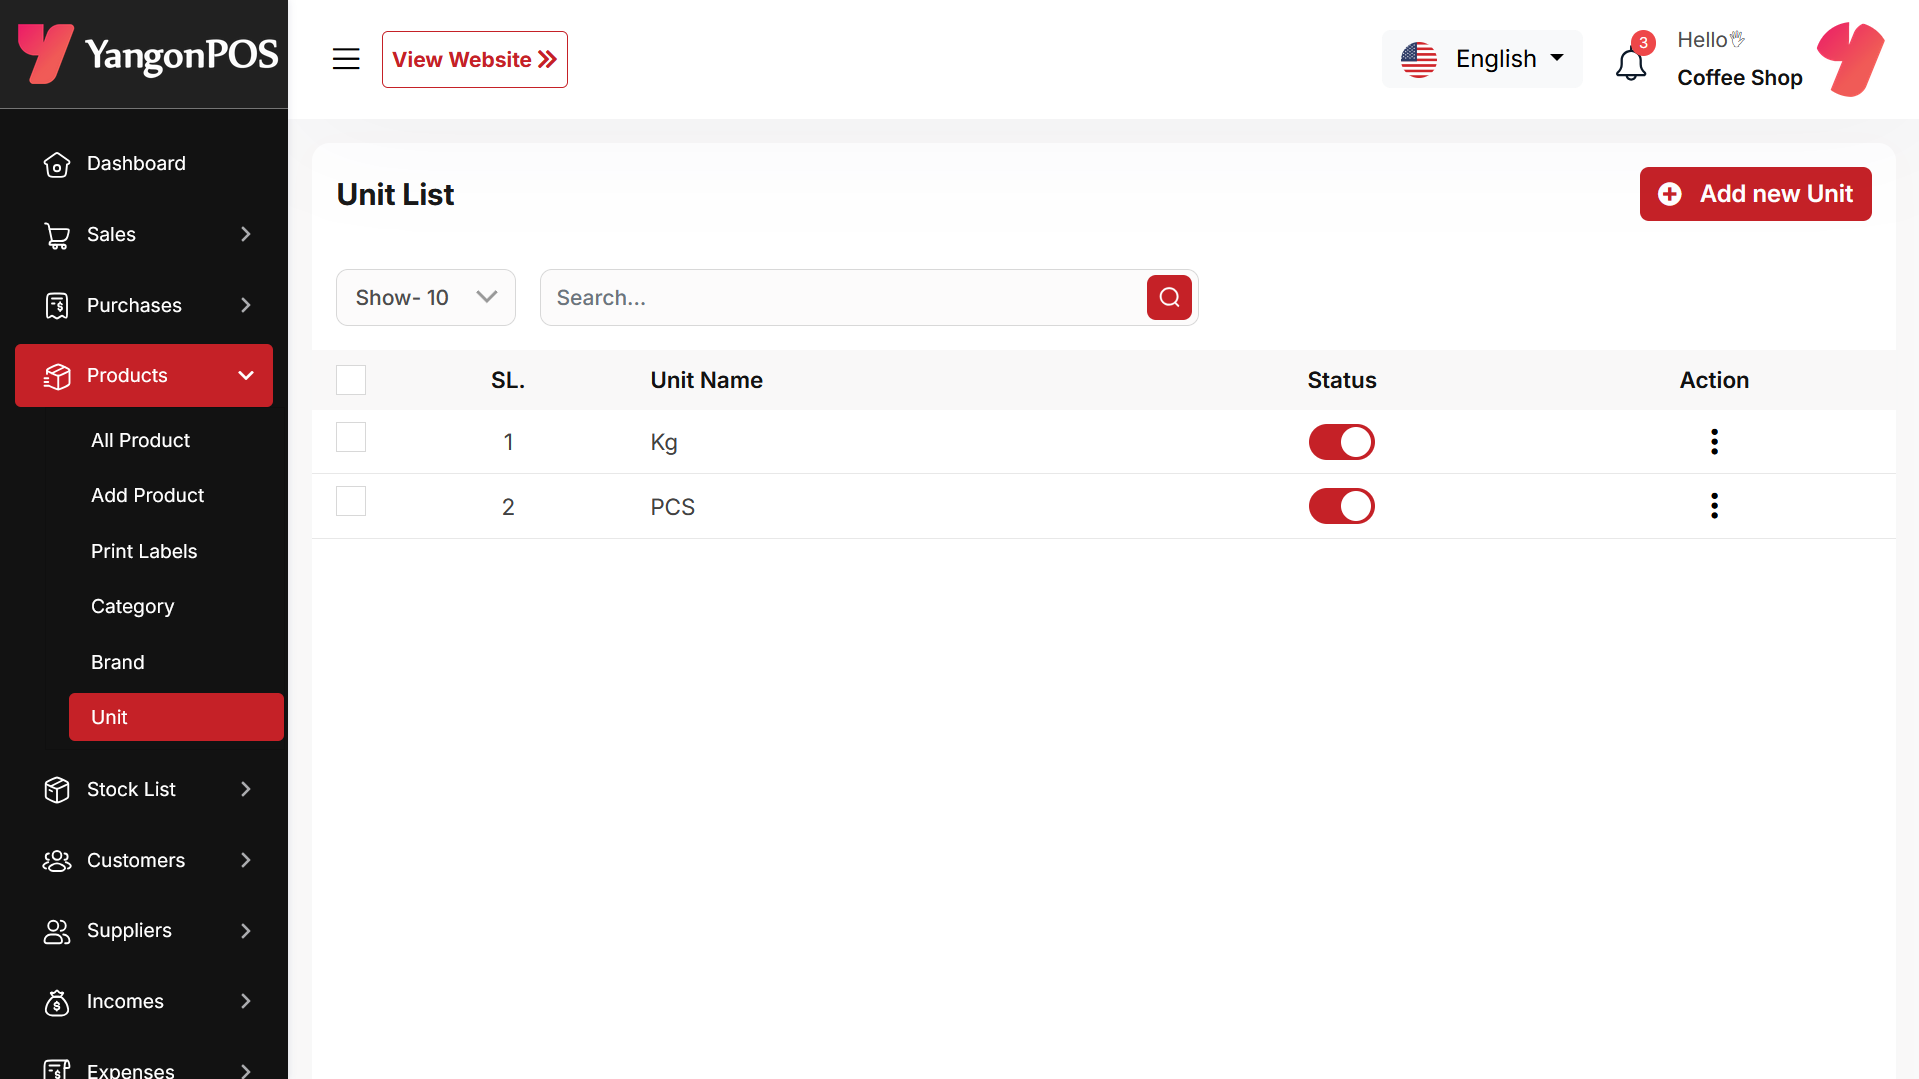
Unit List
You can view the Unit list with available filtering options. Furthermore, you have the ability to edit, delete, or use the multi-delete function.
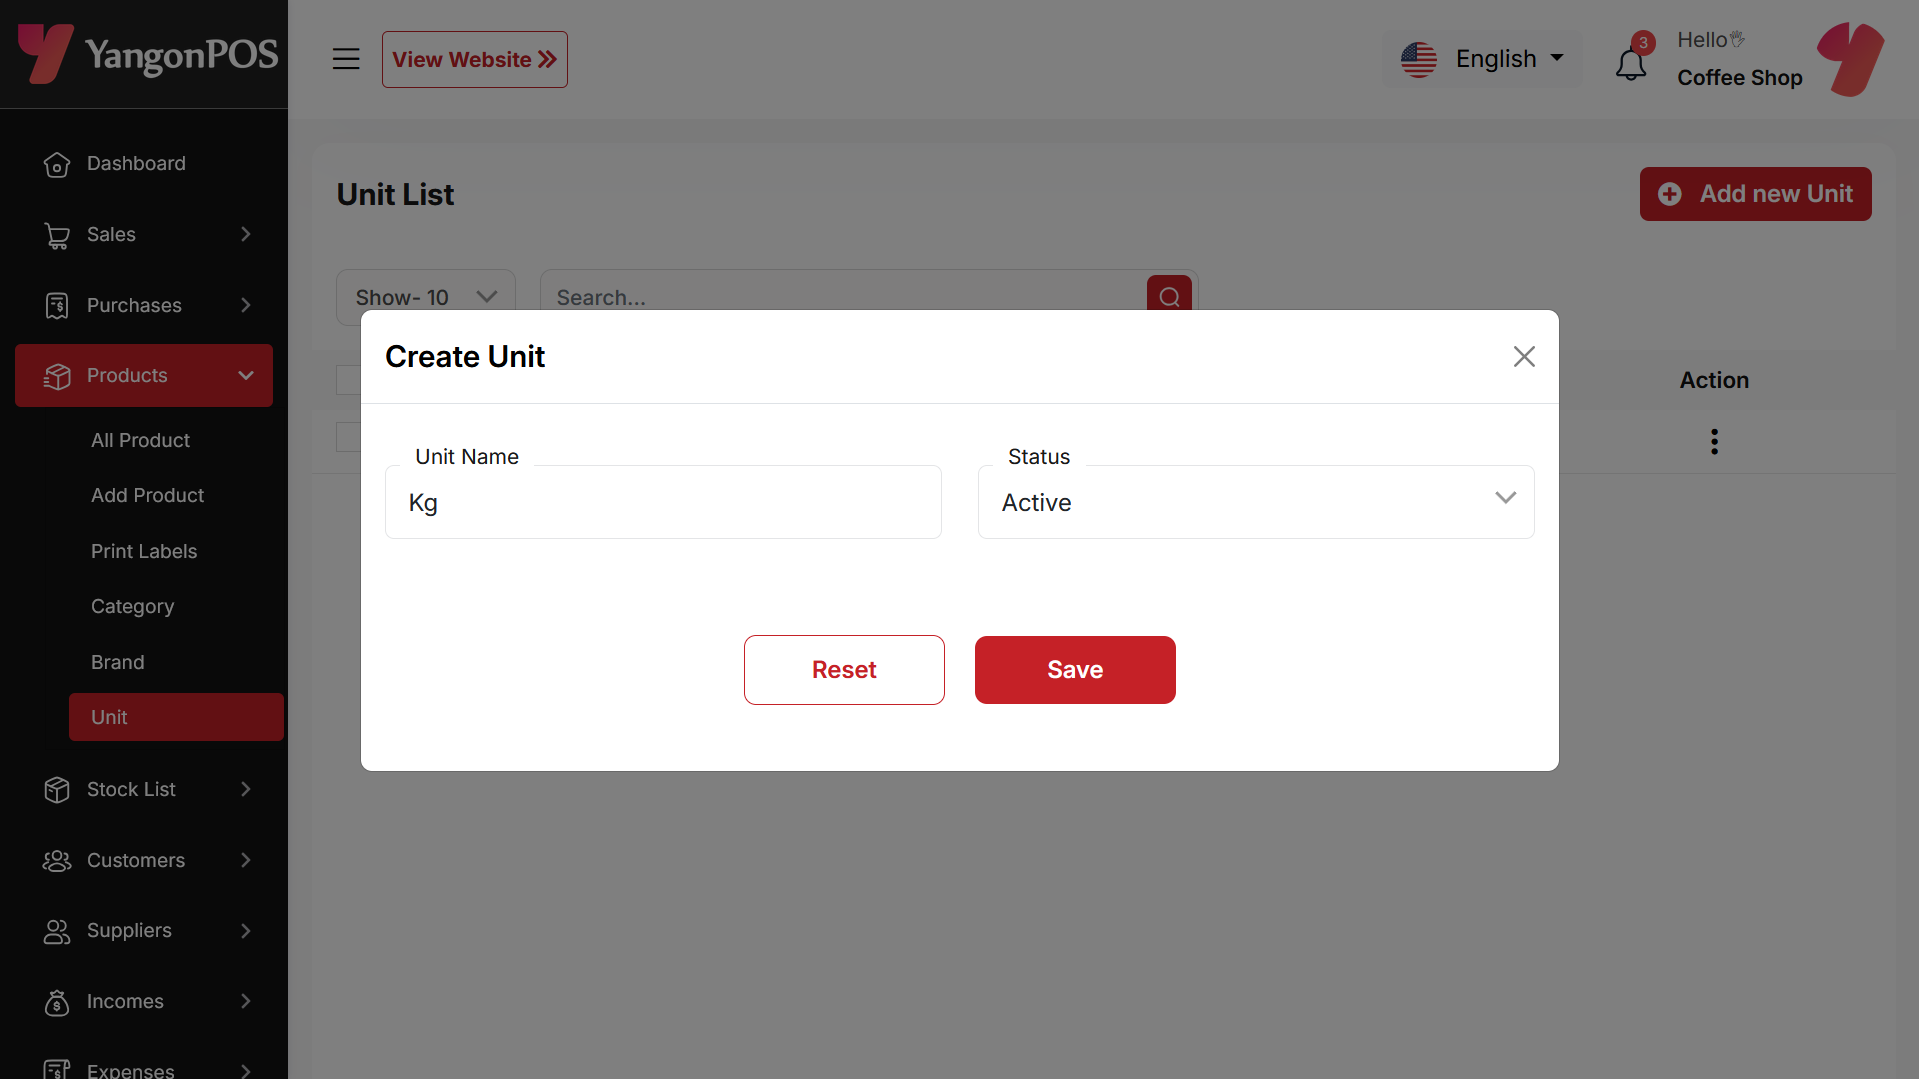
Create Unit
You can create a Category by filling in the required fields.
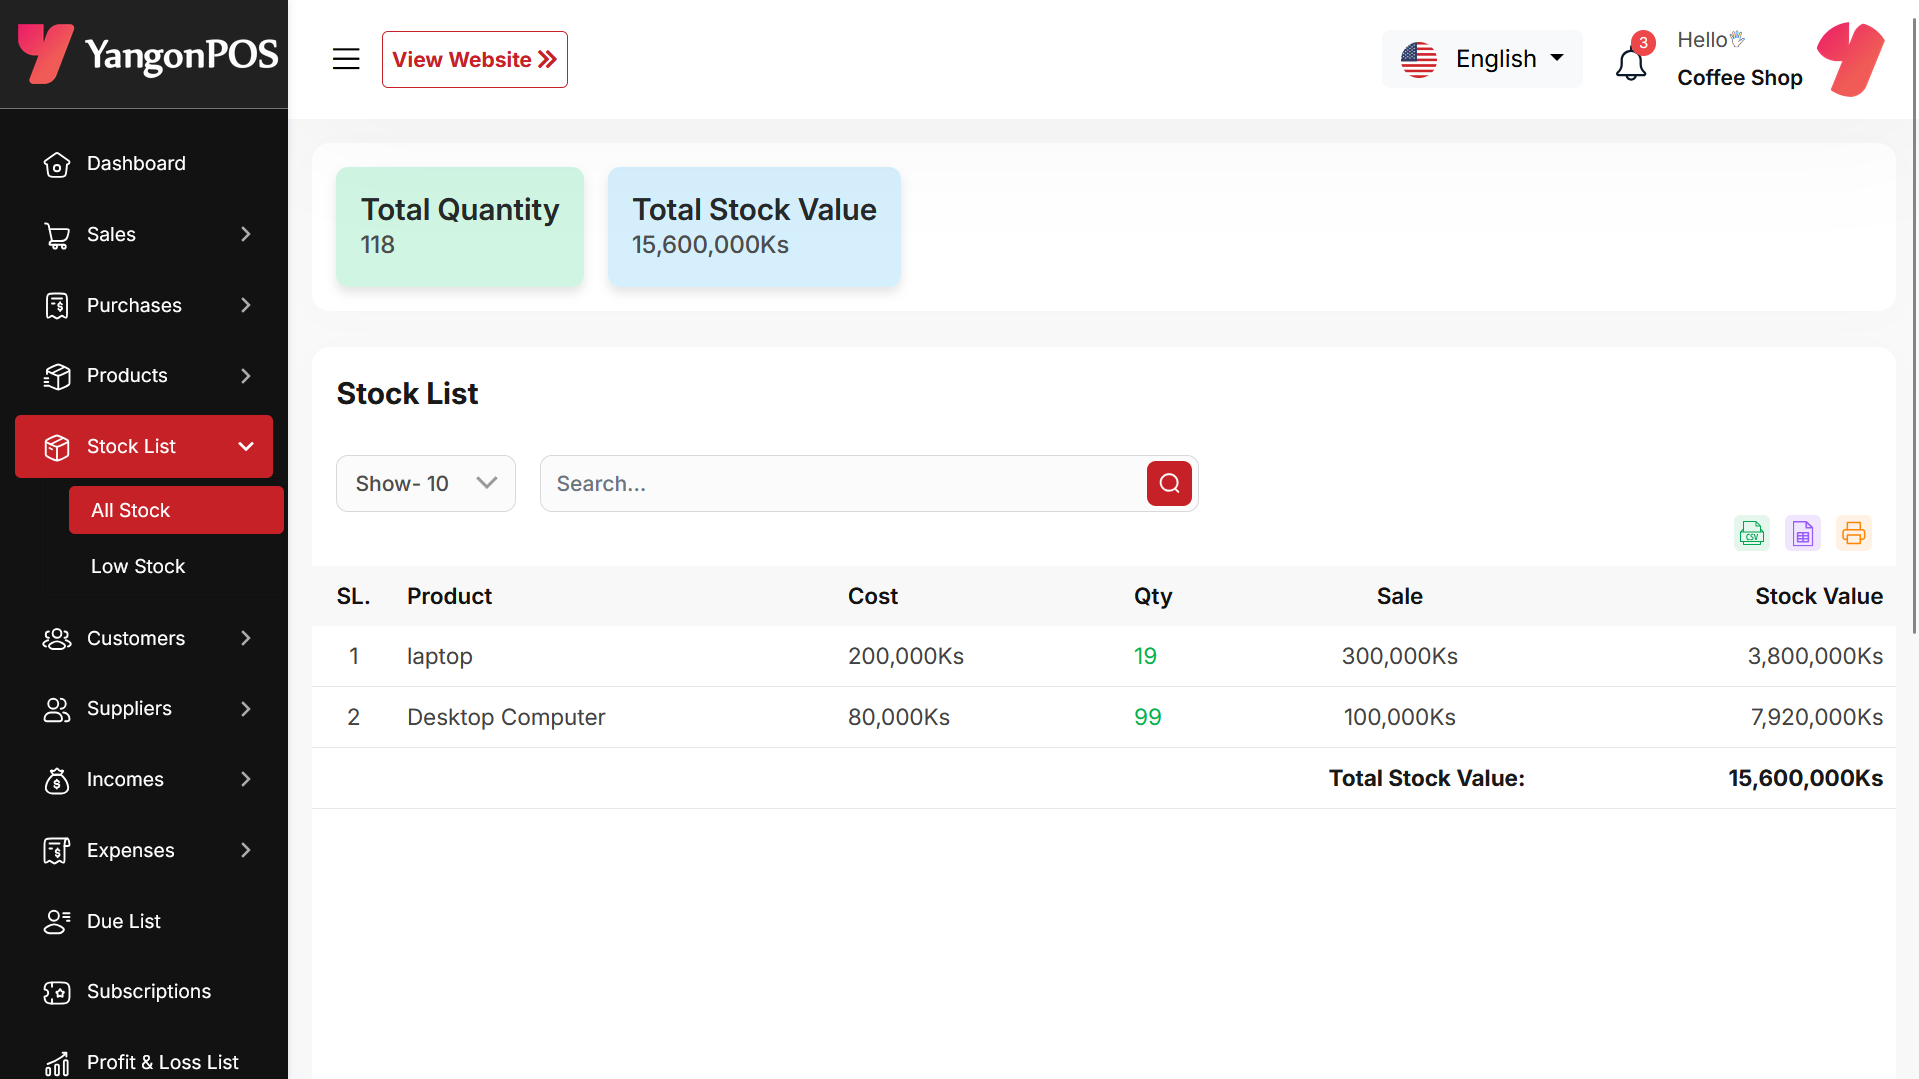
Stock List
Here, you can view the Product list with filtering options available. The list can be exported as Excel, CSV, and there is also a print option. Also in top cart you will see Total quantity and Stock value.
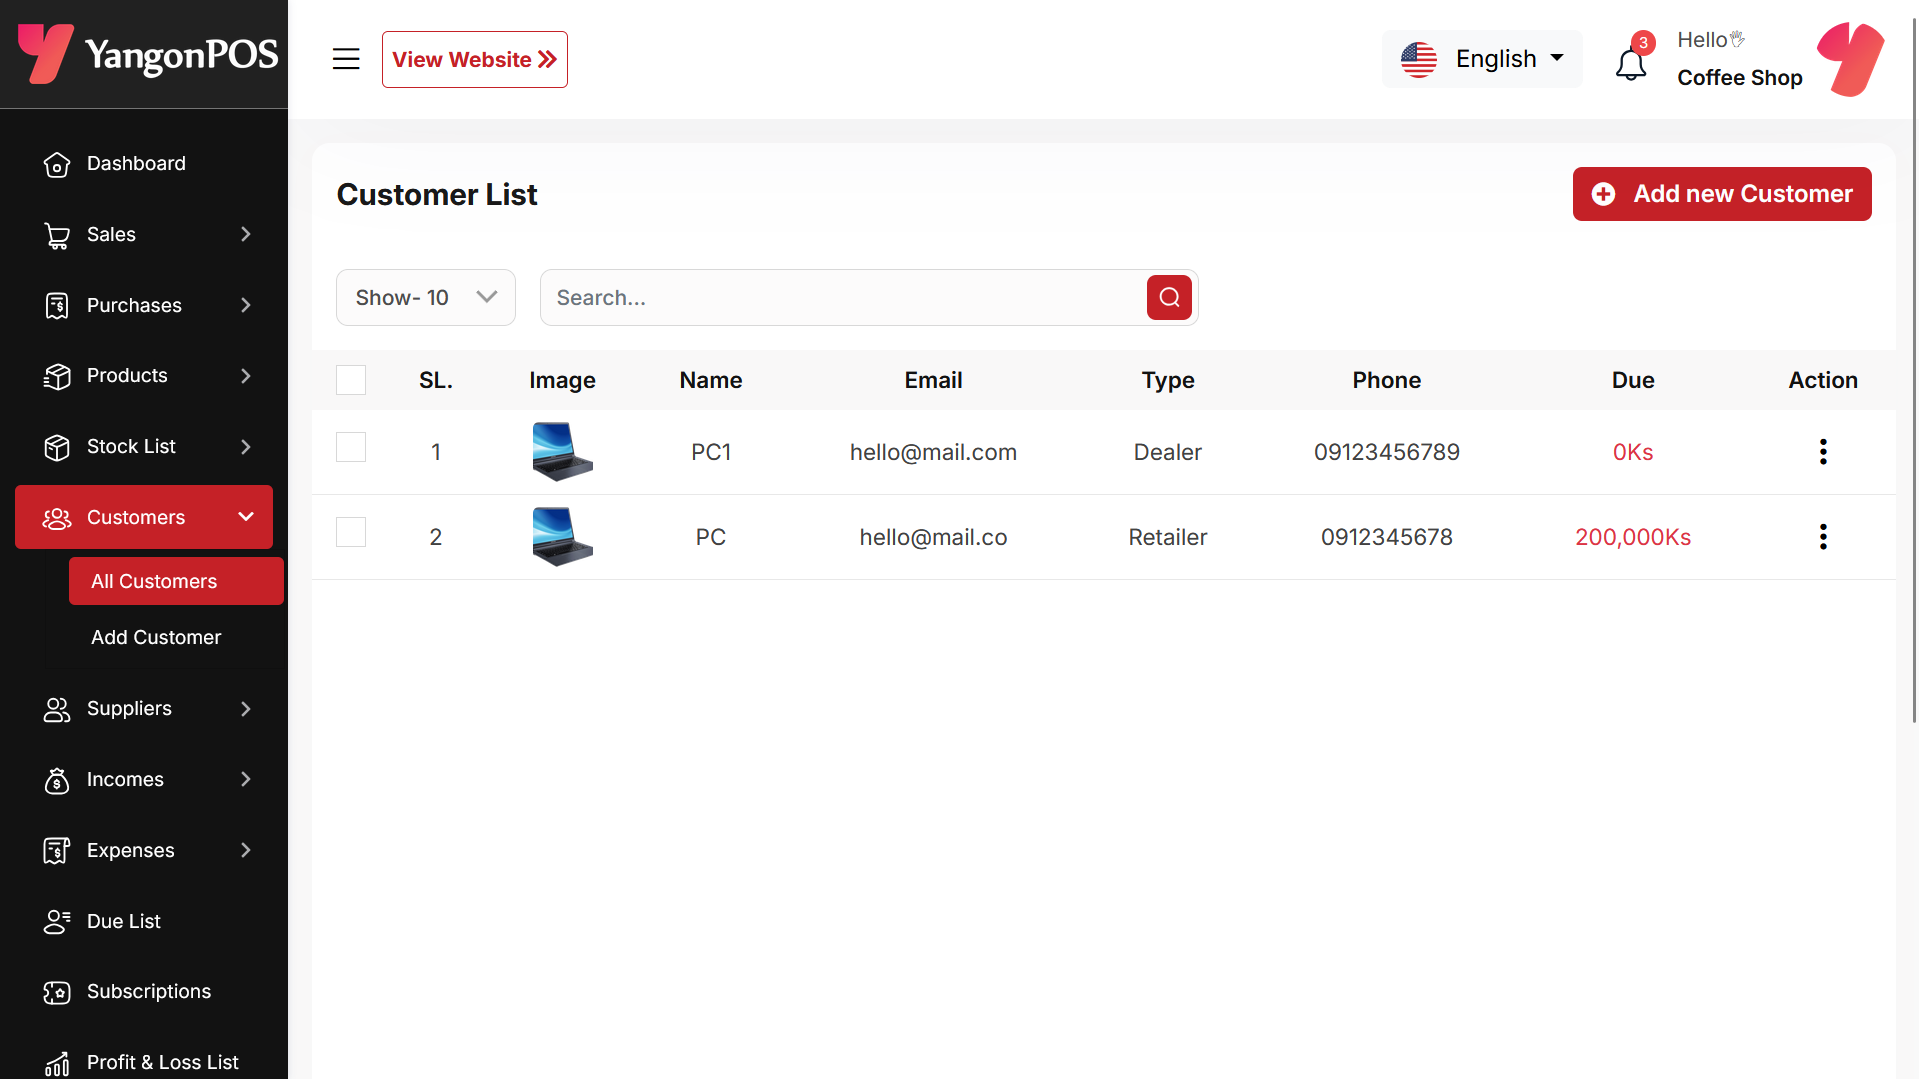
Customer List
Here, you can view the customer list with a search filter. Additionally, you have the option to view, edit, delete, or use the multi-delete function.
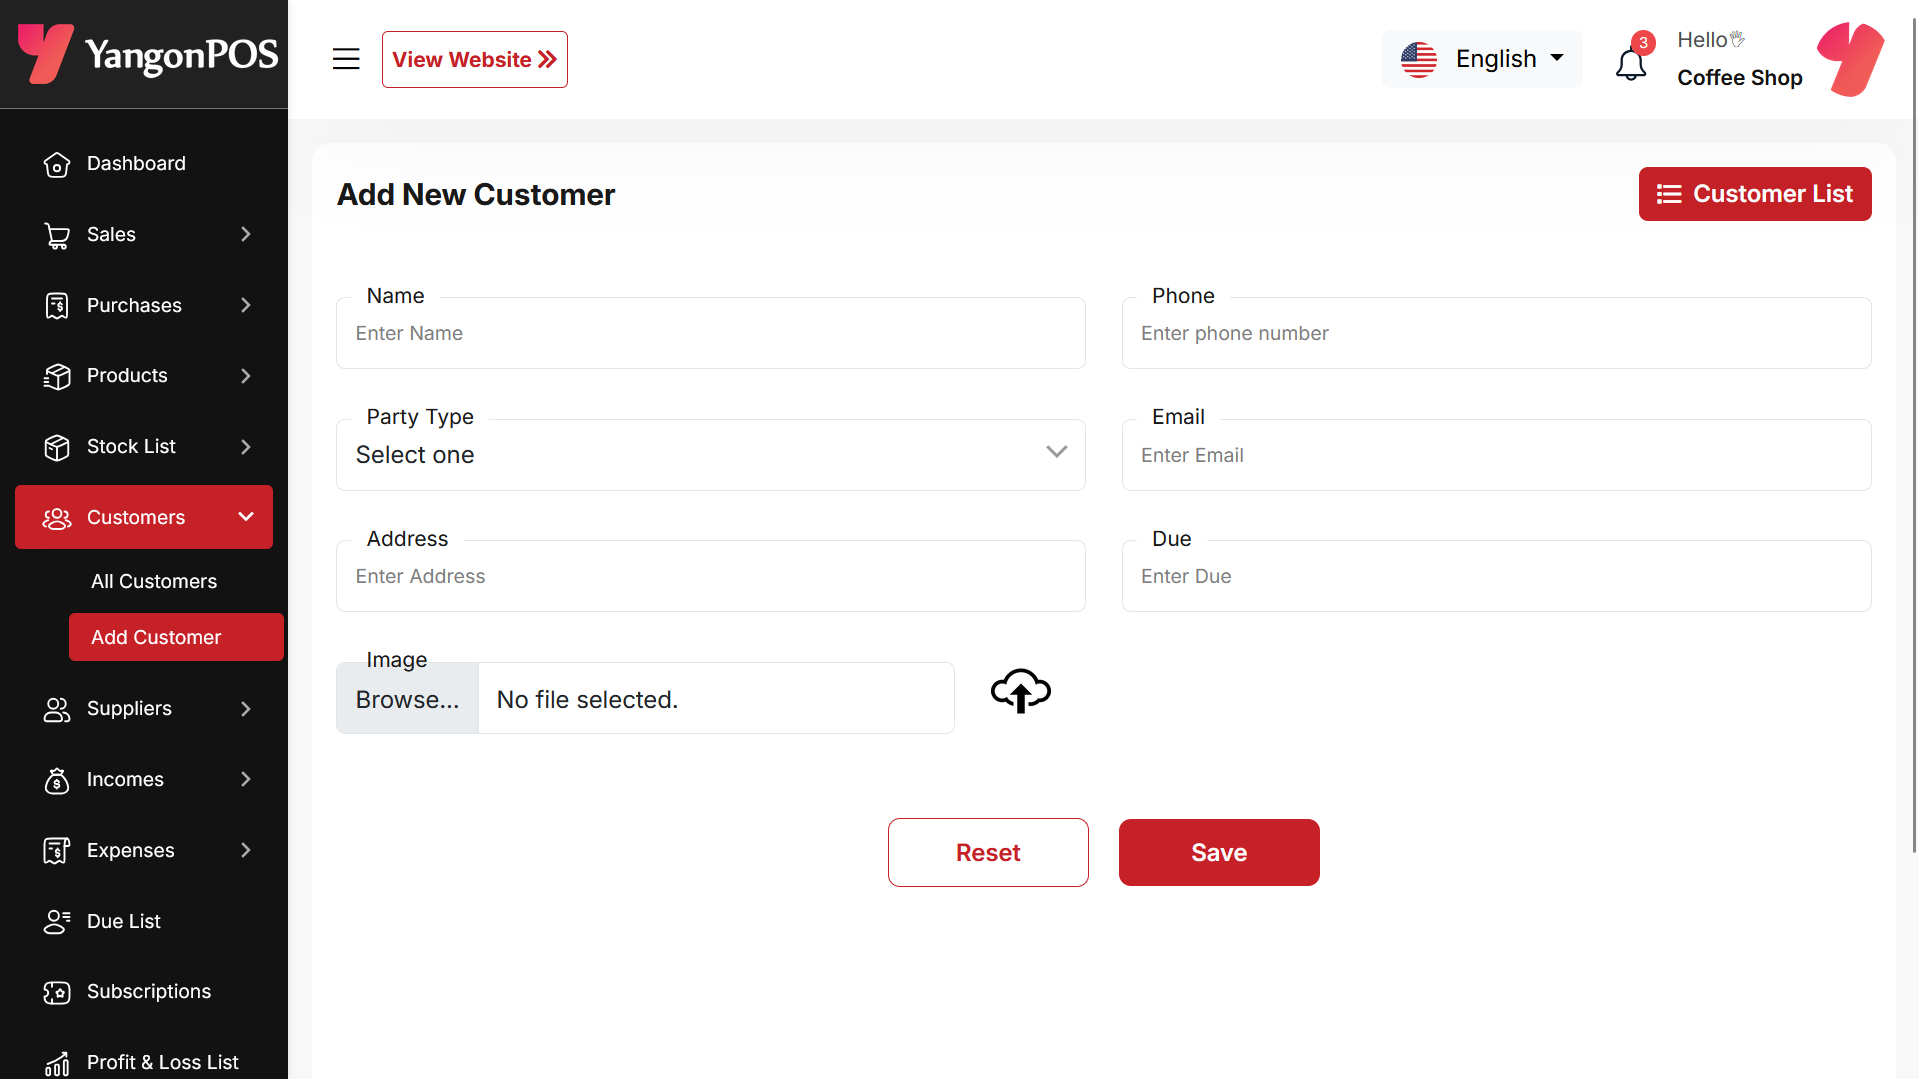
Create Customer
You can create a customer by filling out the required fields. Additionally, you can add an initial due amount to be stored.
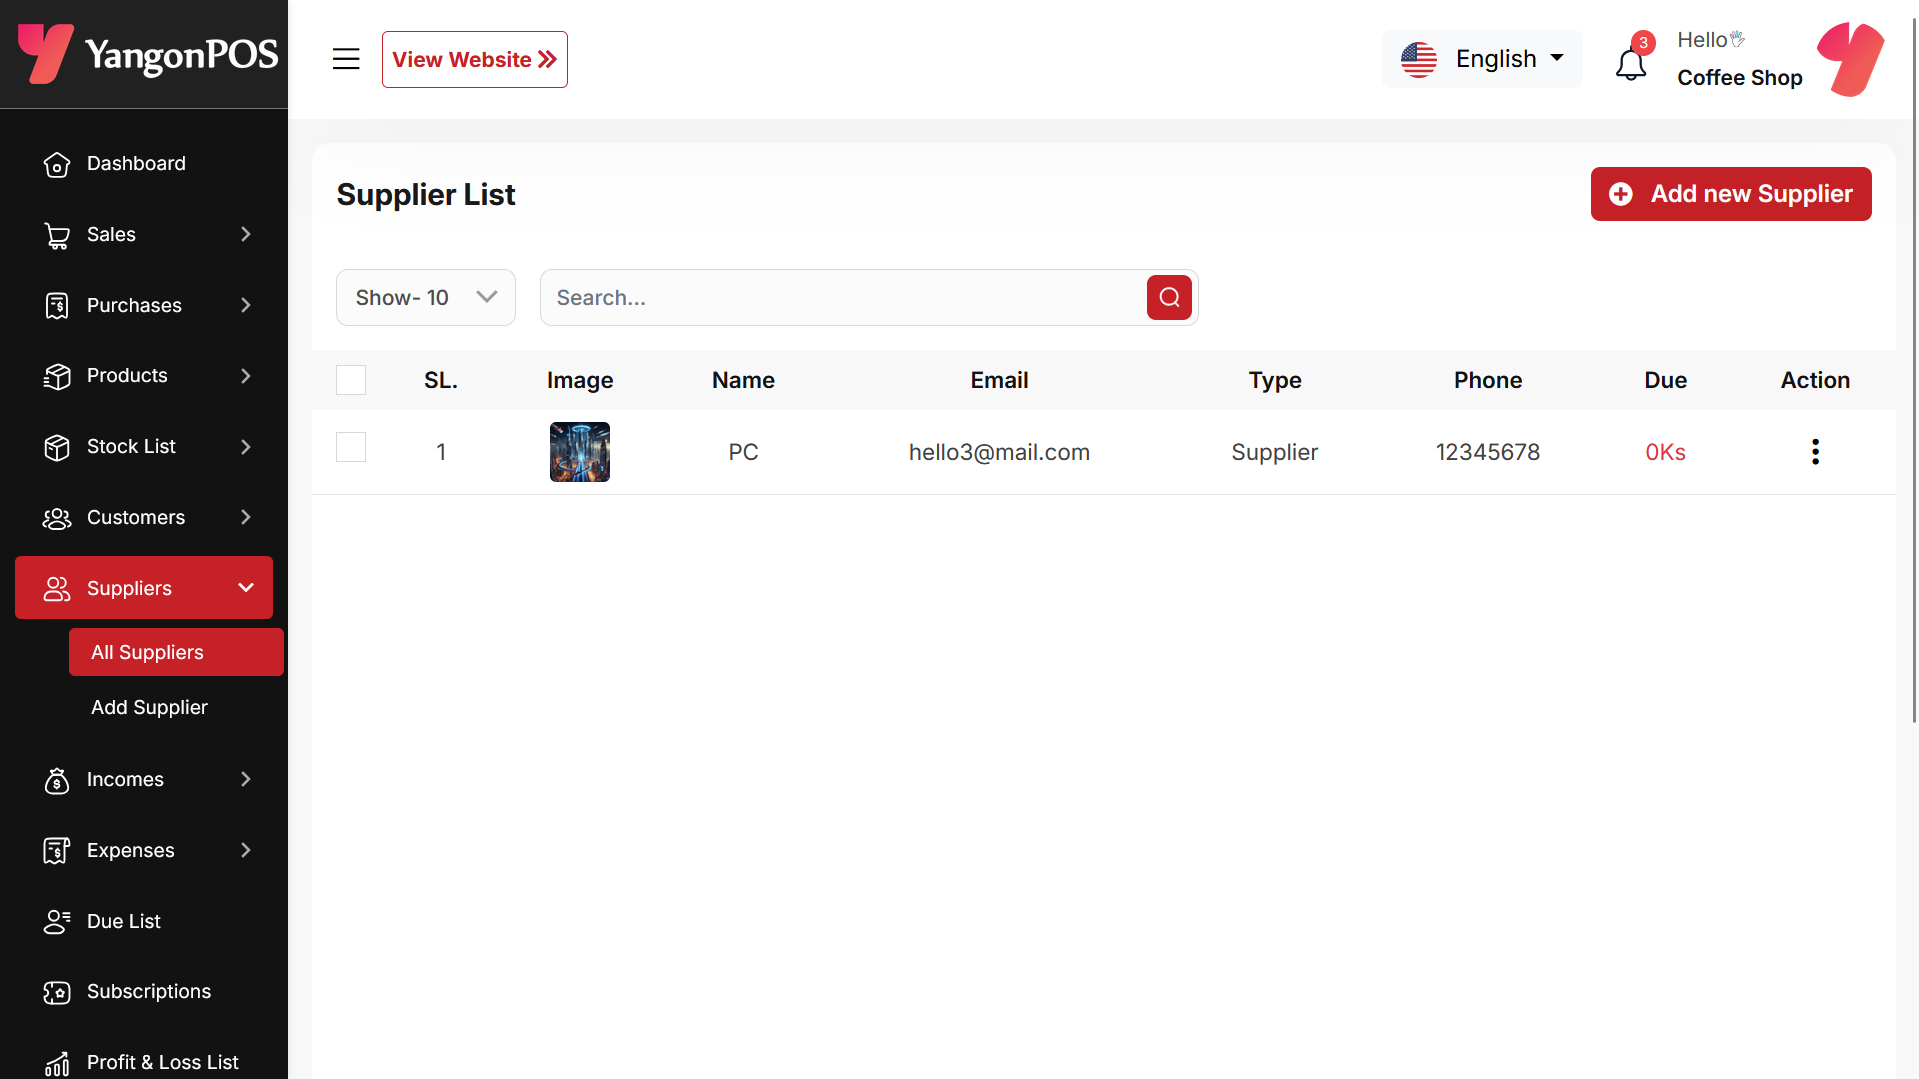
Supplier List
Here, you can view the Supplier list with a search filter. Additionally, you have the option to view, edit, delete, or use the multi-delete function.
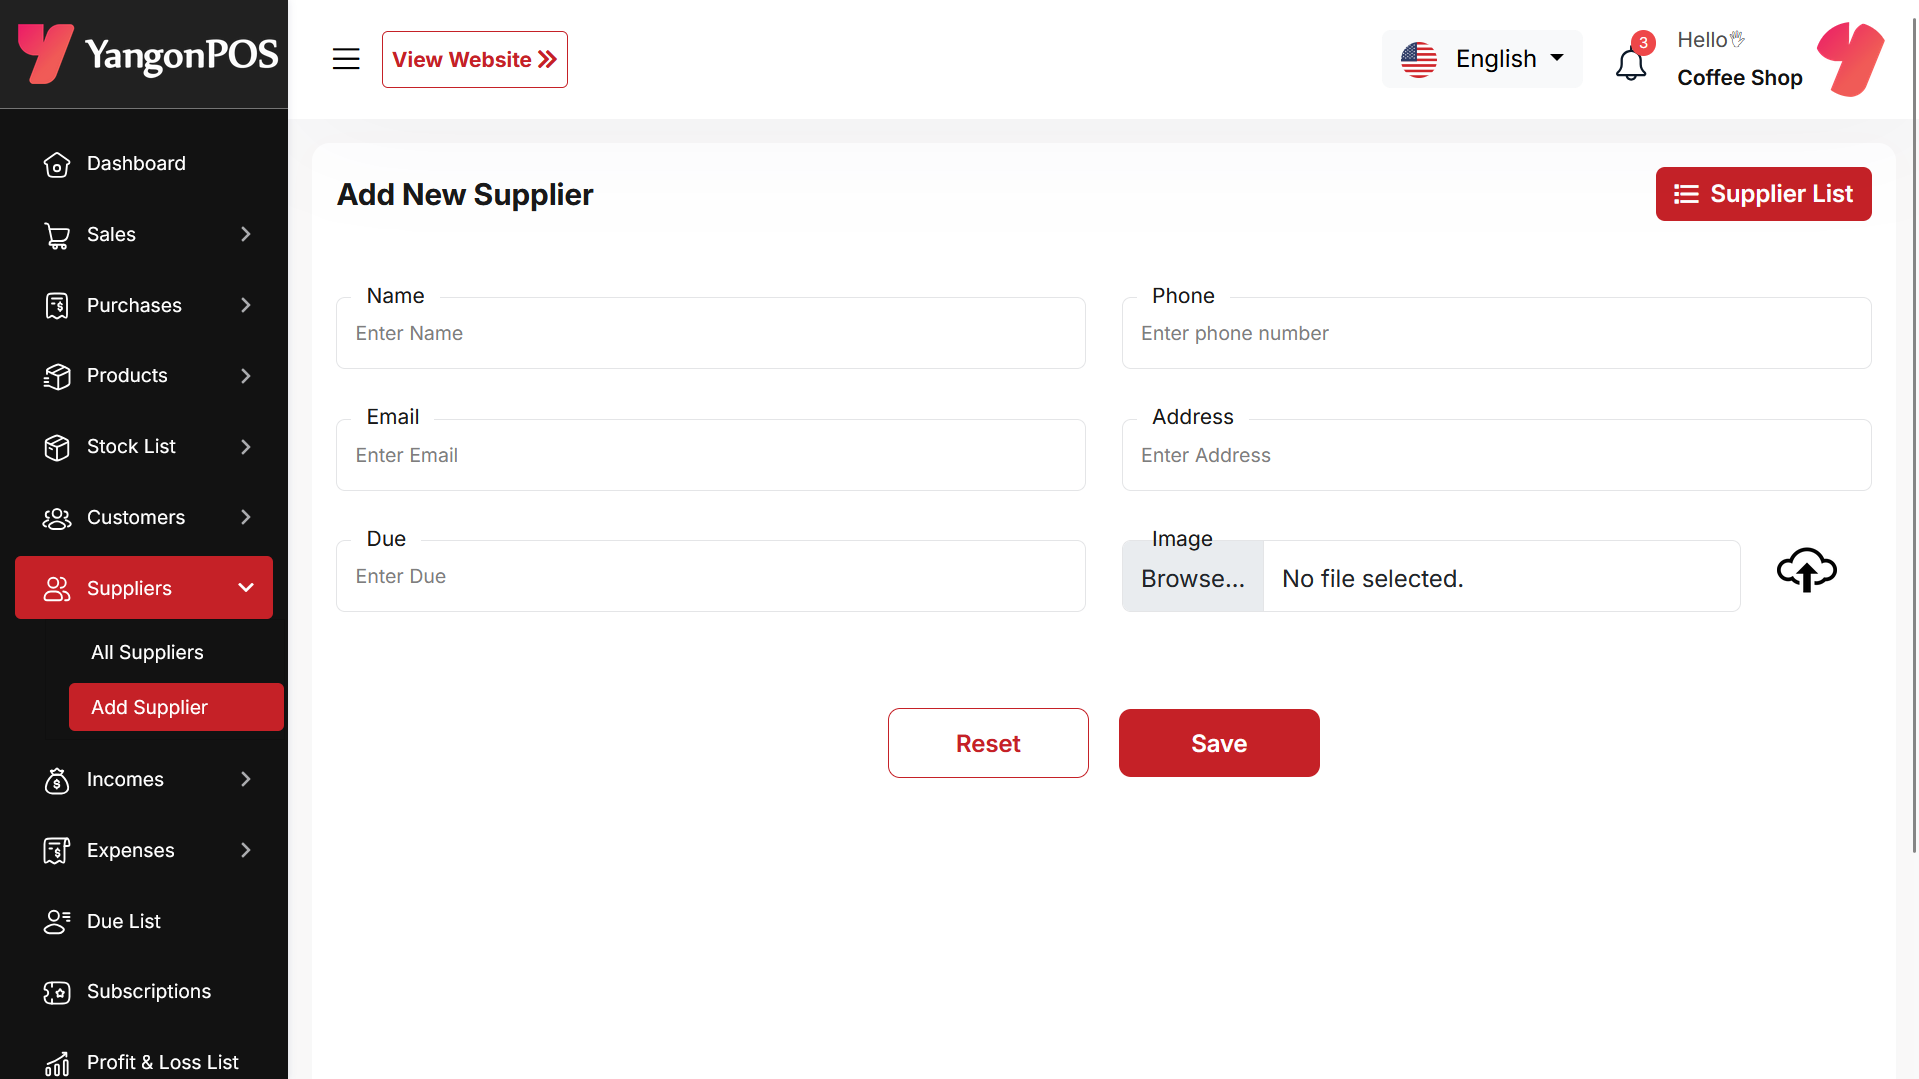
Create Supplier
You can create a Supplier by filling out the required fields. Additionally, you can add an initial due amount to be stored.
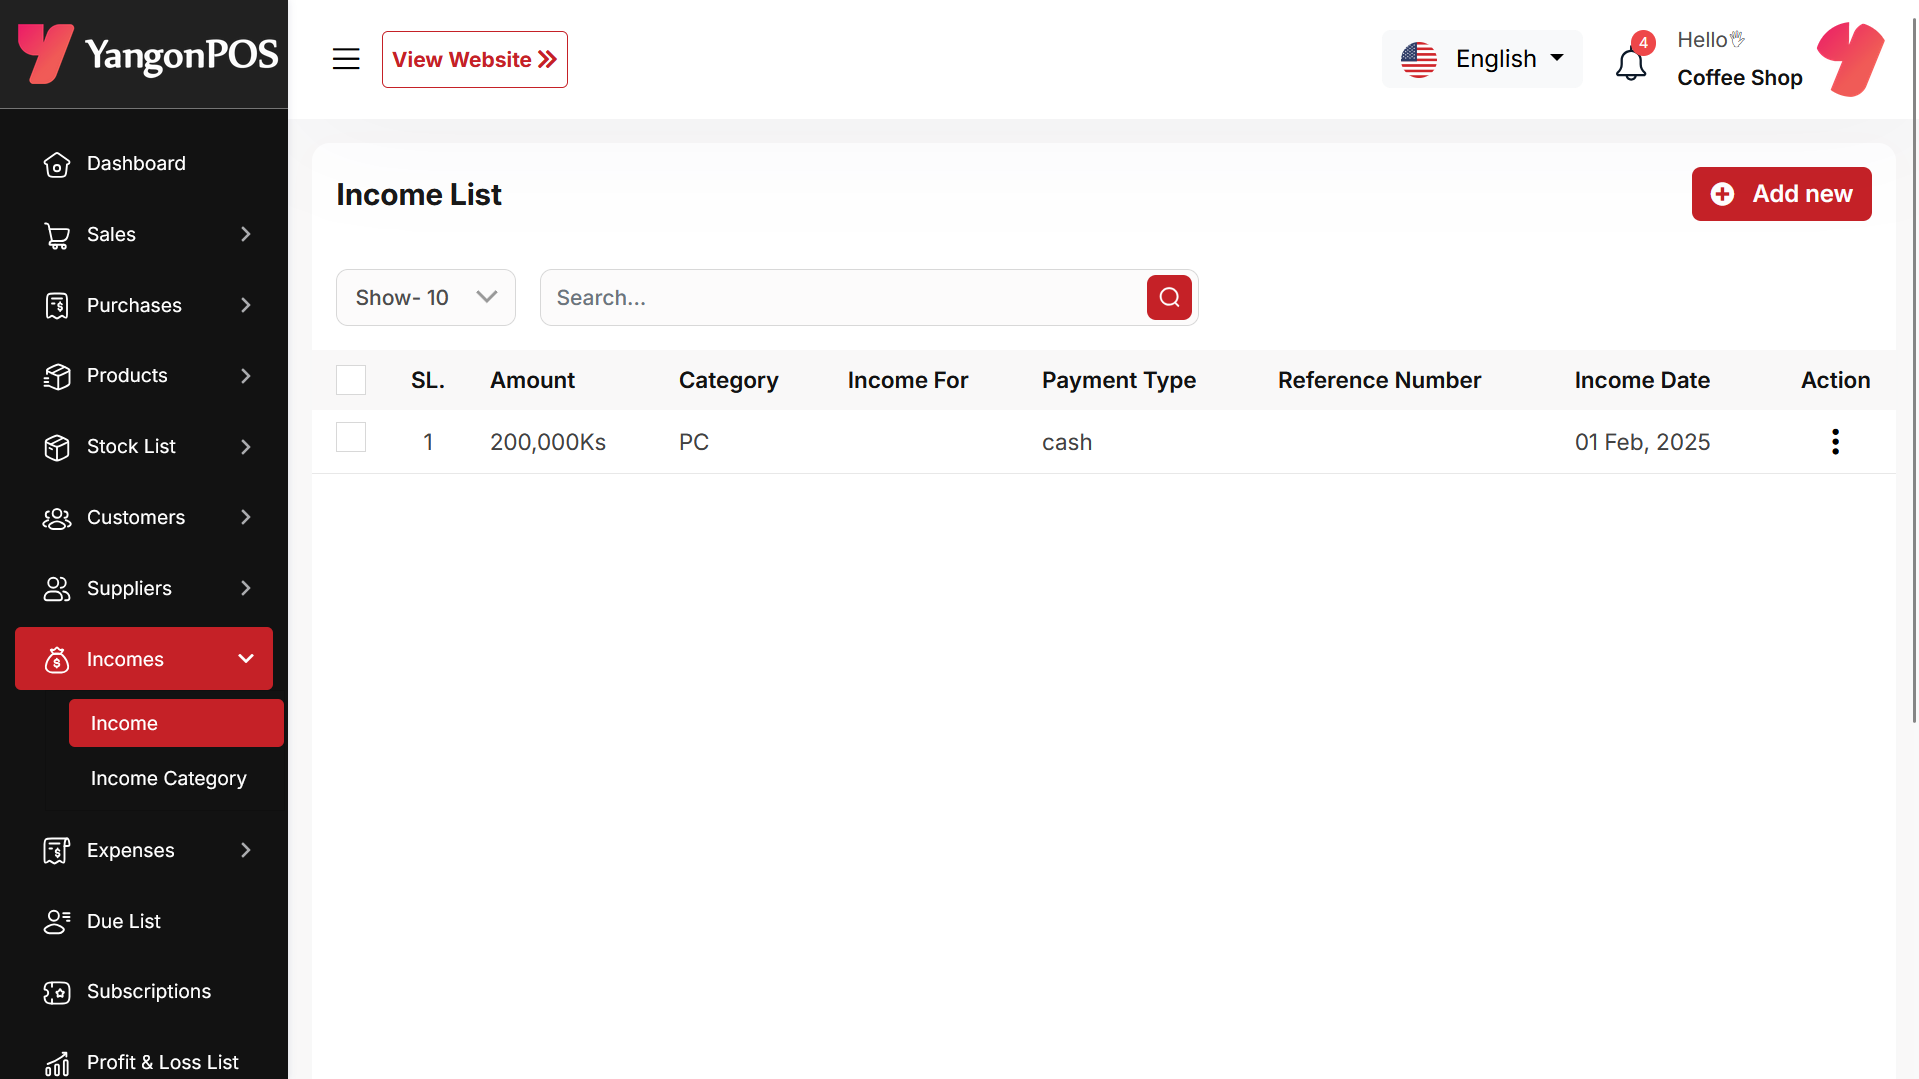
Income List
Here, you can view the Income list with a search filter. Additionally, you have the option to edit, delete, or use the multi-delete function.
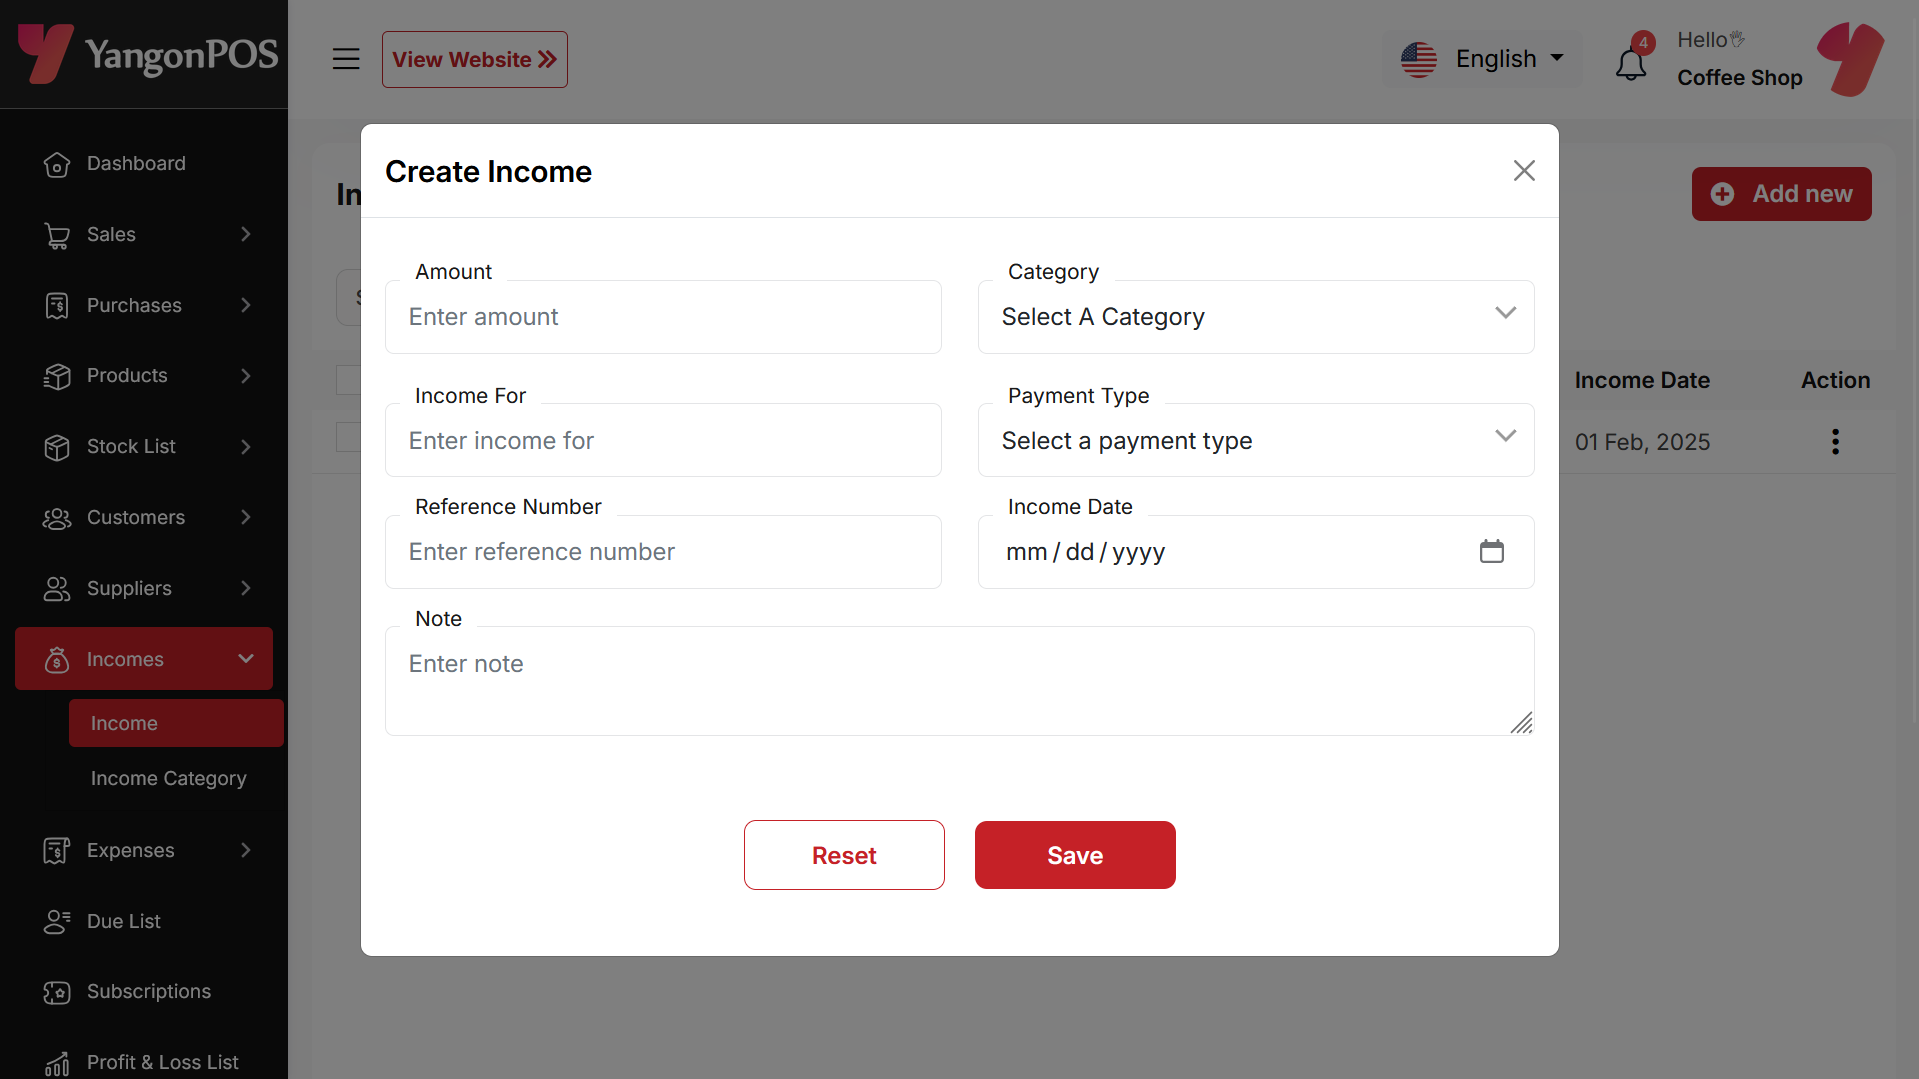
Create Income
You can create an income by filling out the required fields.Here You can also select category and payment type.
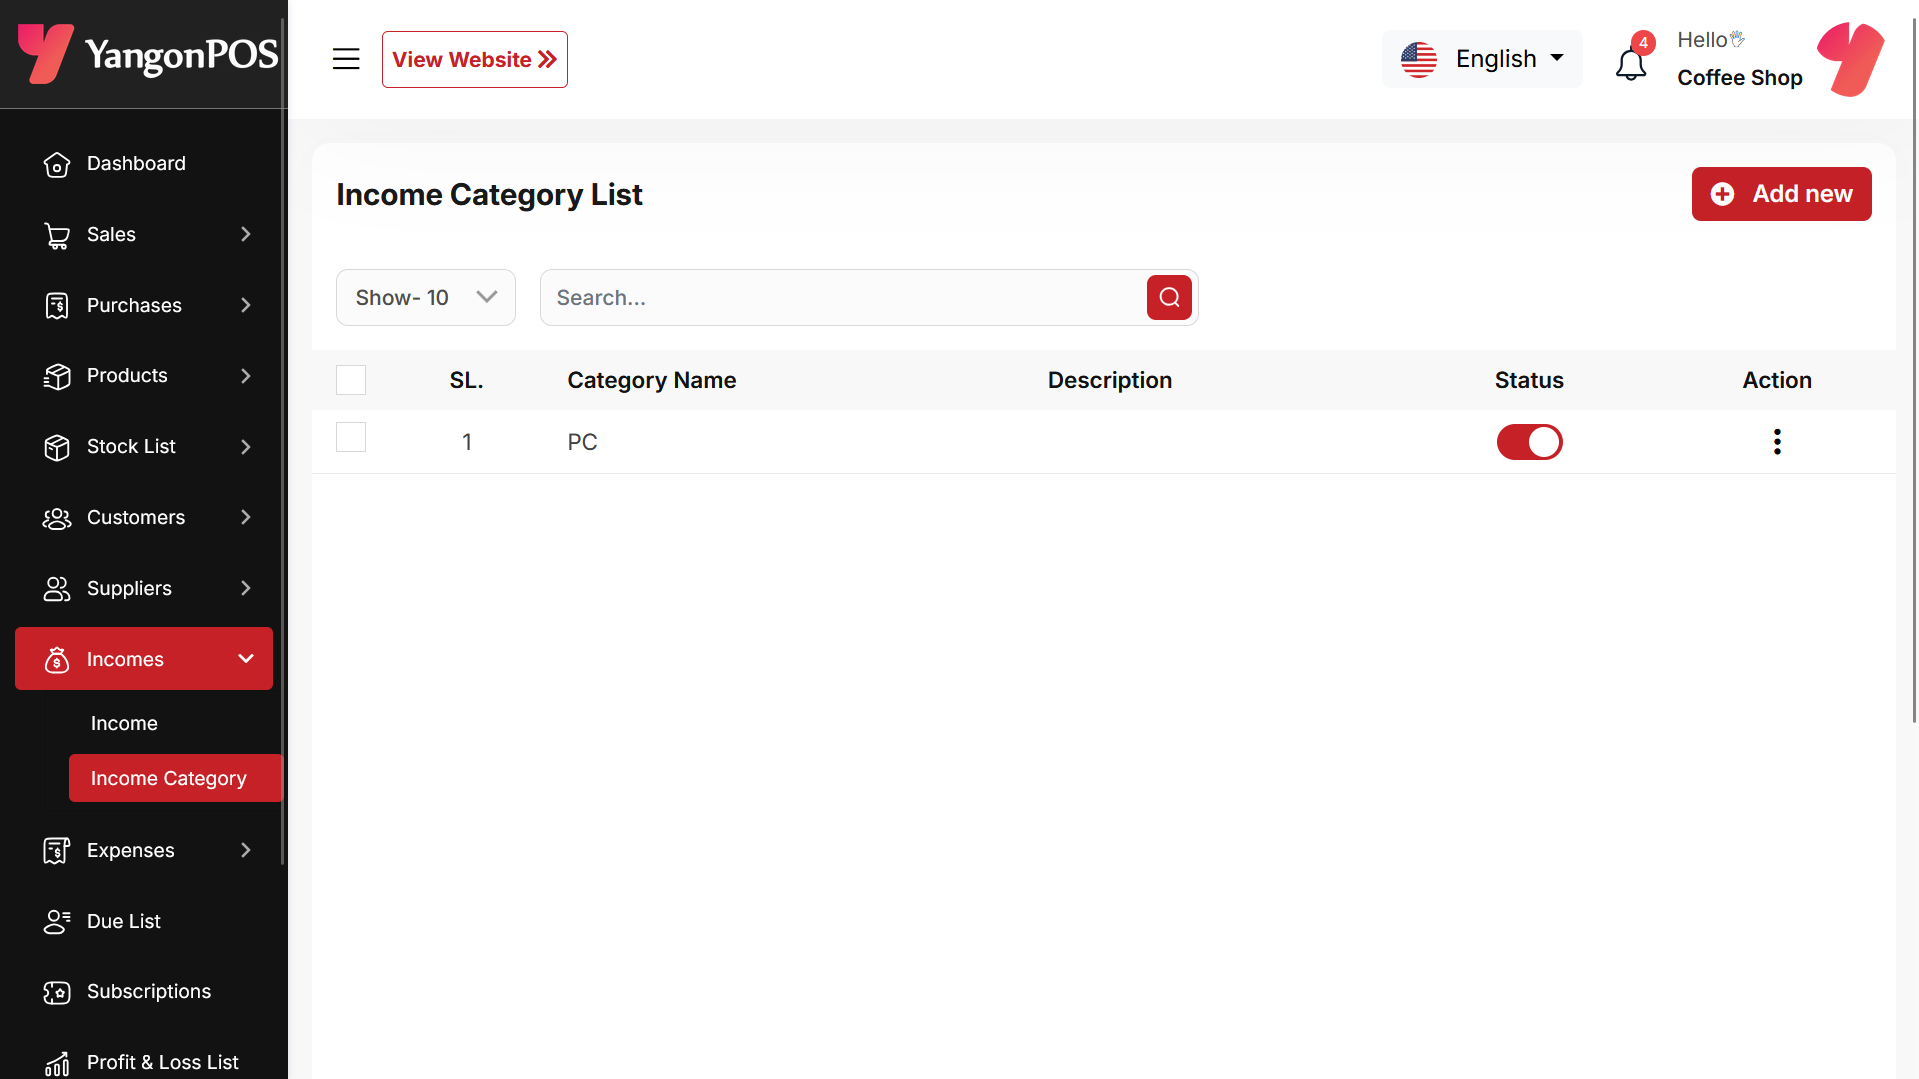
Income Category
Here, you can view the Income Category with a search filter. Additionally, you have the option to edit, delete, or use the multi-delete function. Just put category name and description for create Income Category
Expense List
Here, you can view the Expense list with a search filter. Additionally, you have the option to edit, delete, or use the multi-delete function.

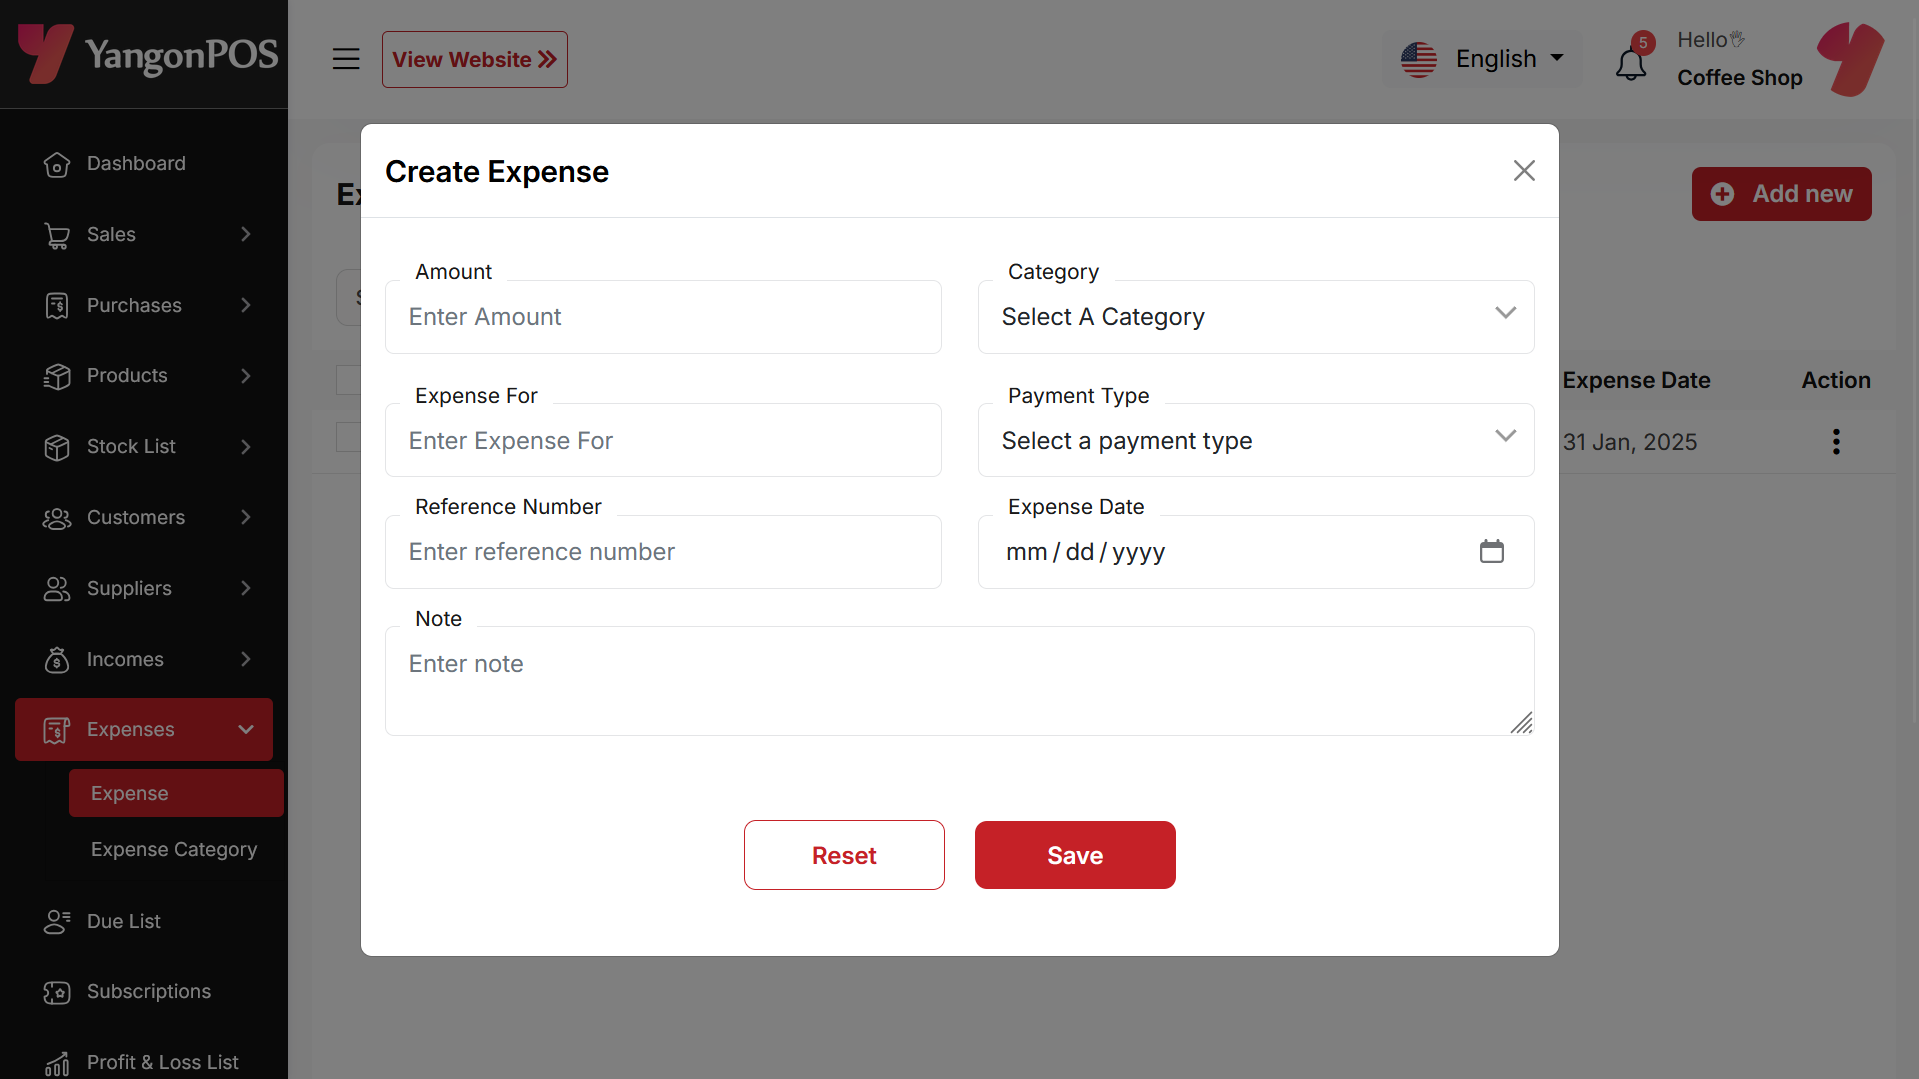
Create Expense
You can create an expense by filling out the required fields.Here You can also select category and payment type.
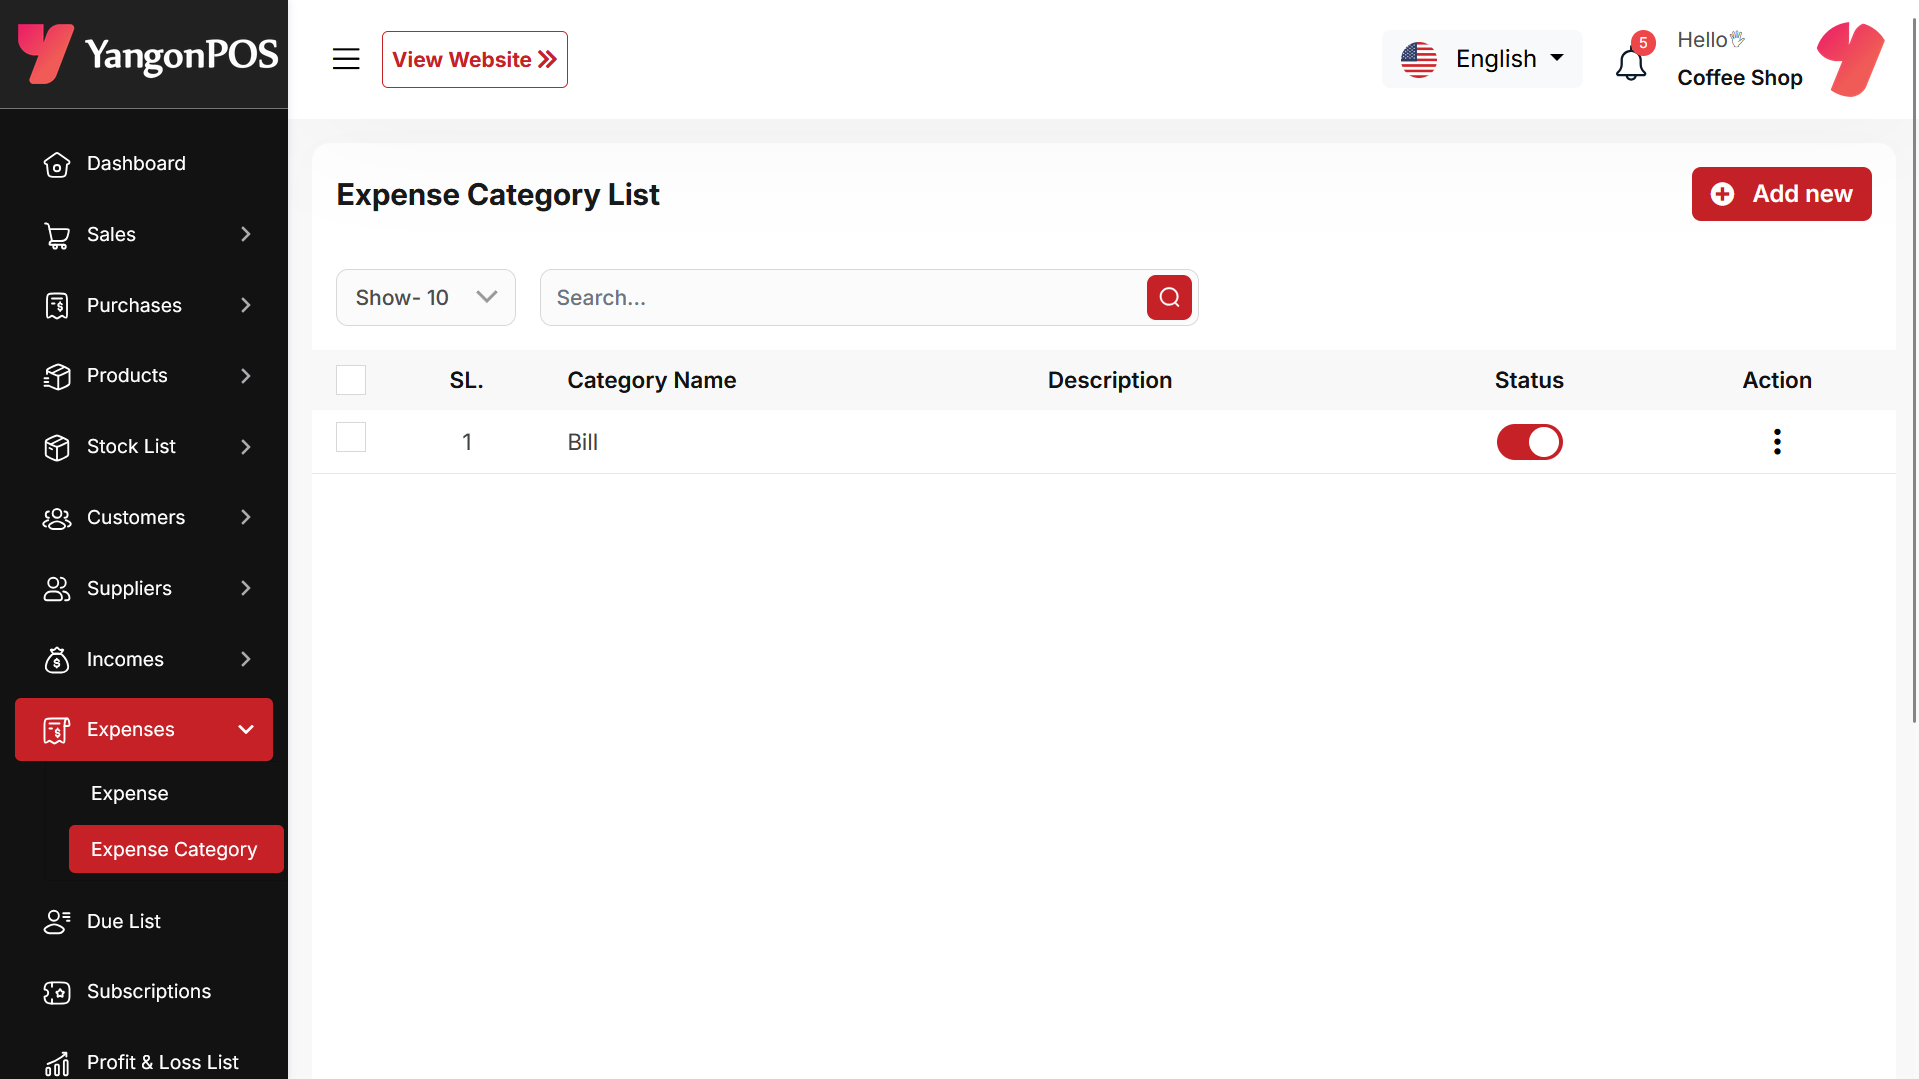
Expense Category
Here, you can view the Expense Category with a search filter. Additionally, you have the option to edit, delete, or use the multi-delete function. Just put category name and description for create Expense Category
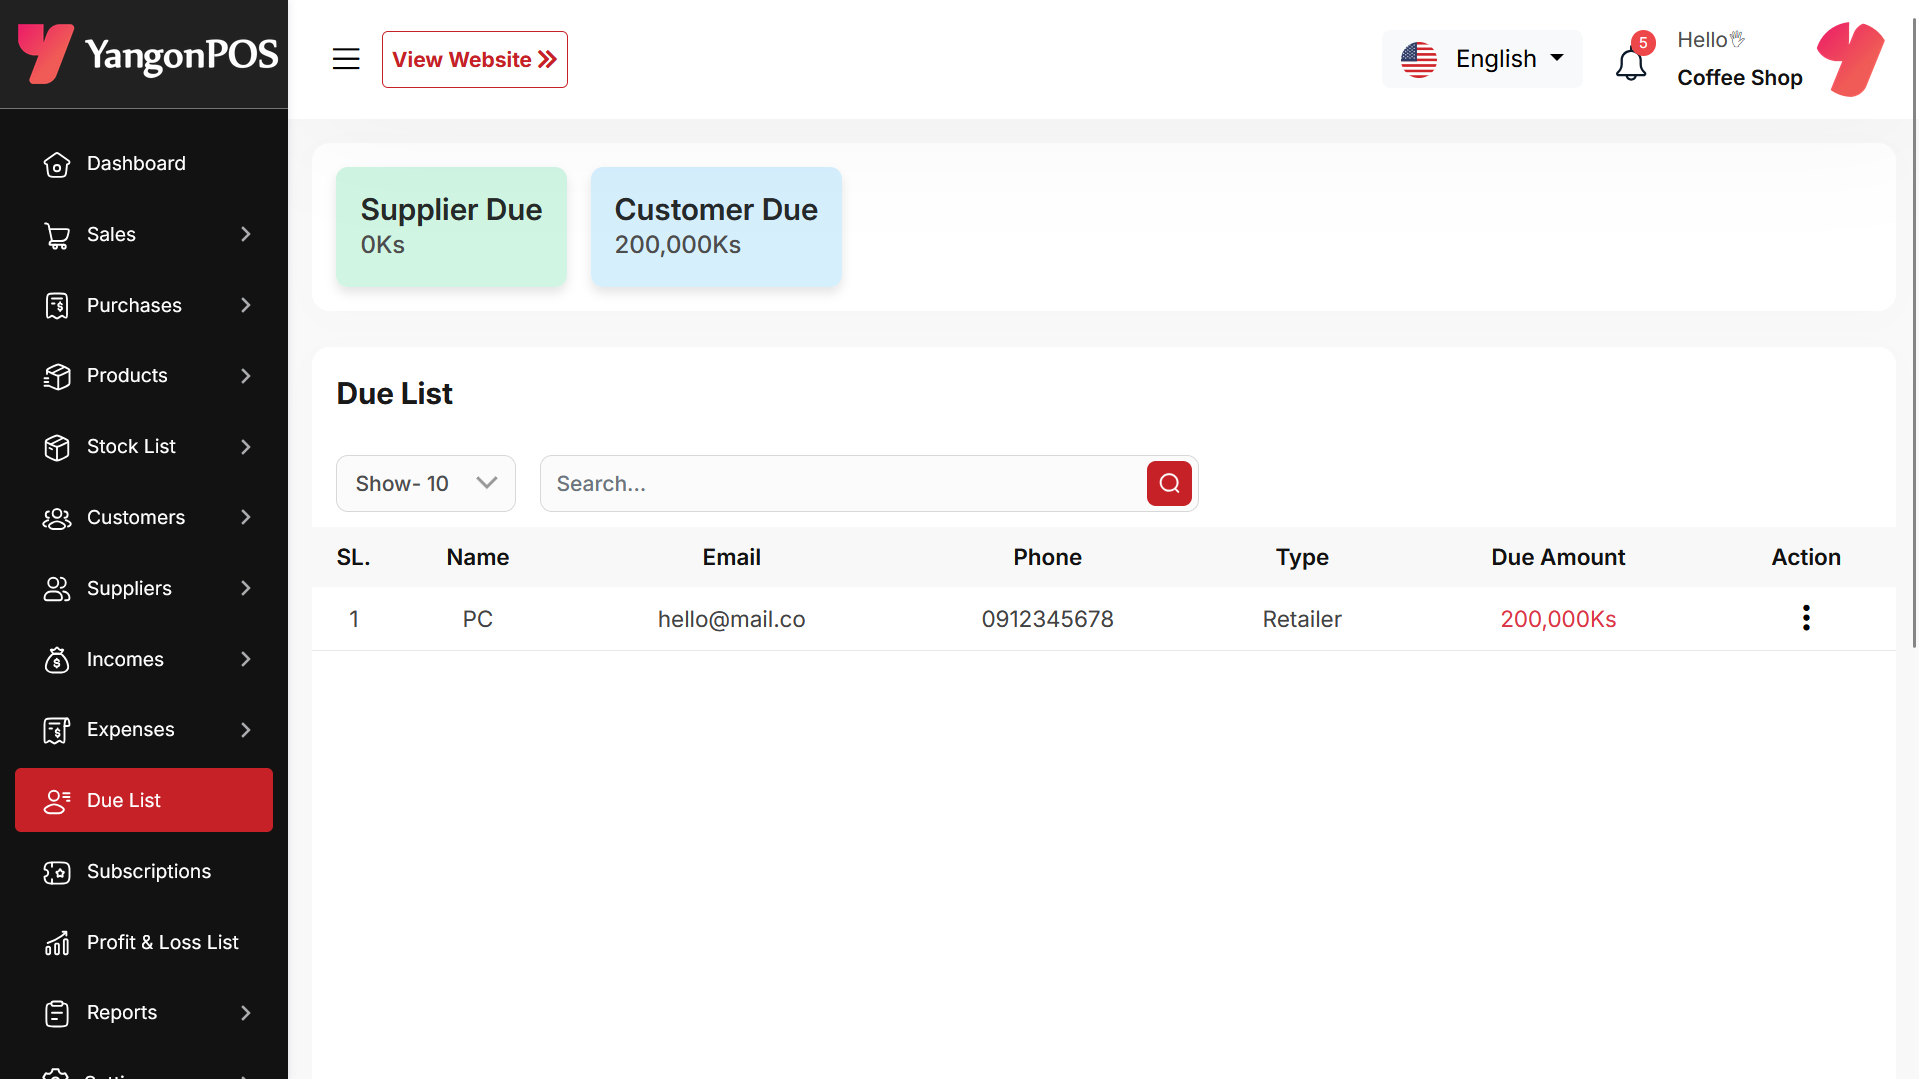
Due List
Here, you can view the Due list with a search filter. Additionally, you can view invoices and collect the due amounts from this page.
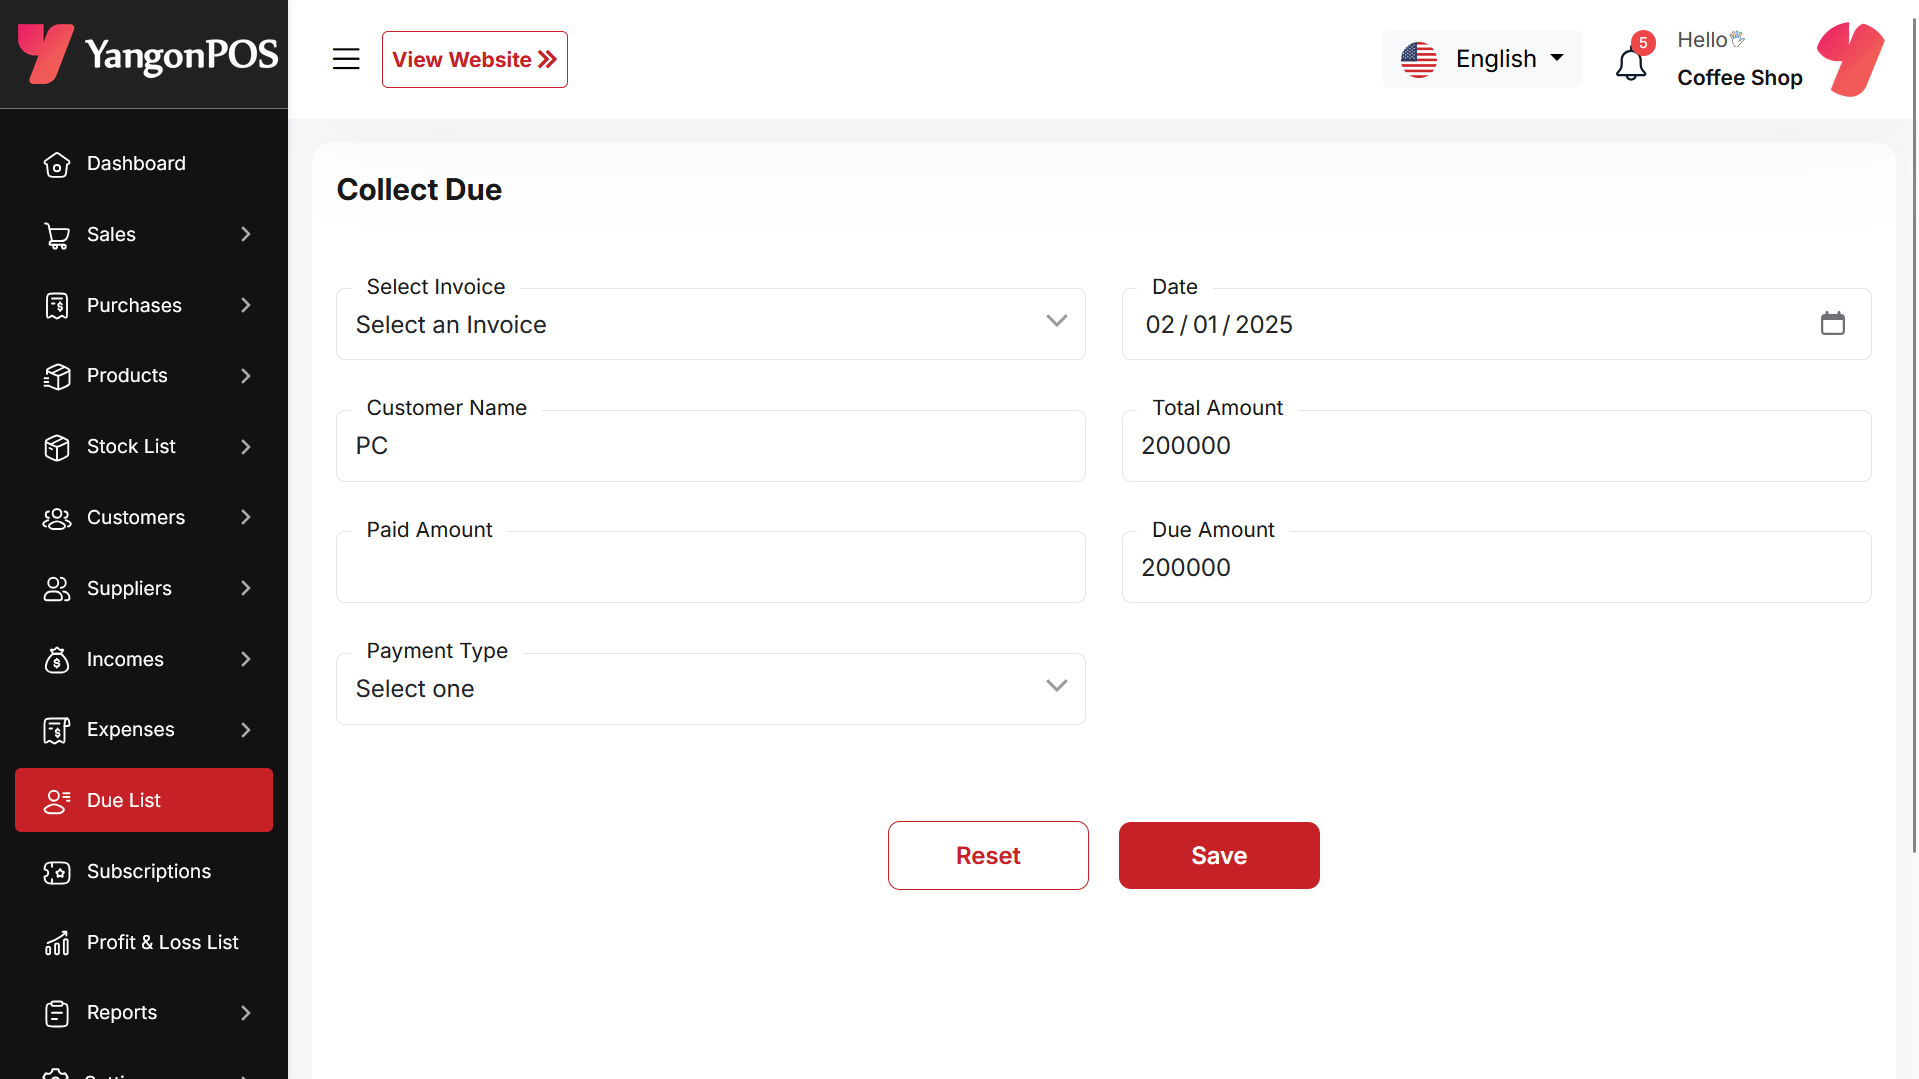
Collect Due
When you click "Collect Invoice," this page will appear. Here, you can collect the due amount either by invoice or without an invoice if there is any initial due.
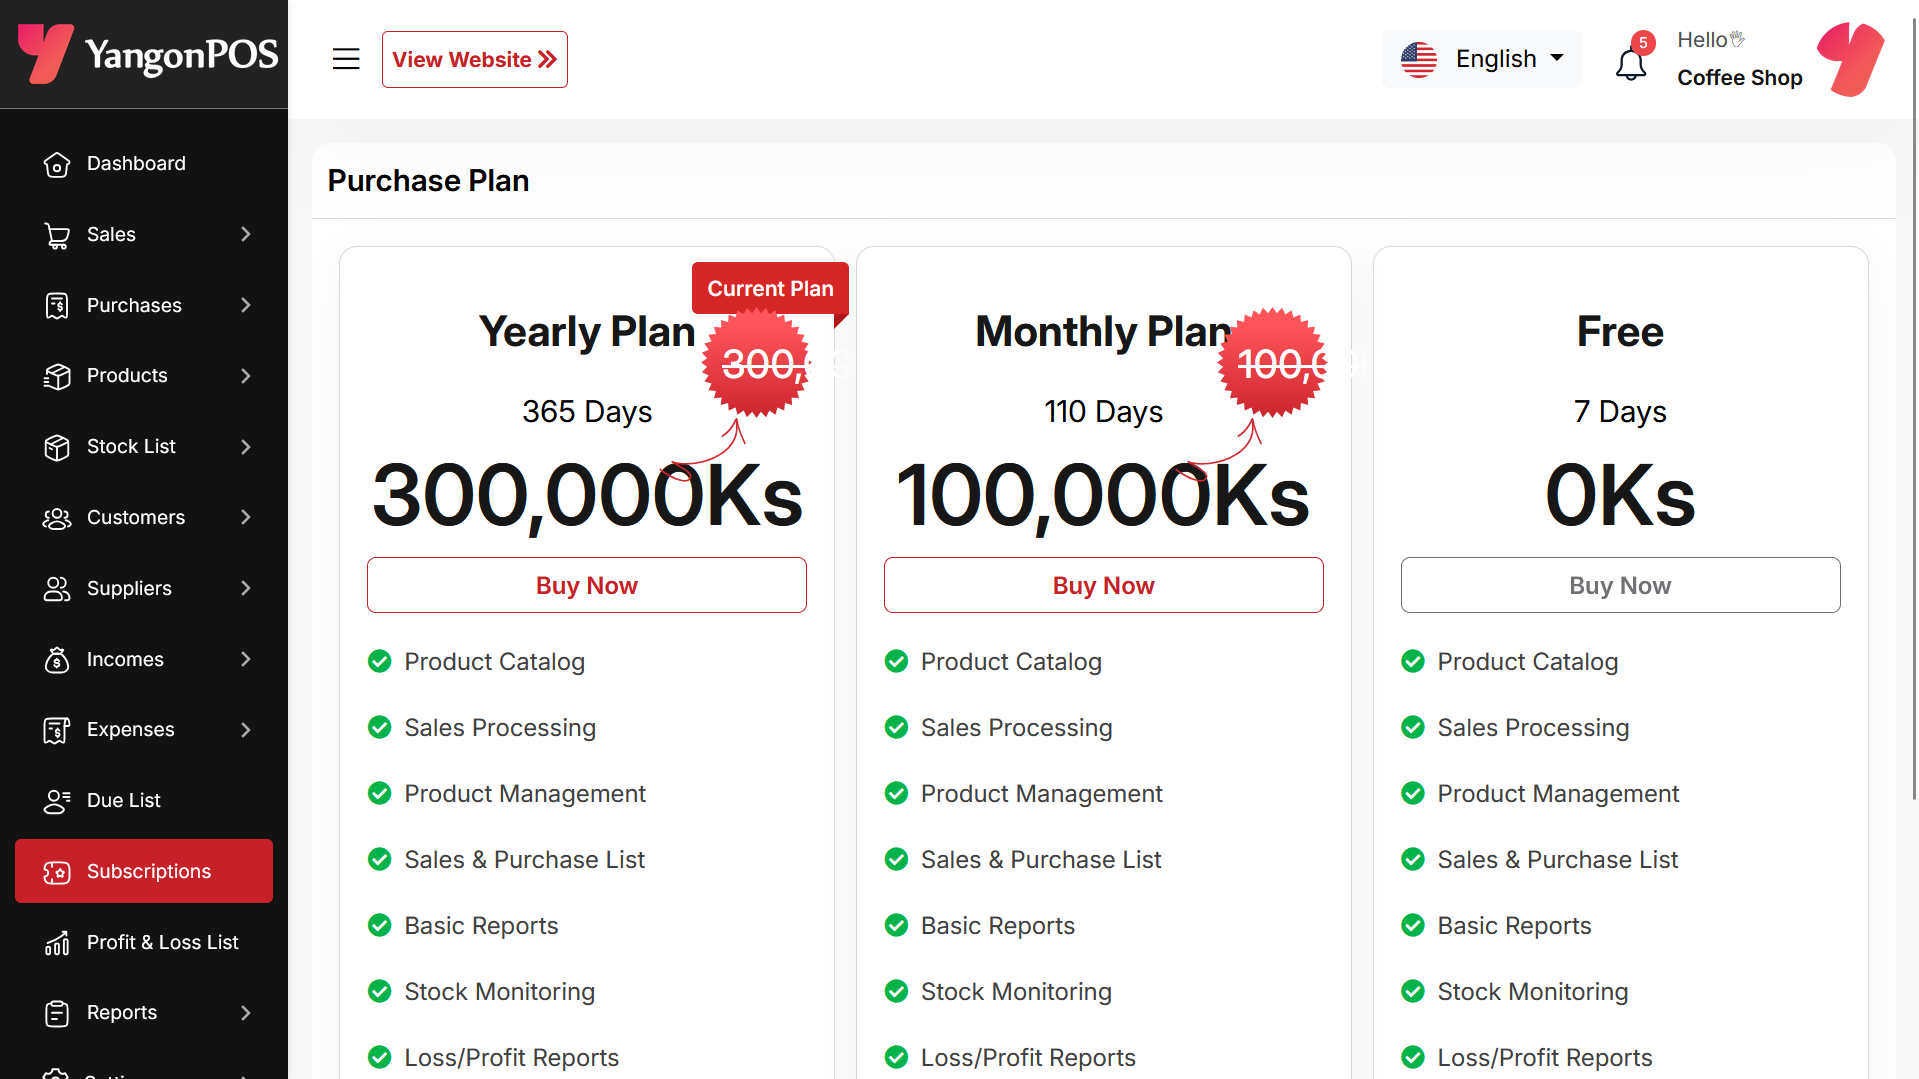
Subscriptions
Here, you can view your current plan status along with all other available plans. You can also upgrade your plan from this page.
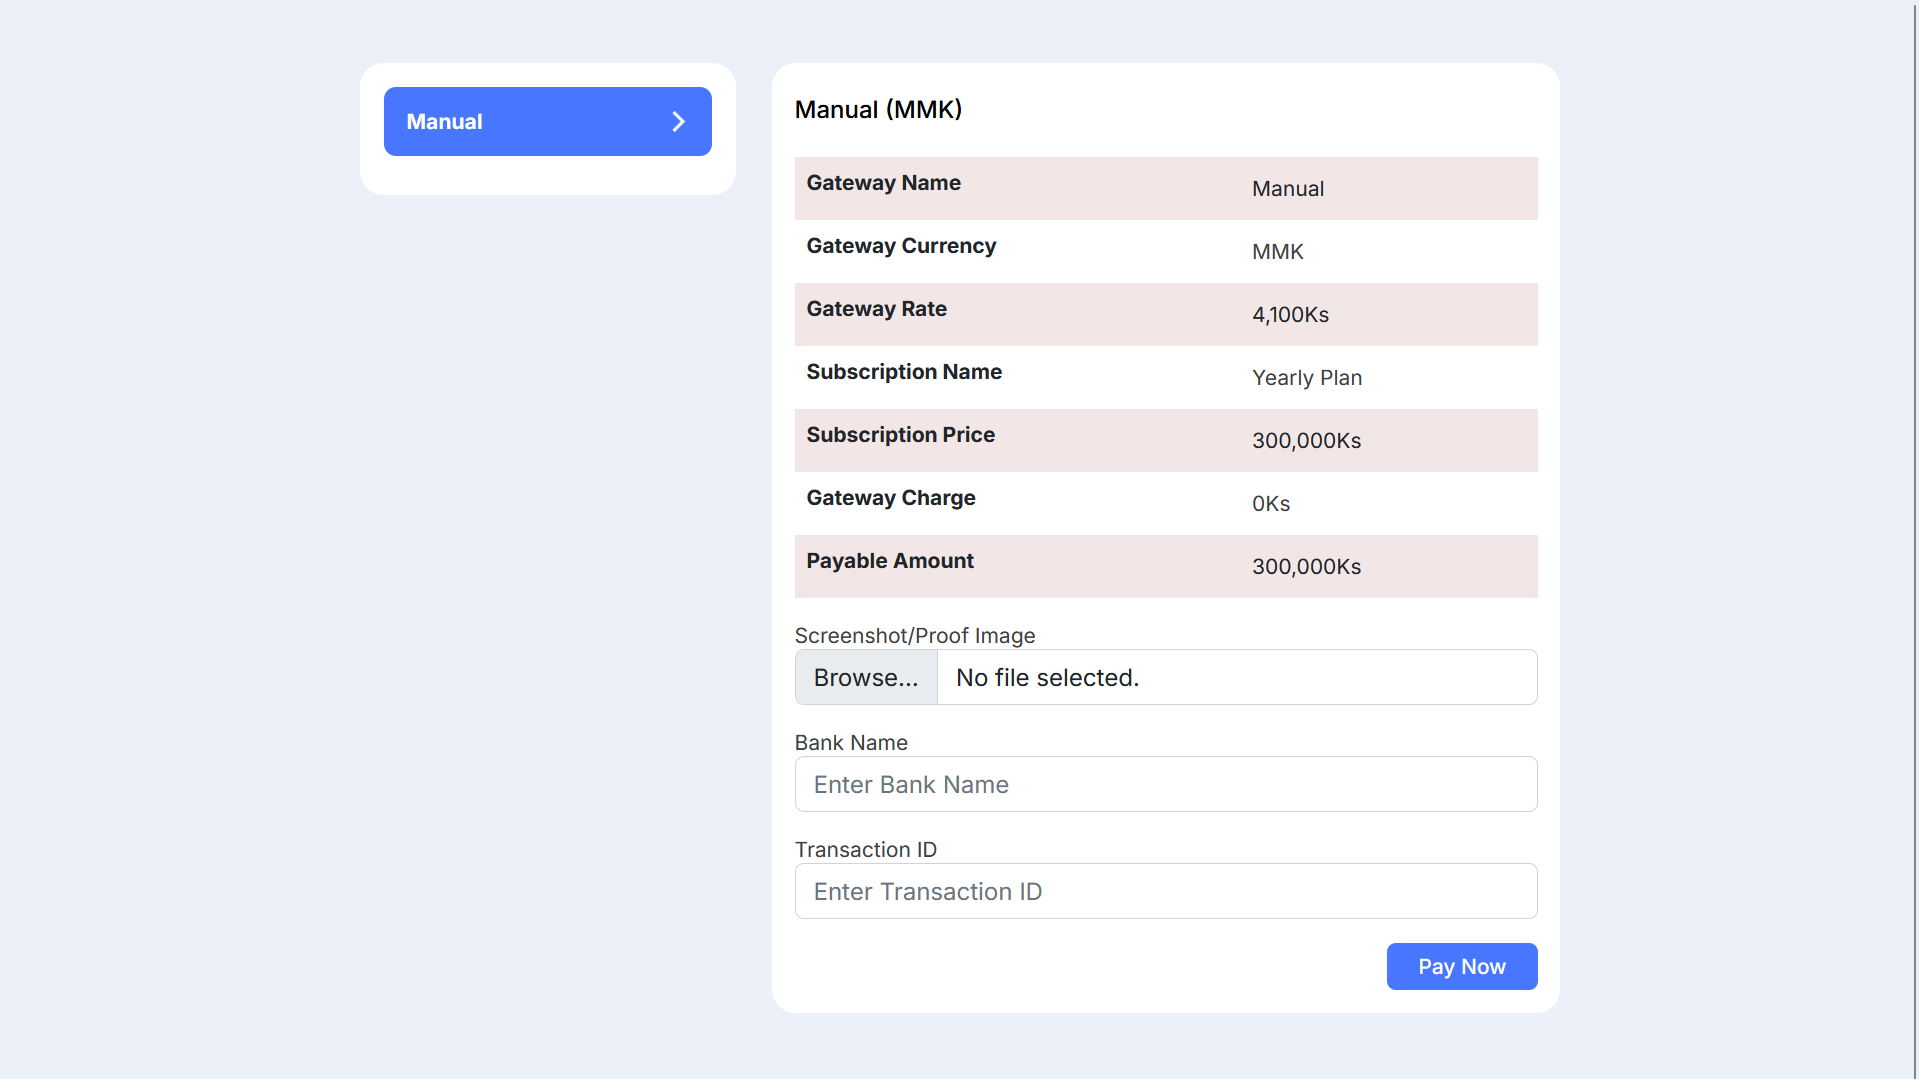
Payment
After choosing your desired plan, just click to view the available payment options. Once you complete your payment, you can upgrade your plan.
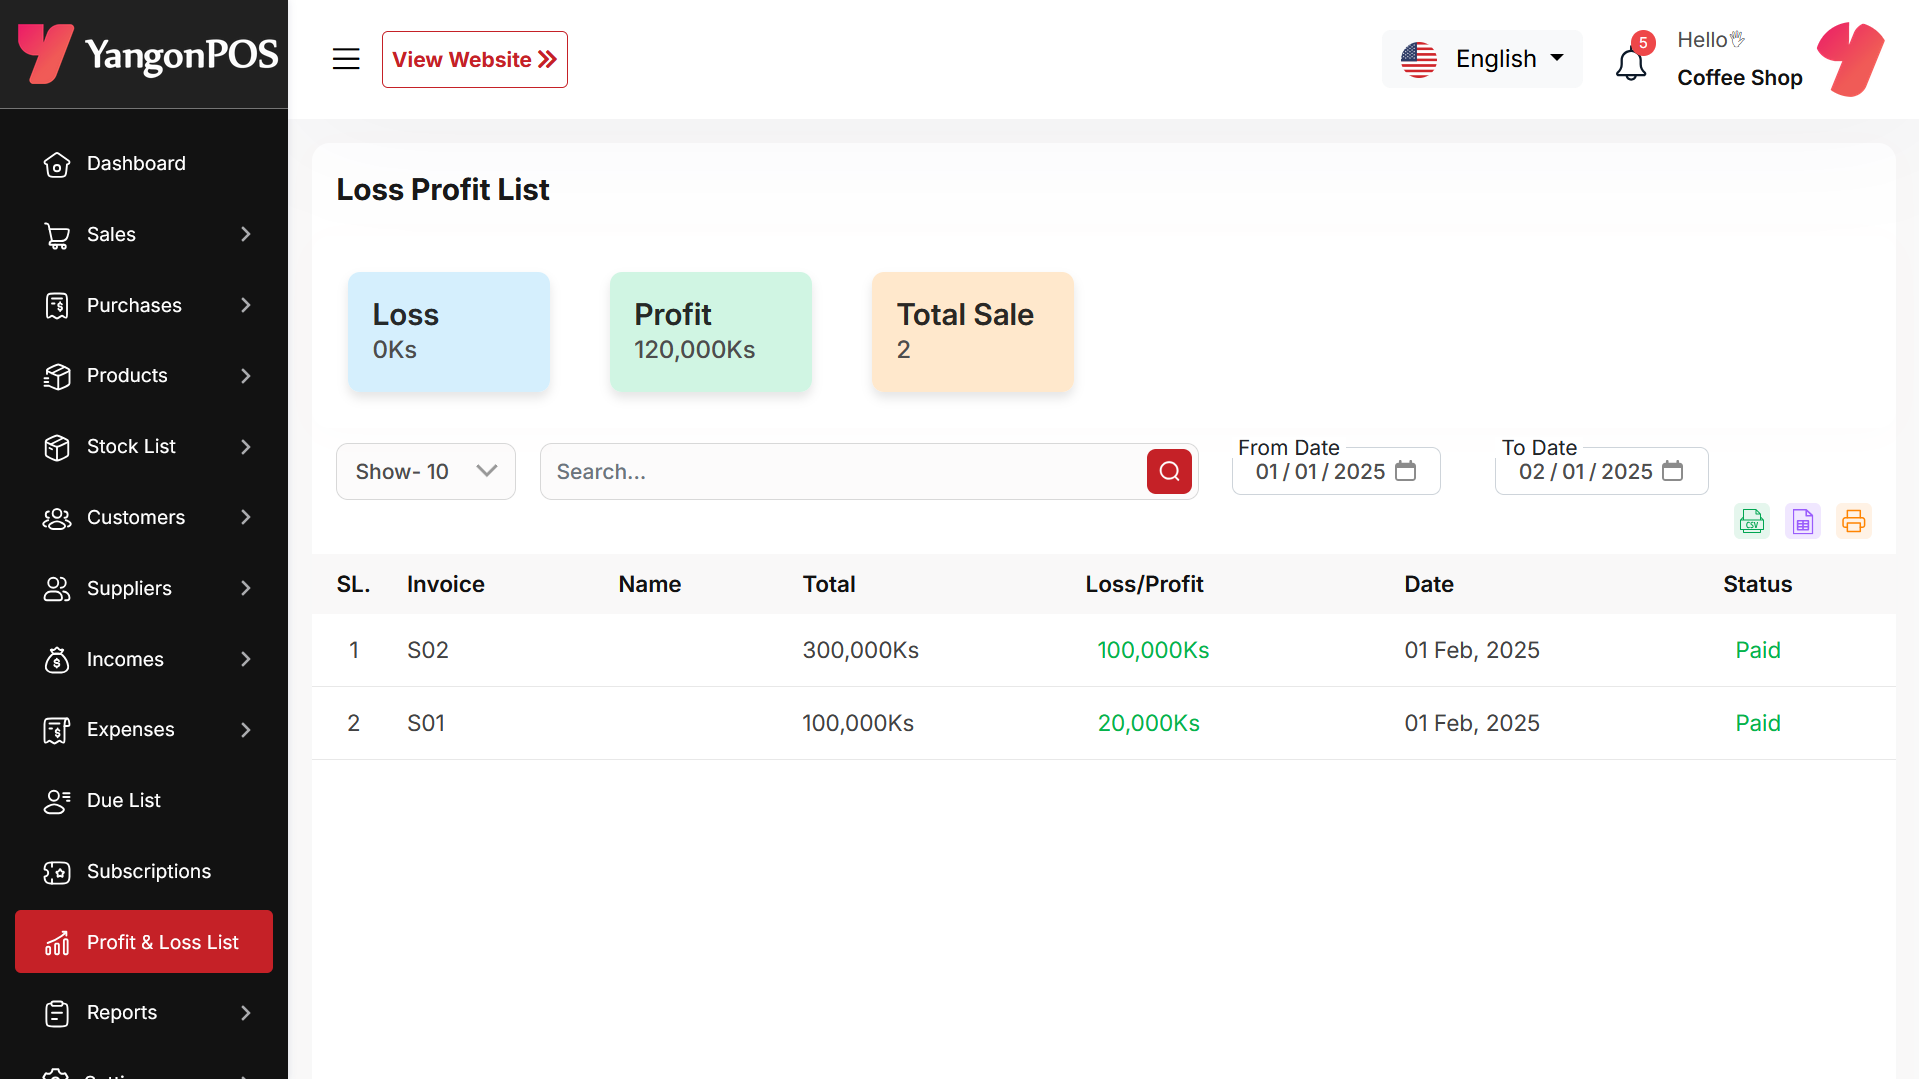
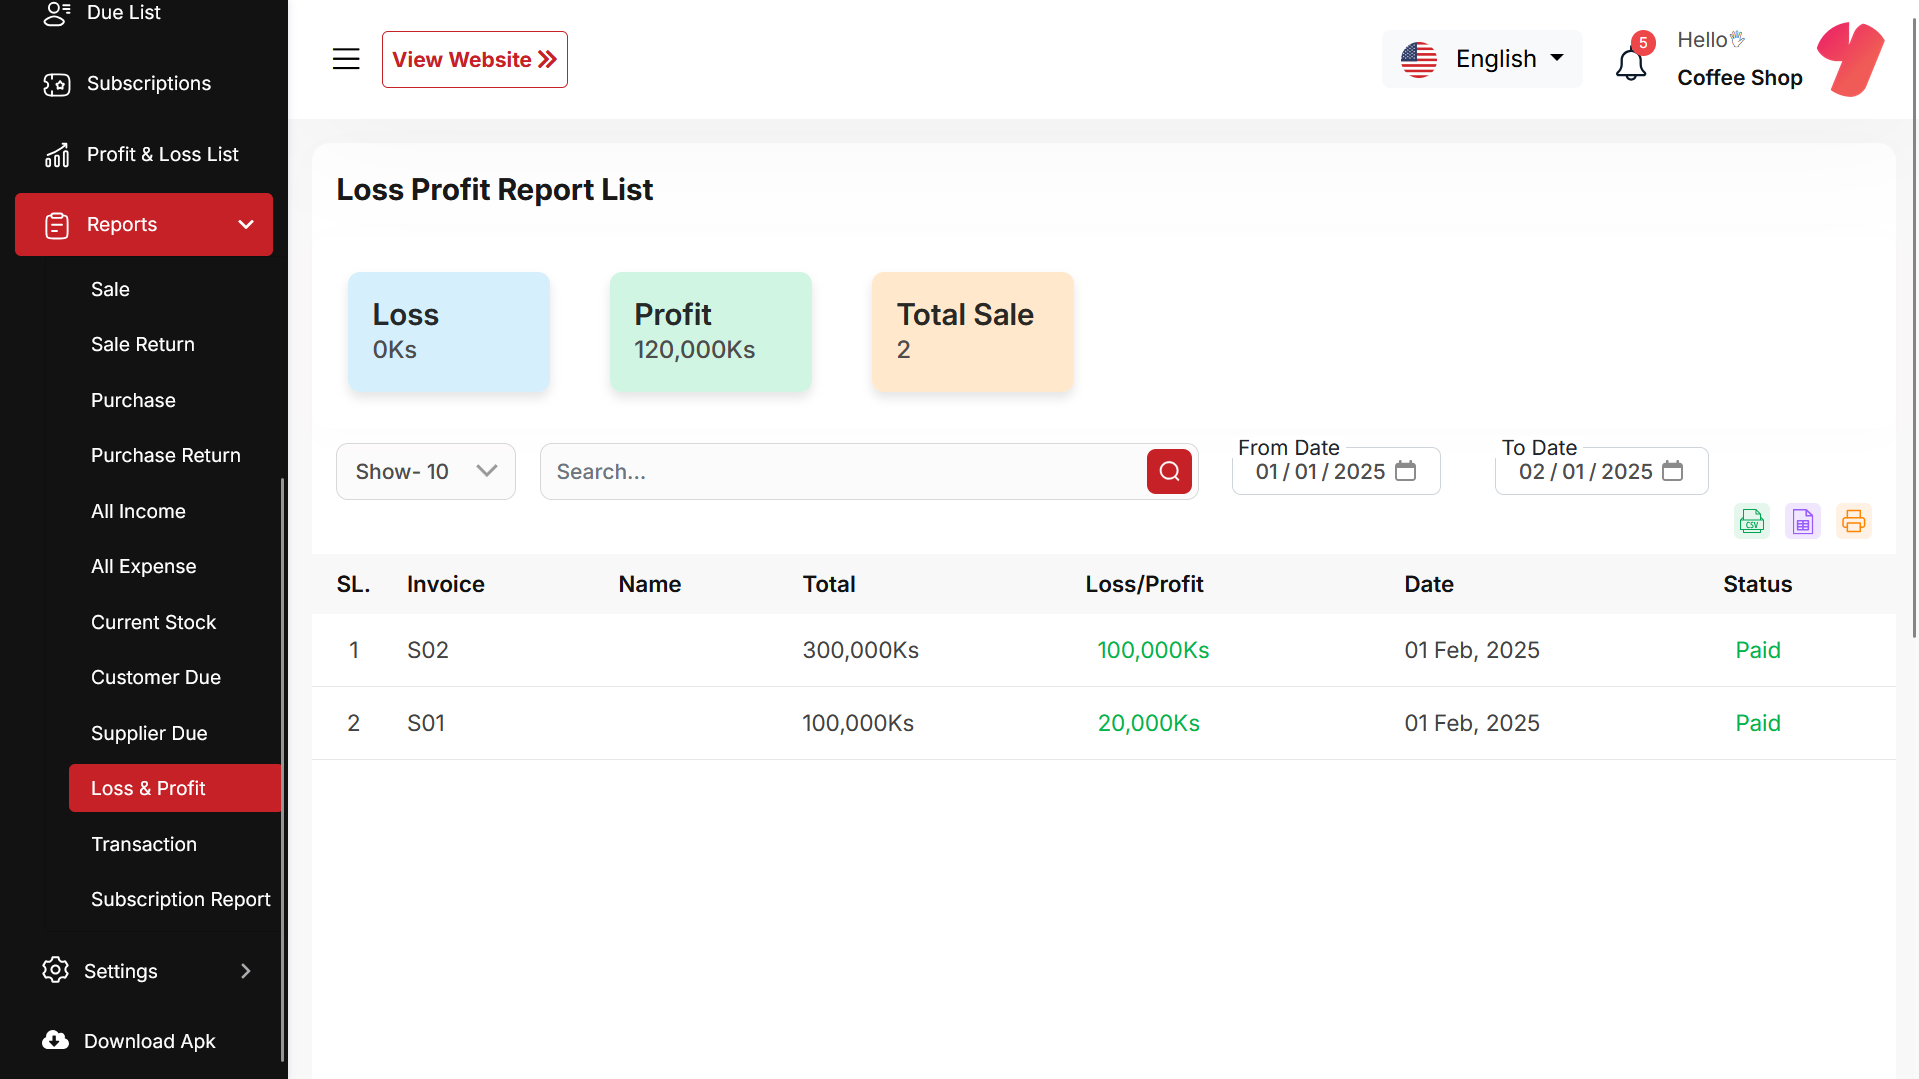
Loss Profit List
Here, you can view the profit and loss data from sales with search and date filters. You can also export the list as CSV, Excel, and print it. Additionally, the total loss and profit are displayed in the top cart.
Reports
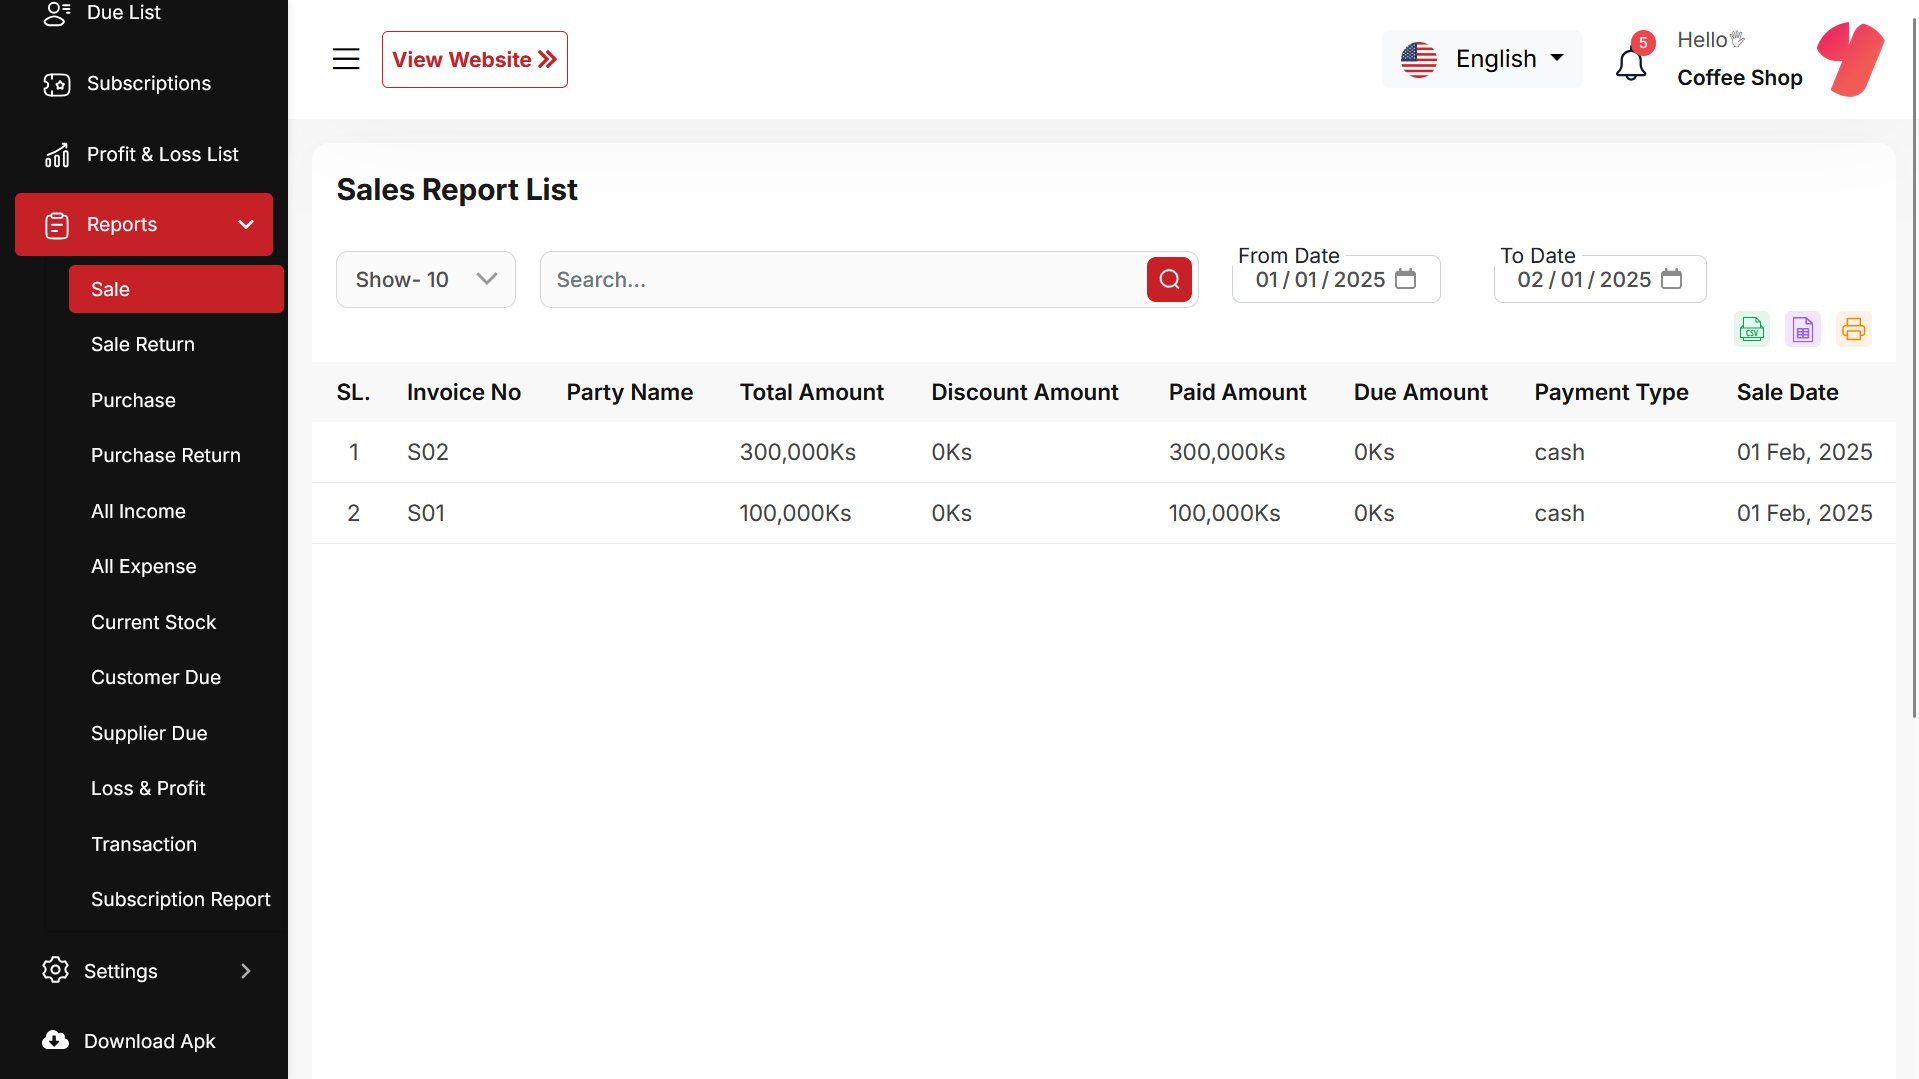
Here, various reports are available, including Sale, Sale Return, Purchase, Purchase Return, Income, Expense, Current Stock, Customer Due, Supplier Due, Profit and Loss, and Due collection Transaction. Each report includes filtering options for data. Additionally, you can export data as CSV, Excel, and a Print option is also provided.
Sale Report
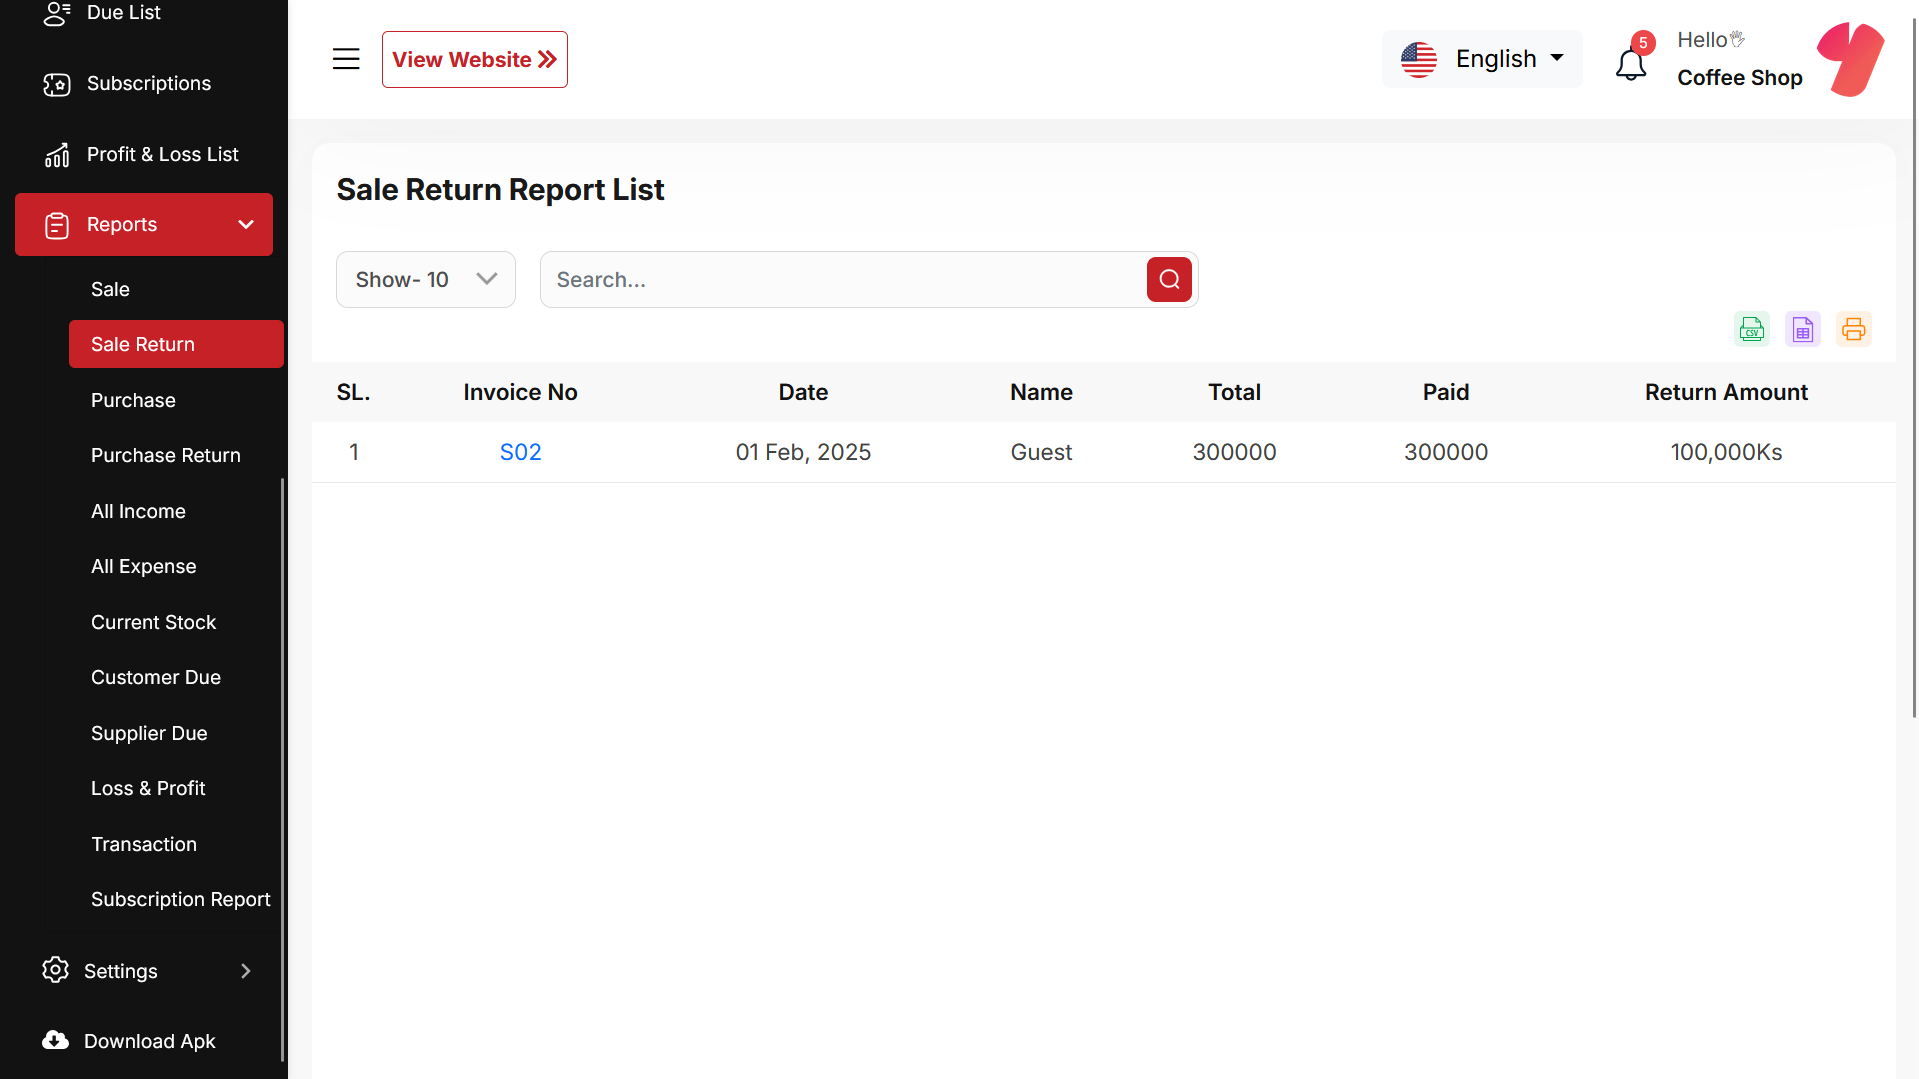
Sale Return Report
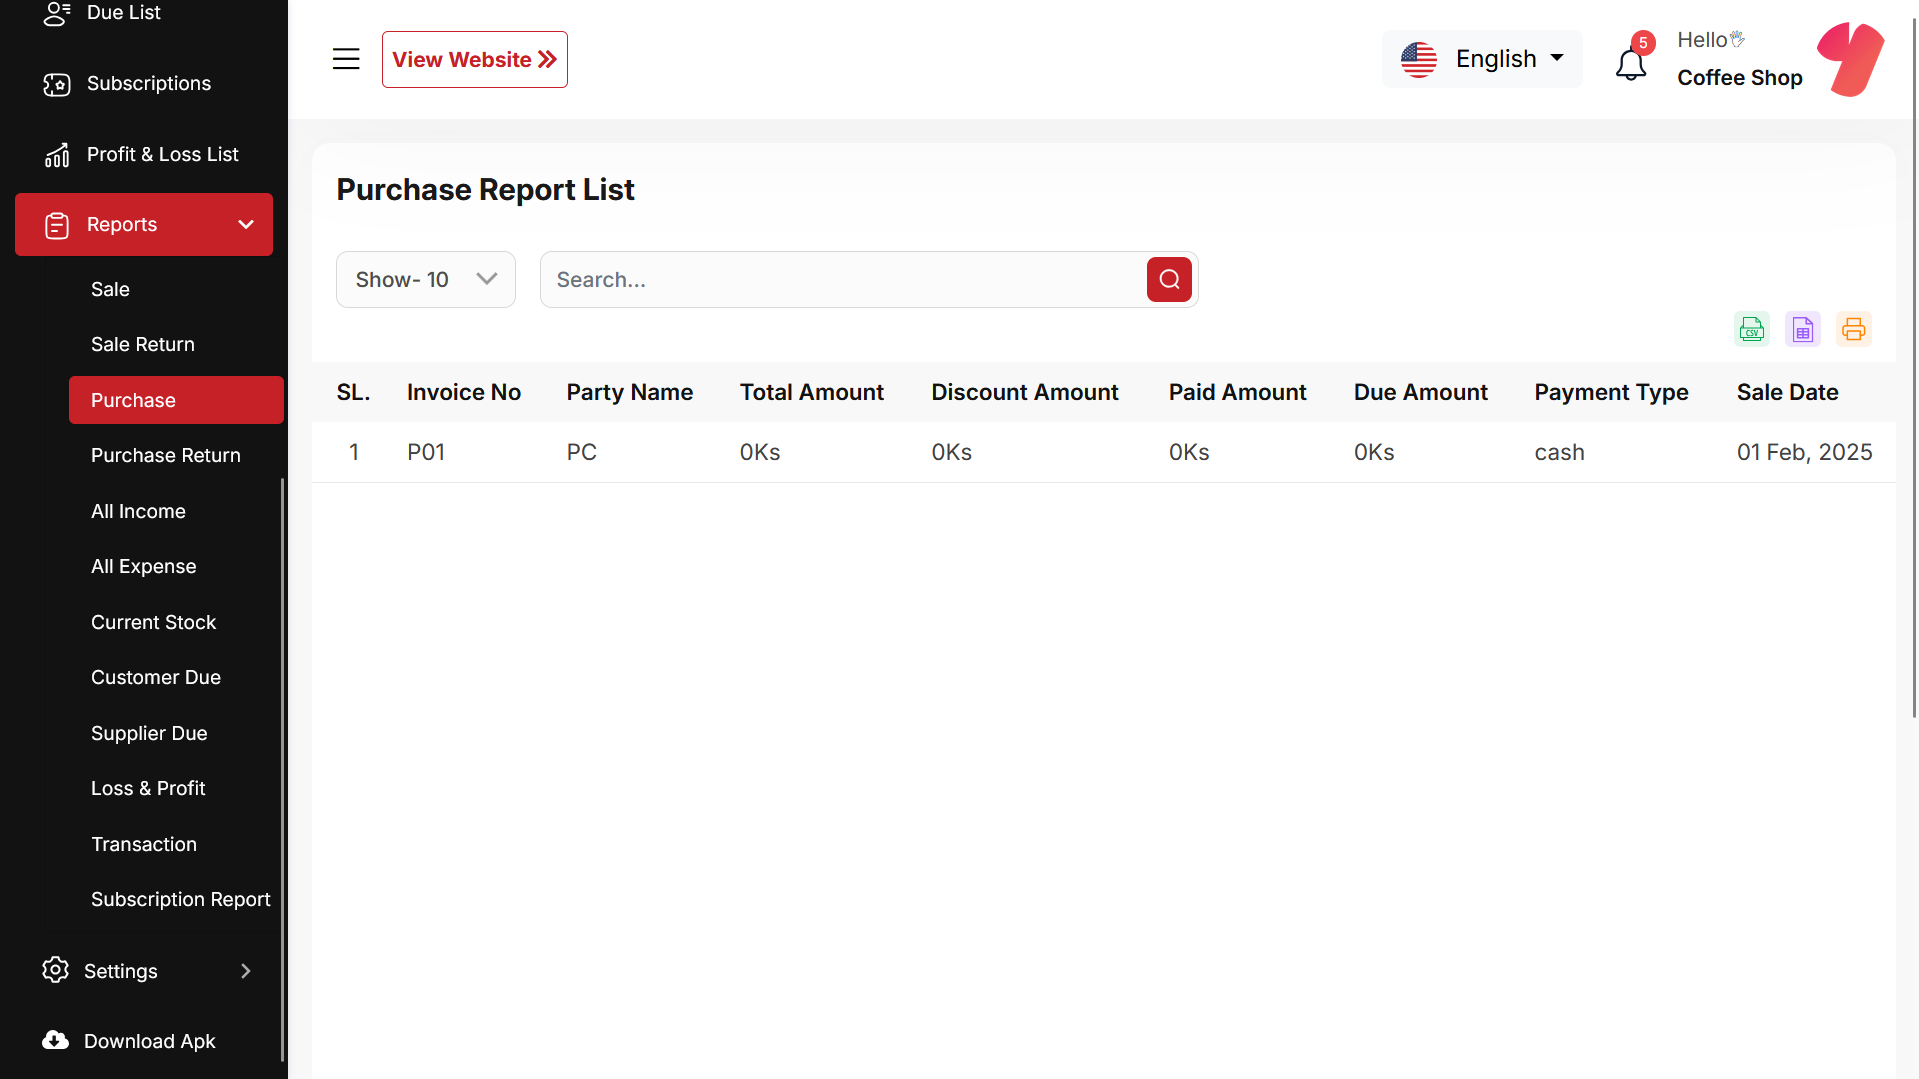
Purchase Report
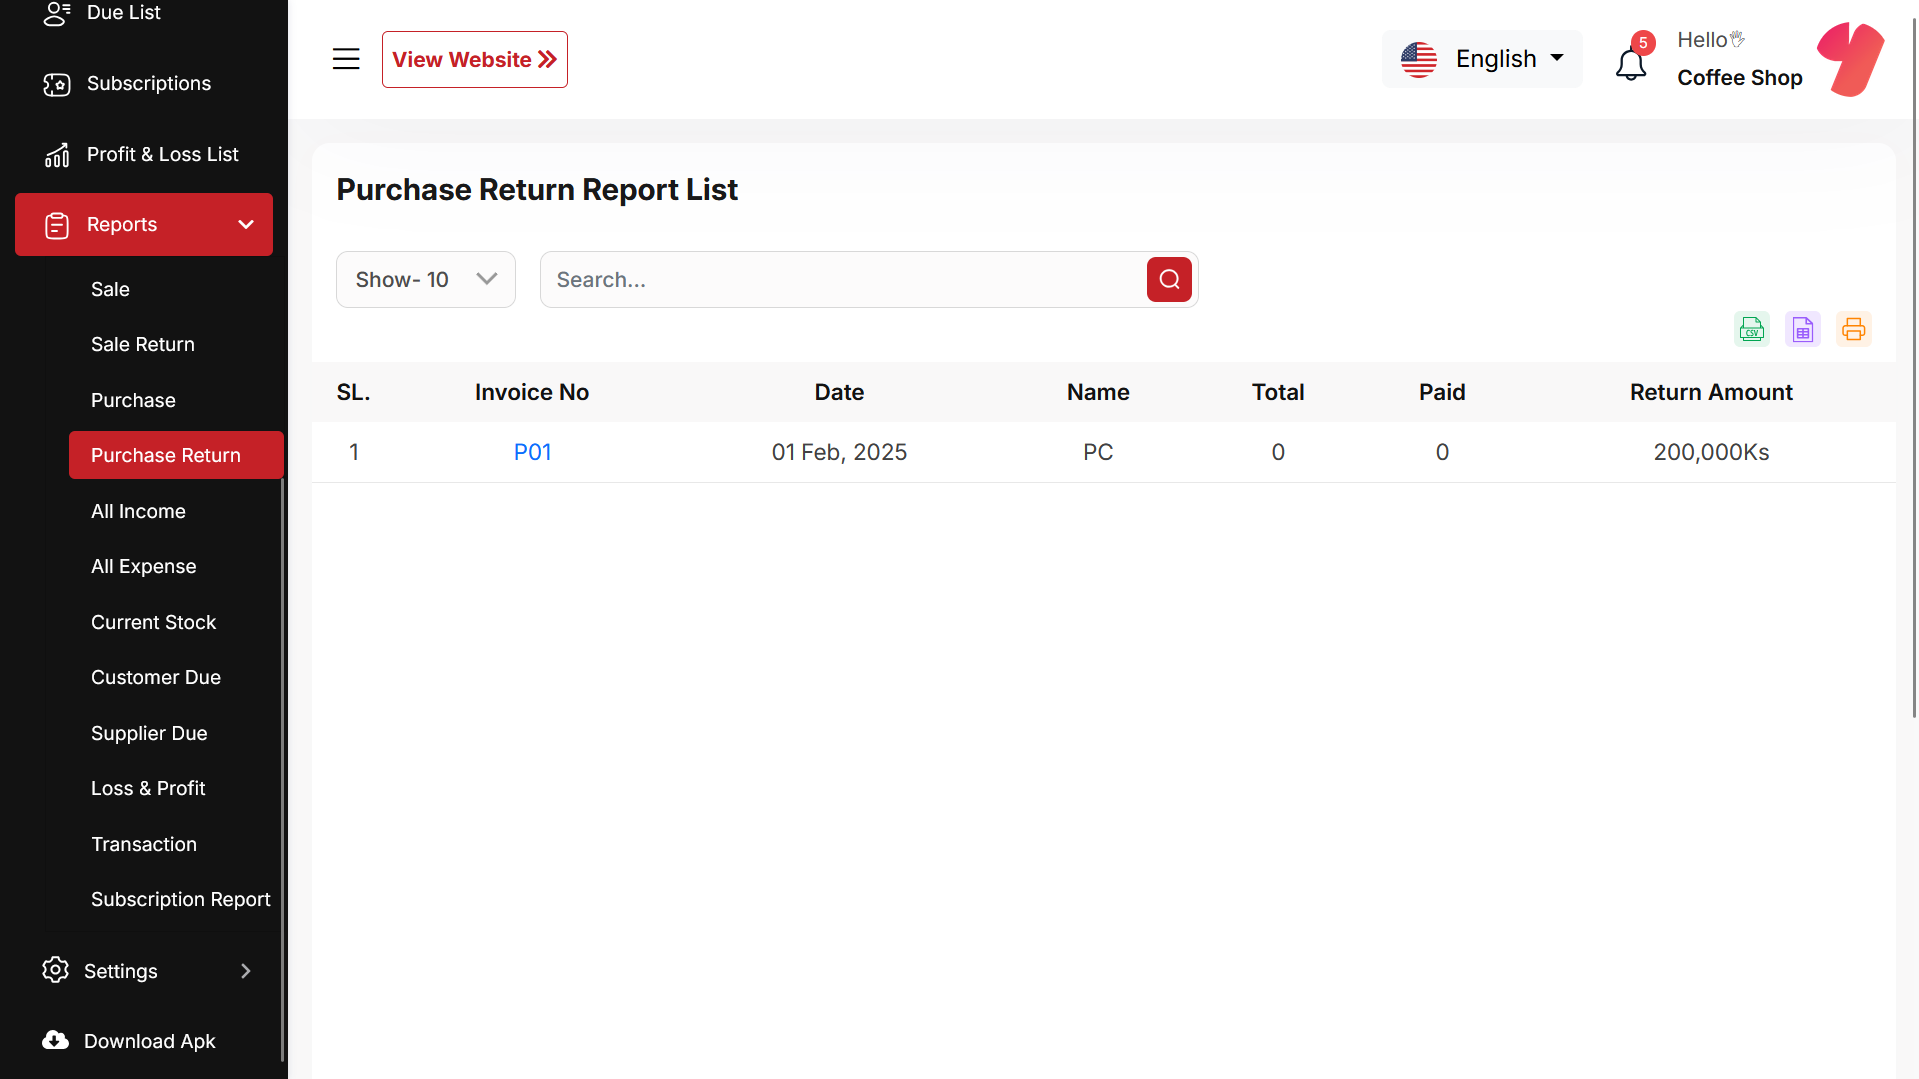
Purchase Return Report
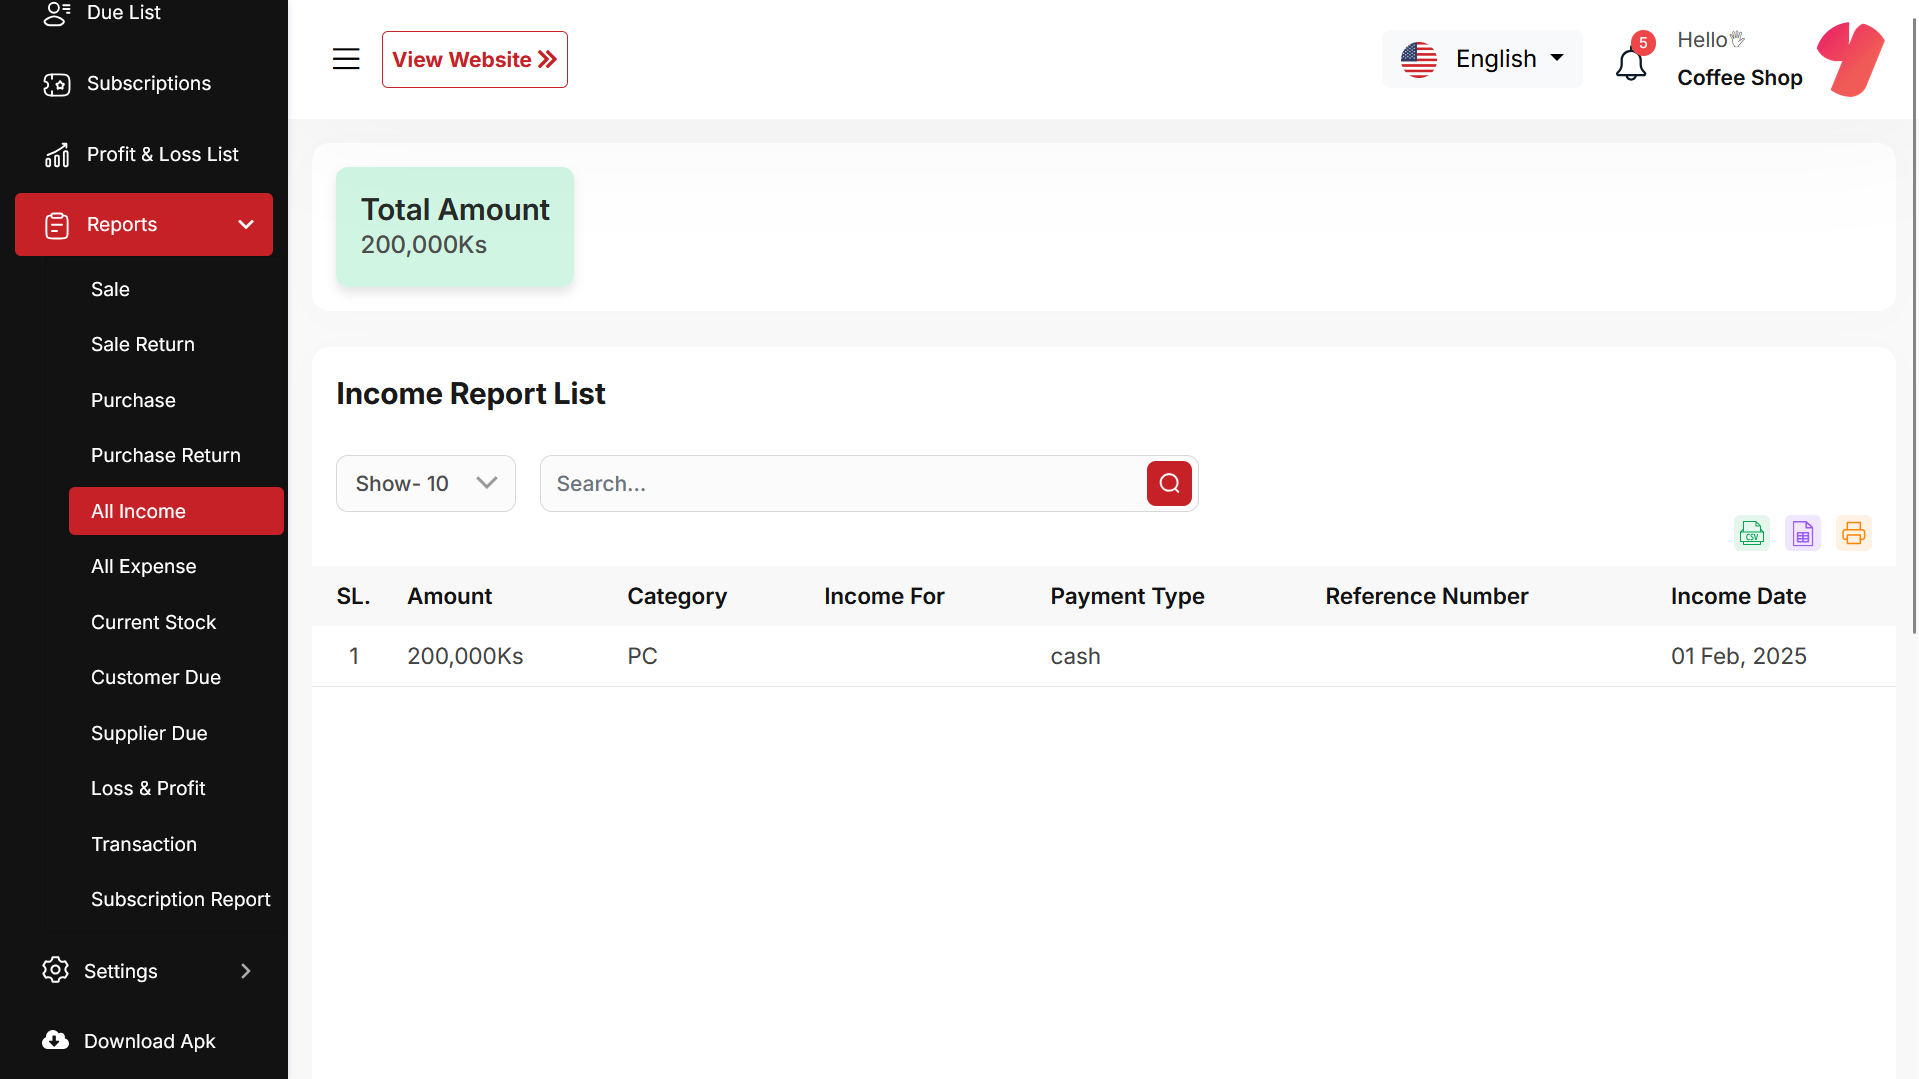
Income Report
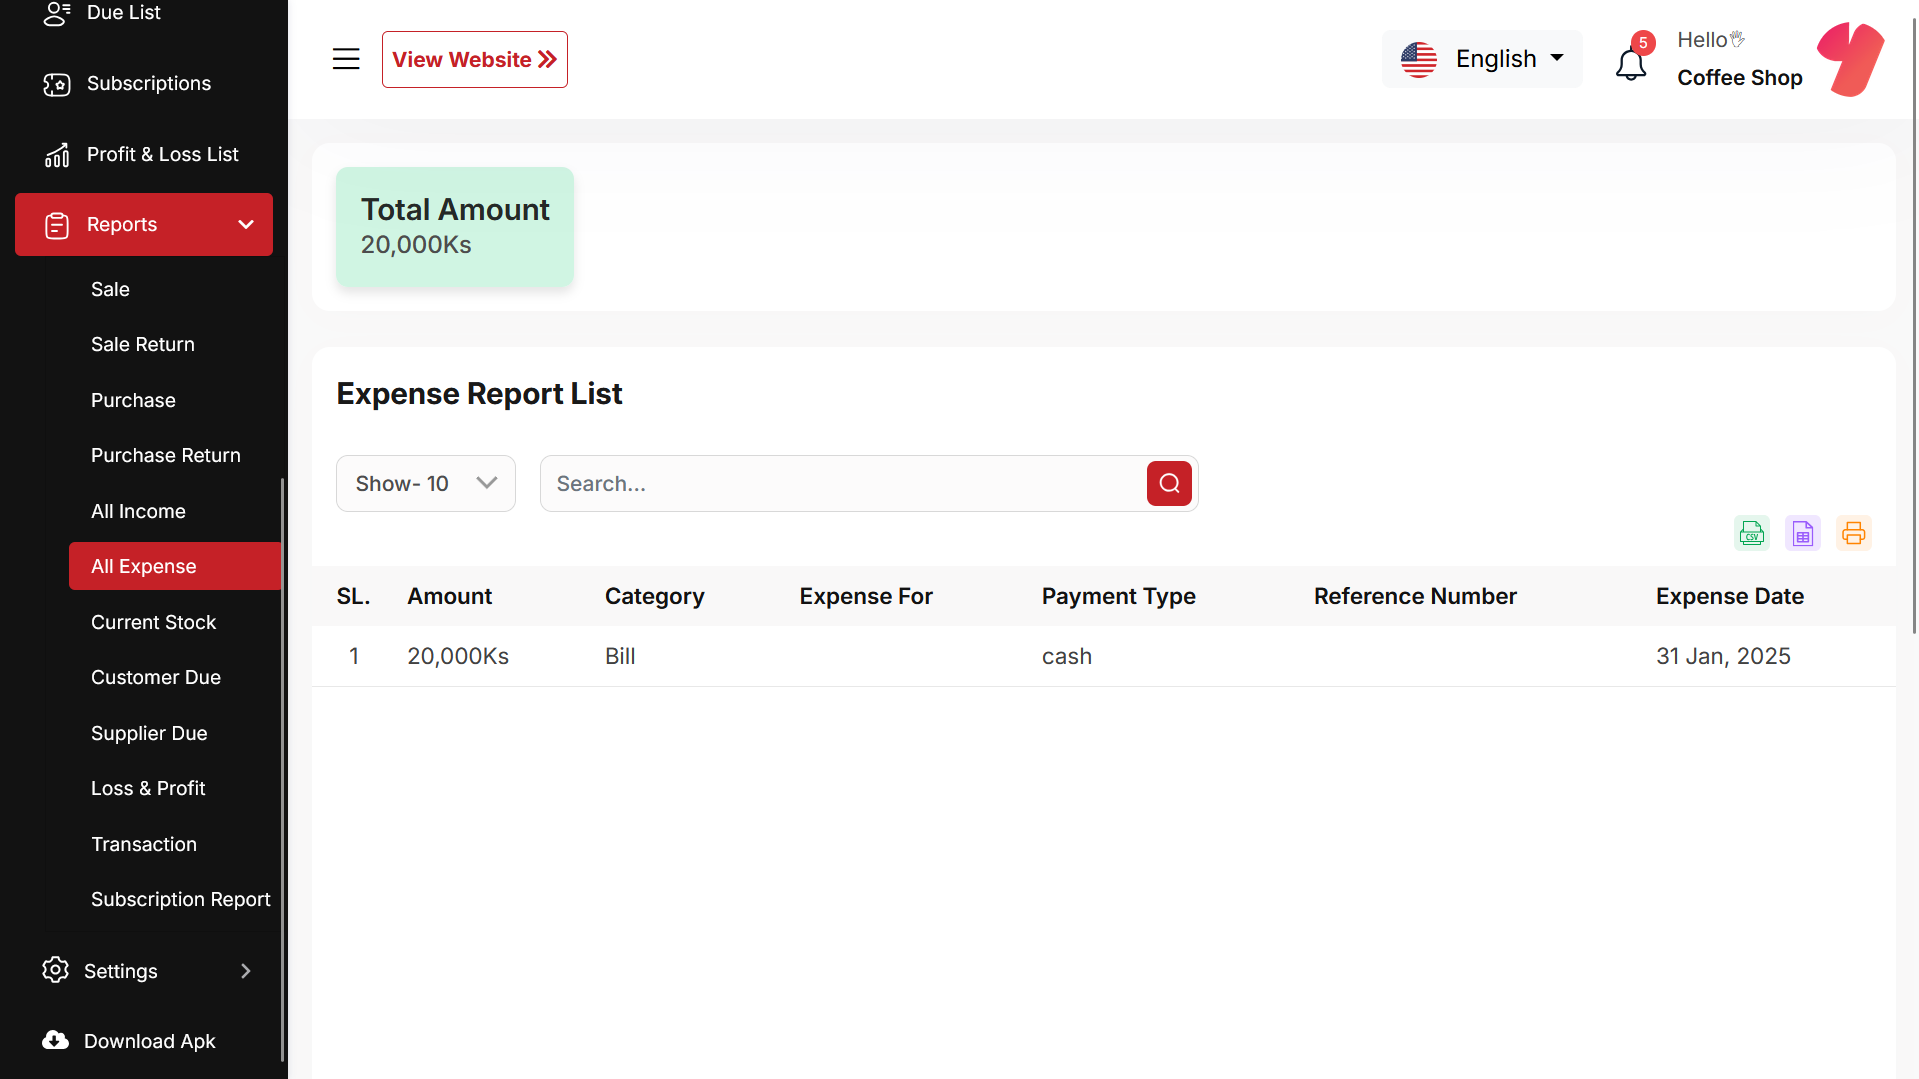
Expense Report
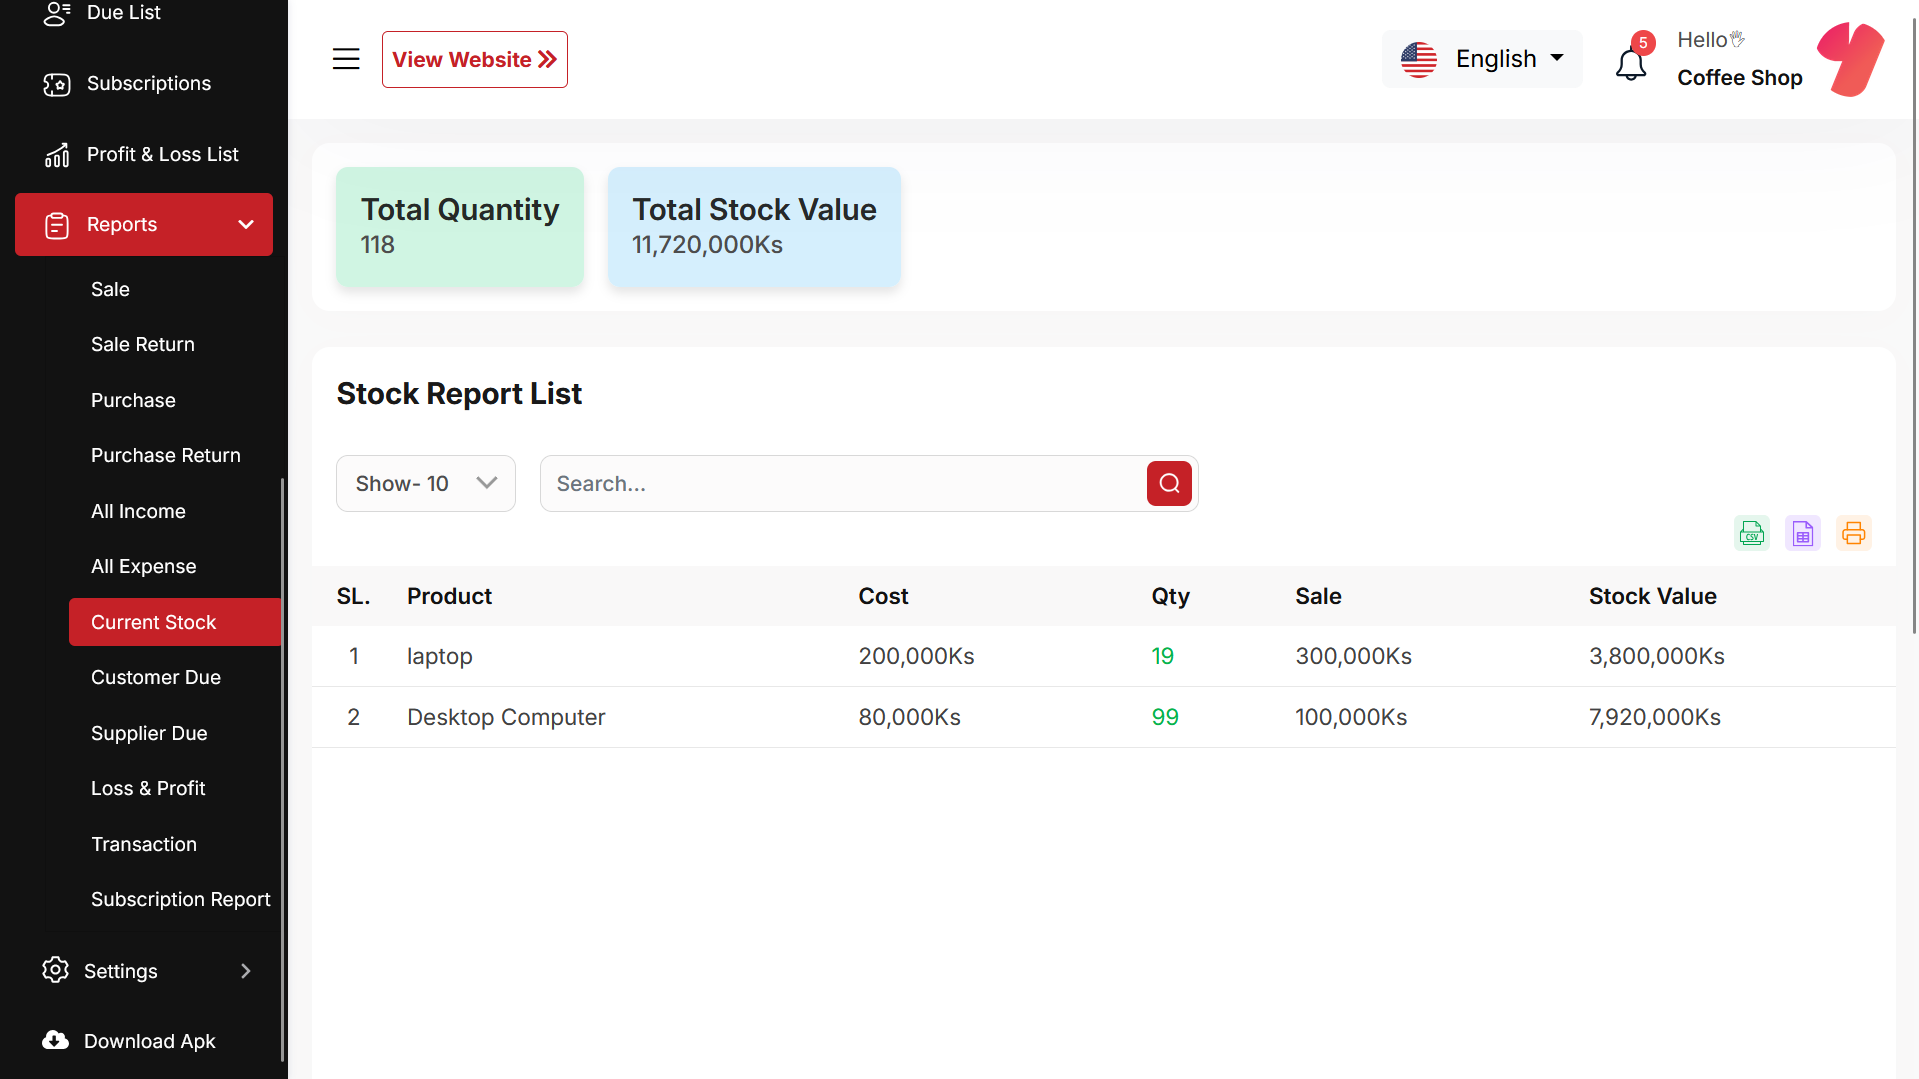
Stock Report
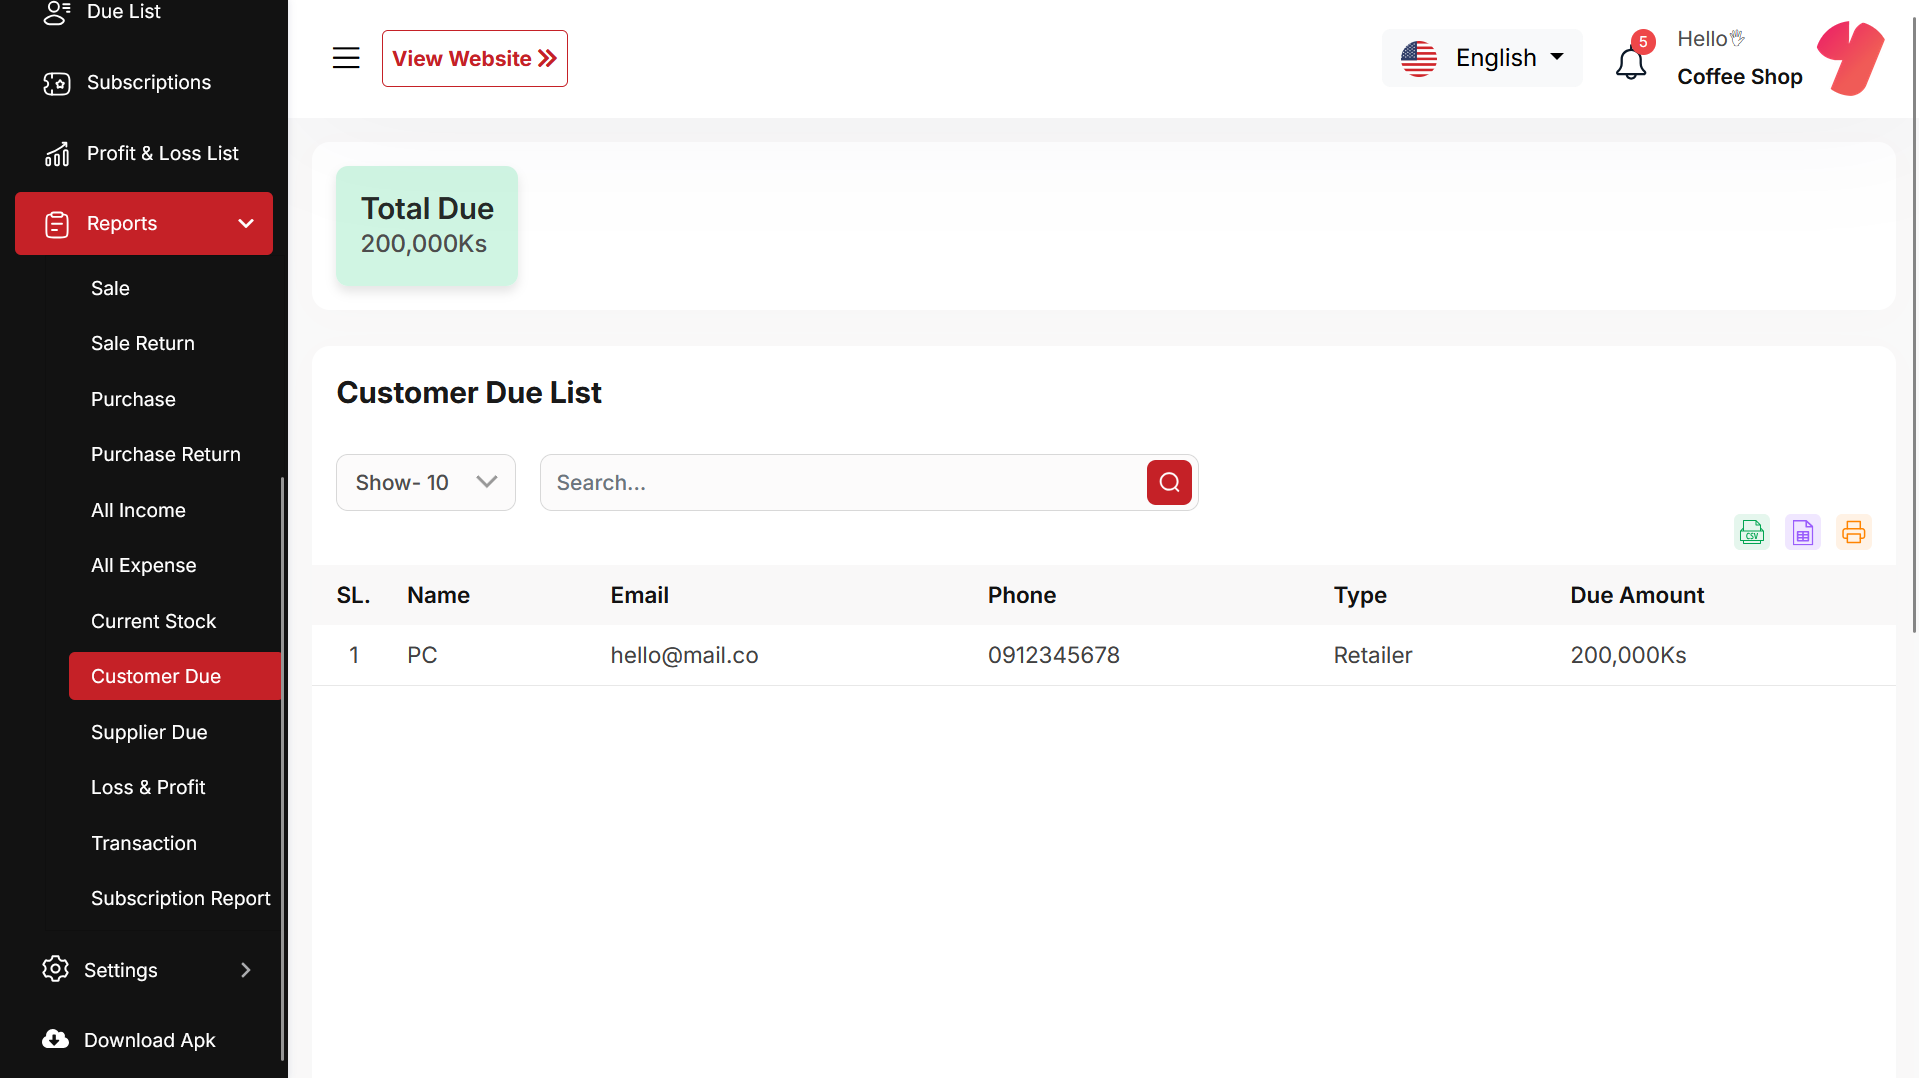
Customer Due Report
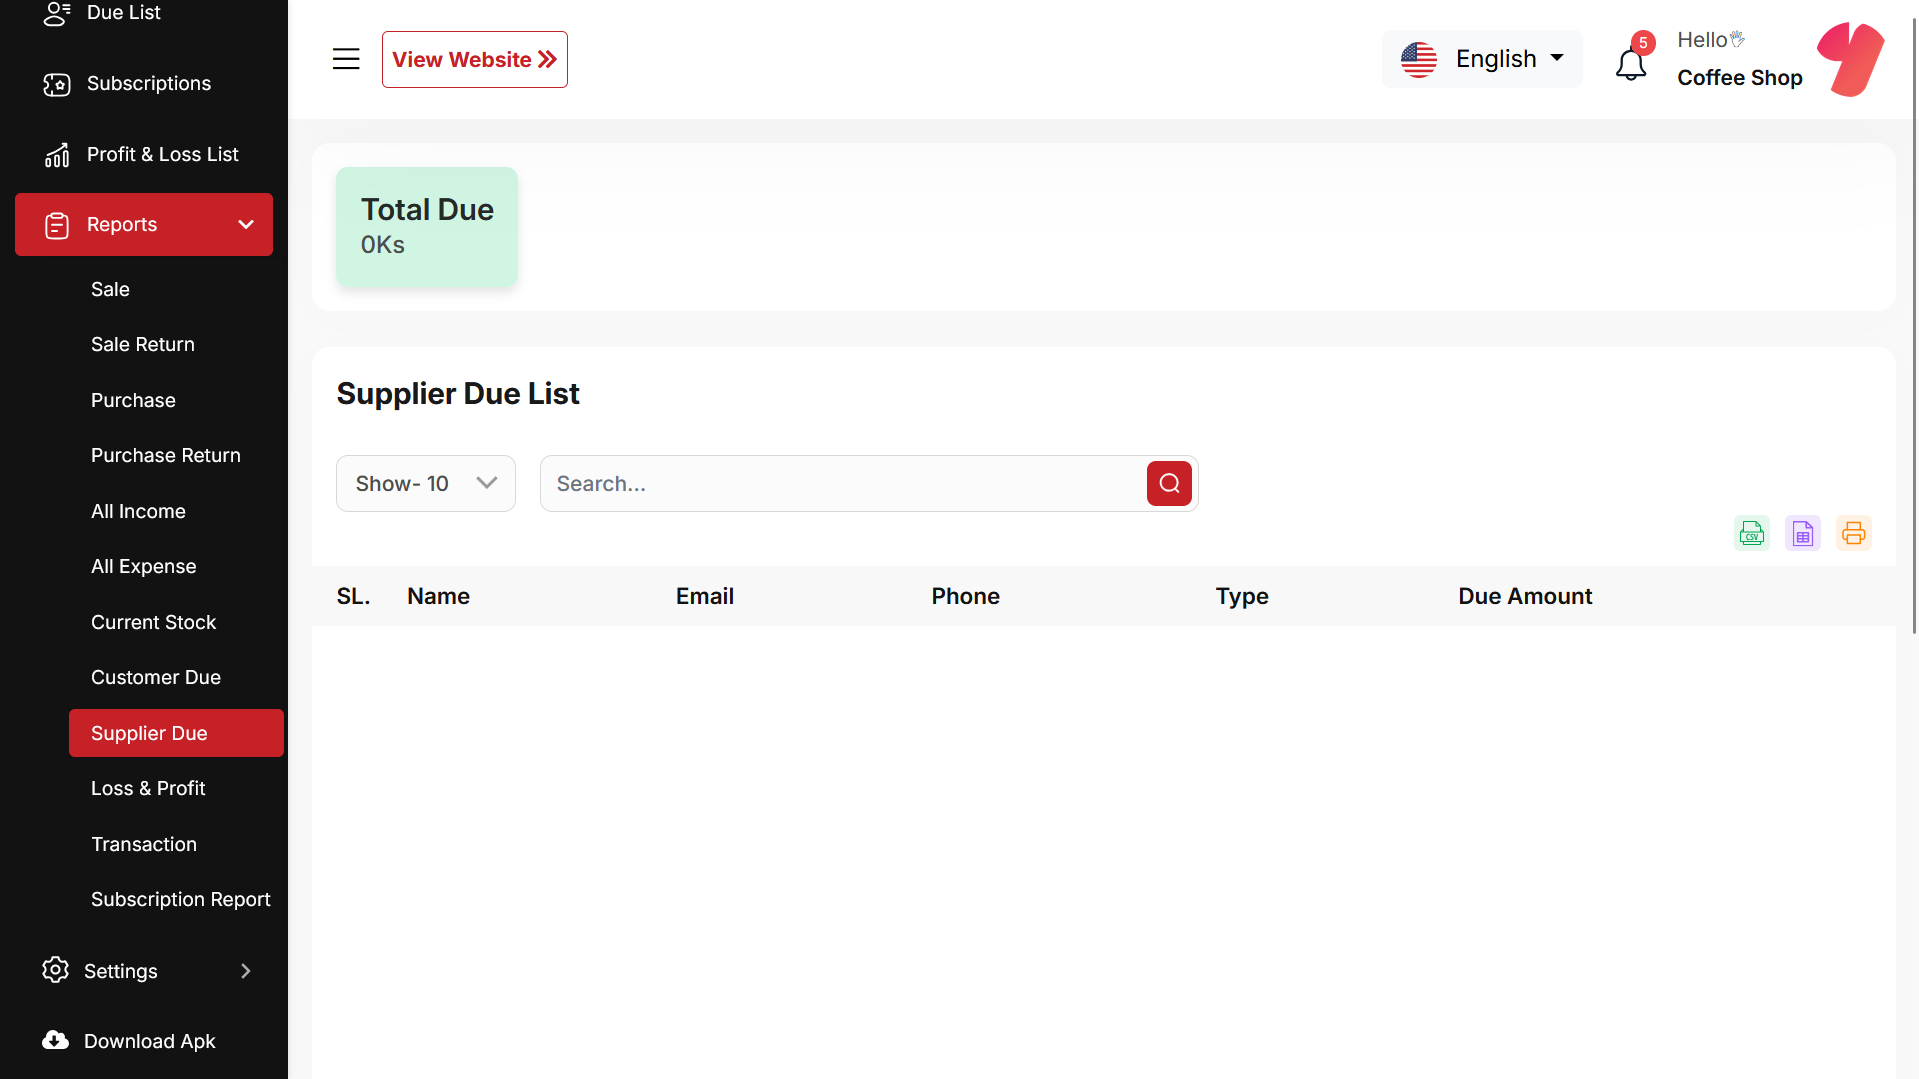
Supplier Due Report
Loss & Profit Report
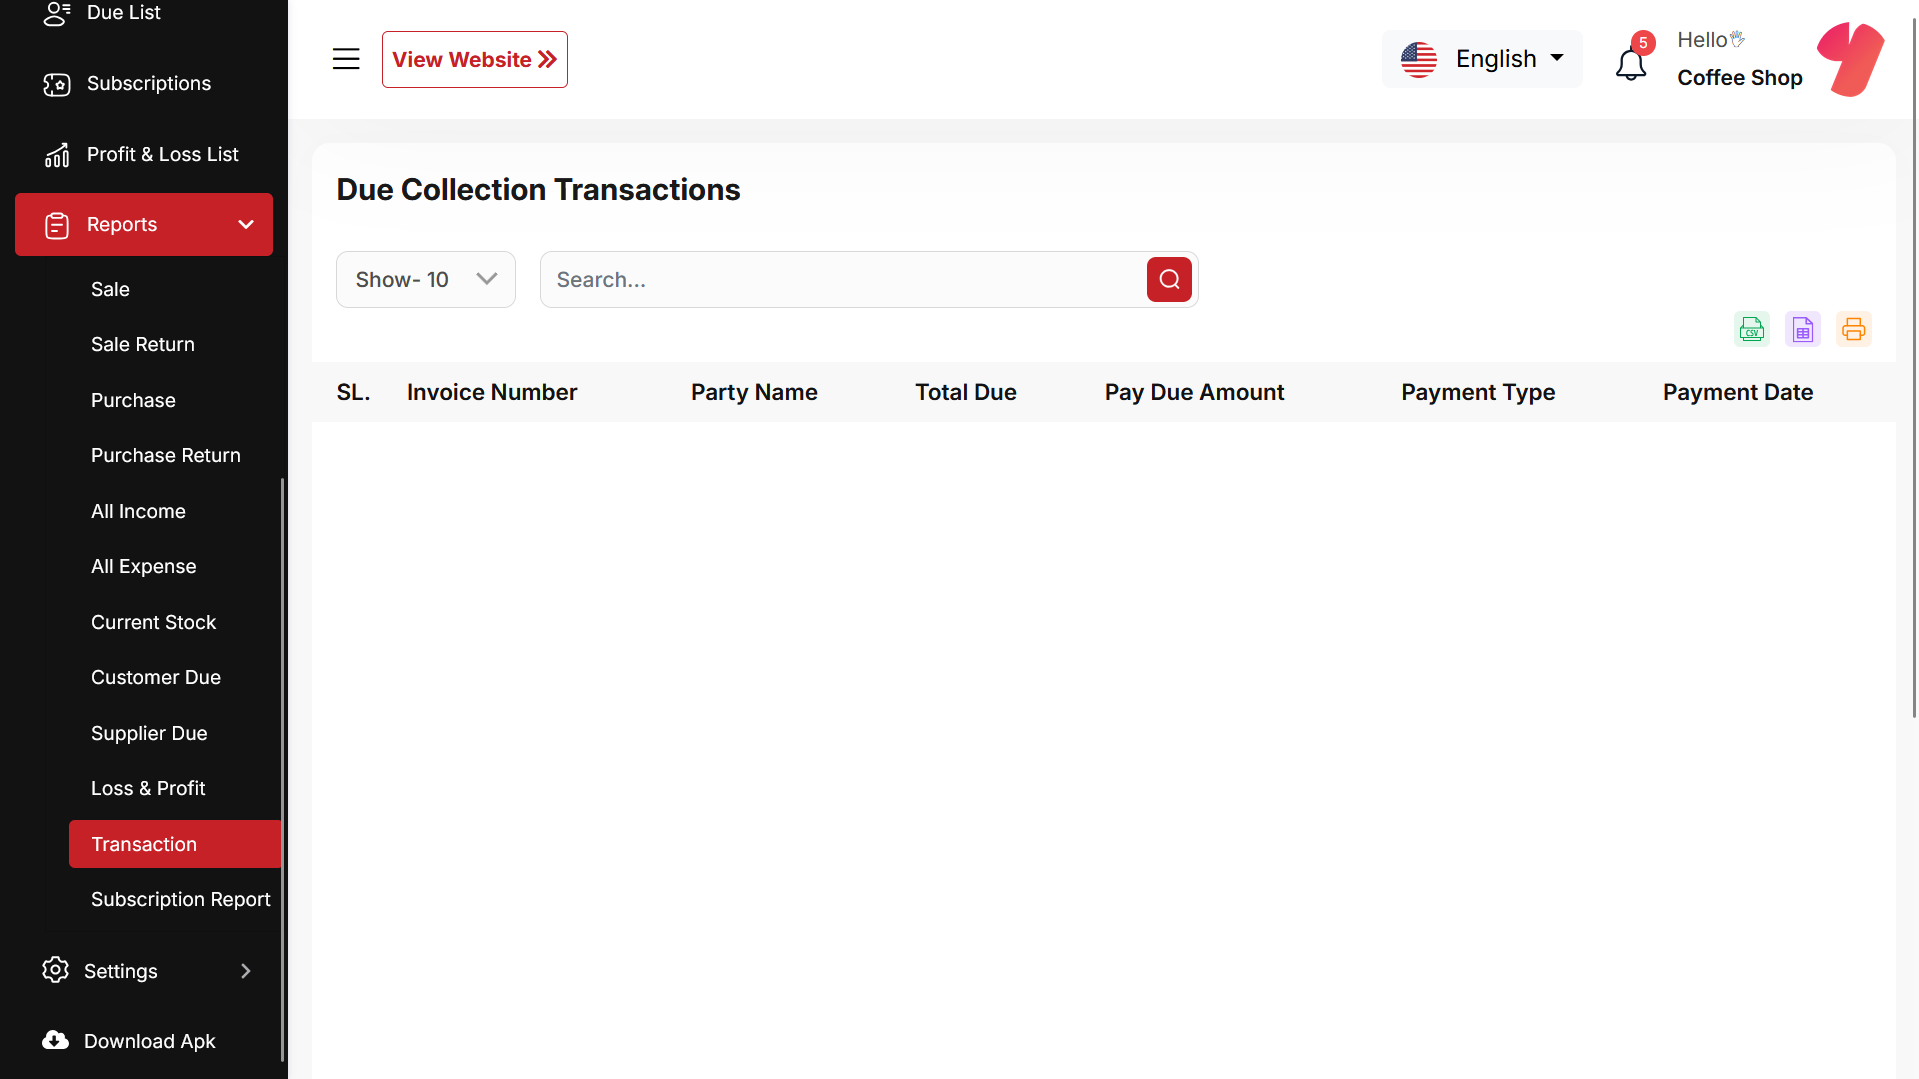
Due Collection Transactions
Settings
In the Setting section, you have the capability to configure the fundamental aspects or core elements of this project.
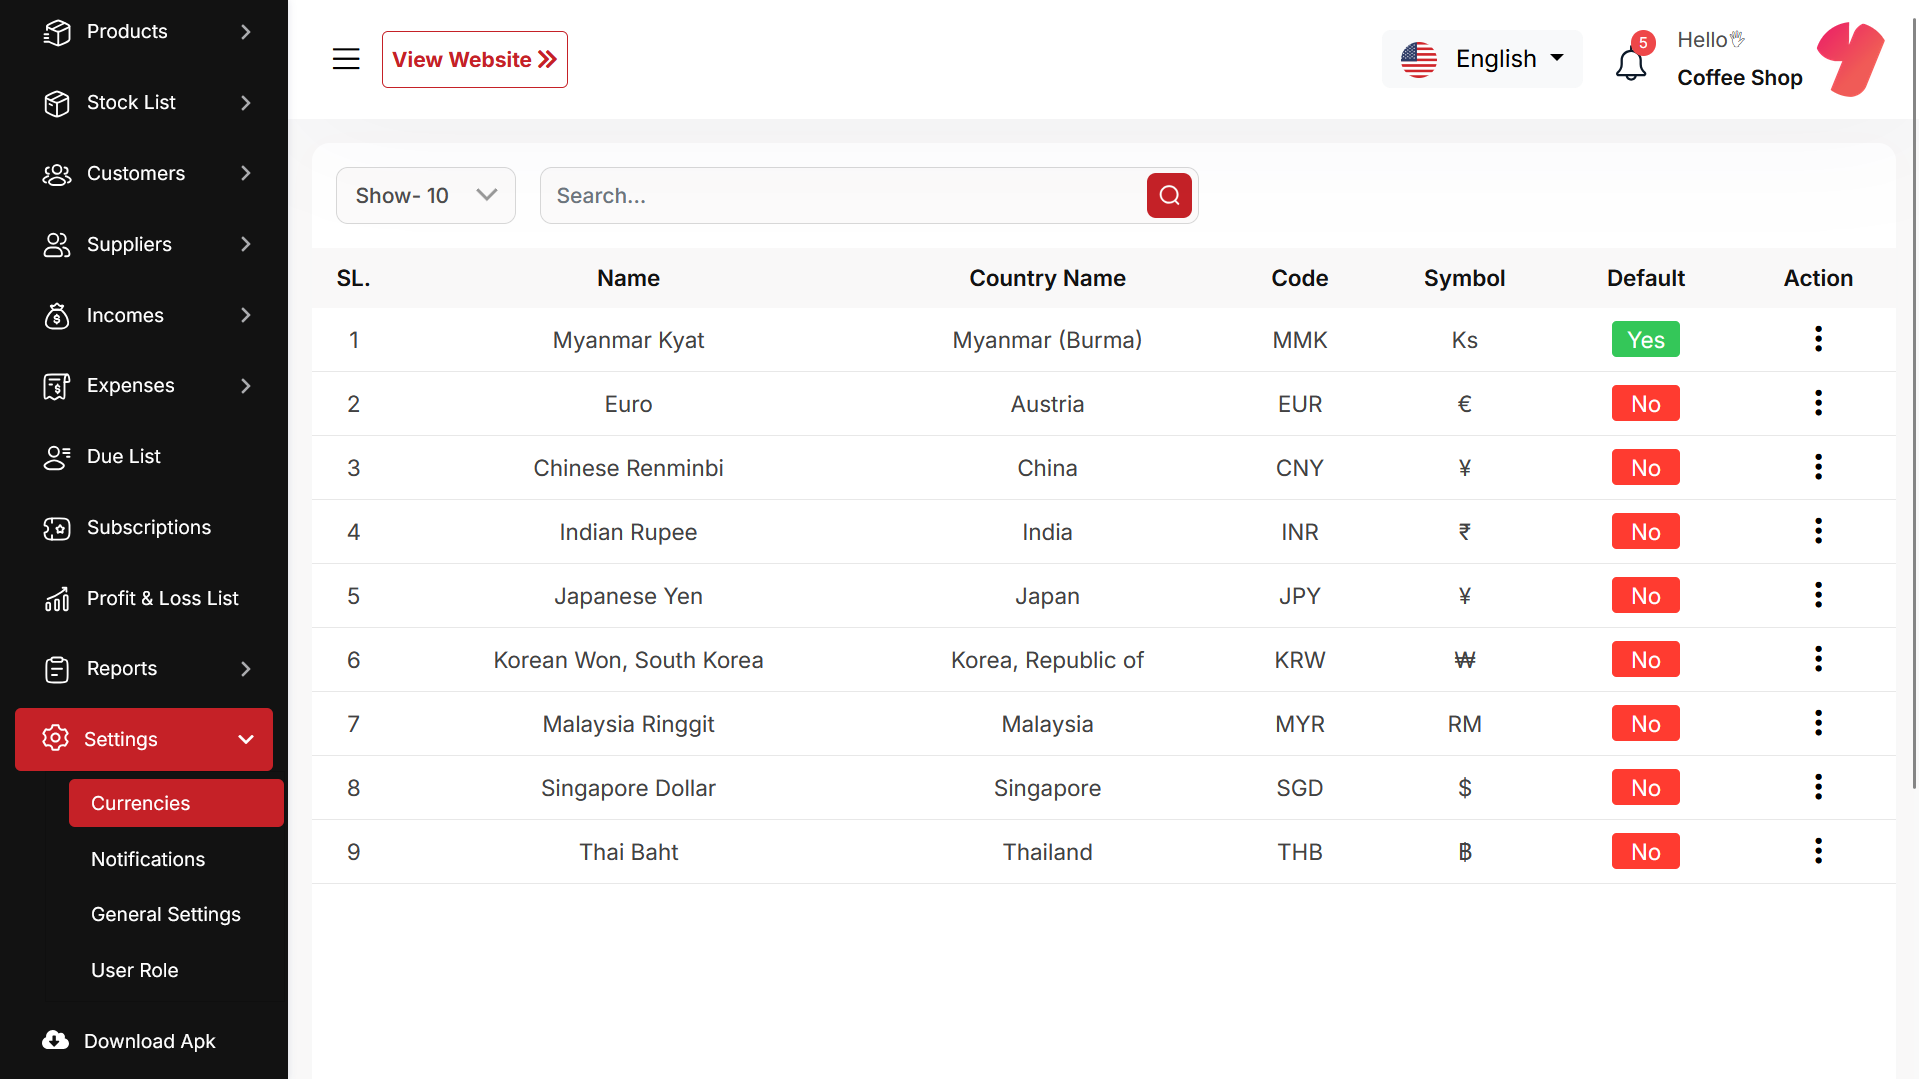
Currencies
Here, you can view a list of currencies added through the Admin Panel. You can select your preferred default currency, but by default, the system uses the currency set in the Admin Panel.
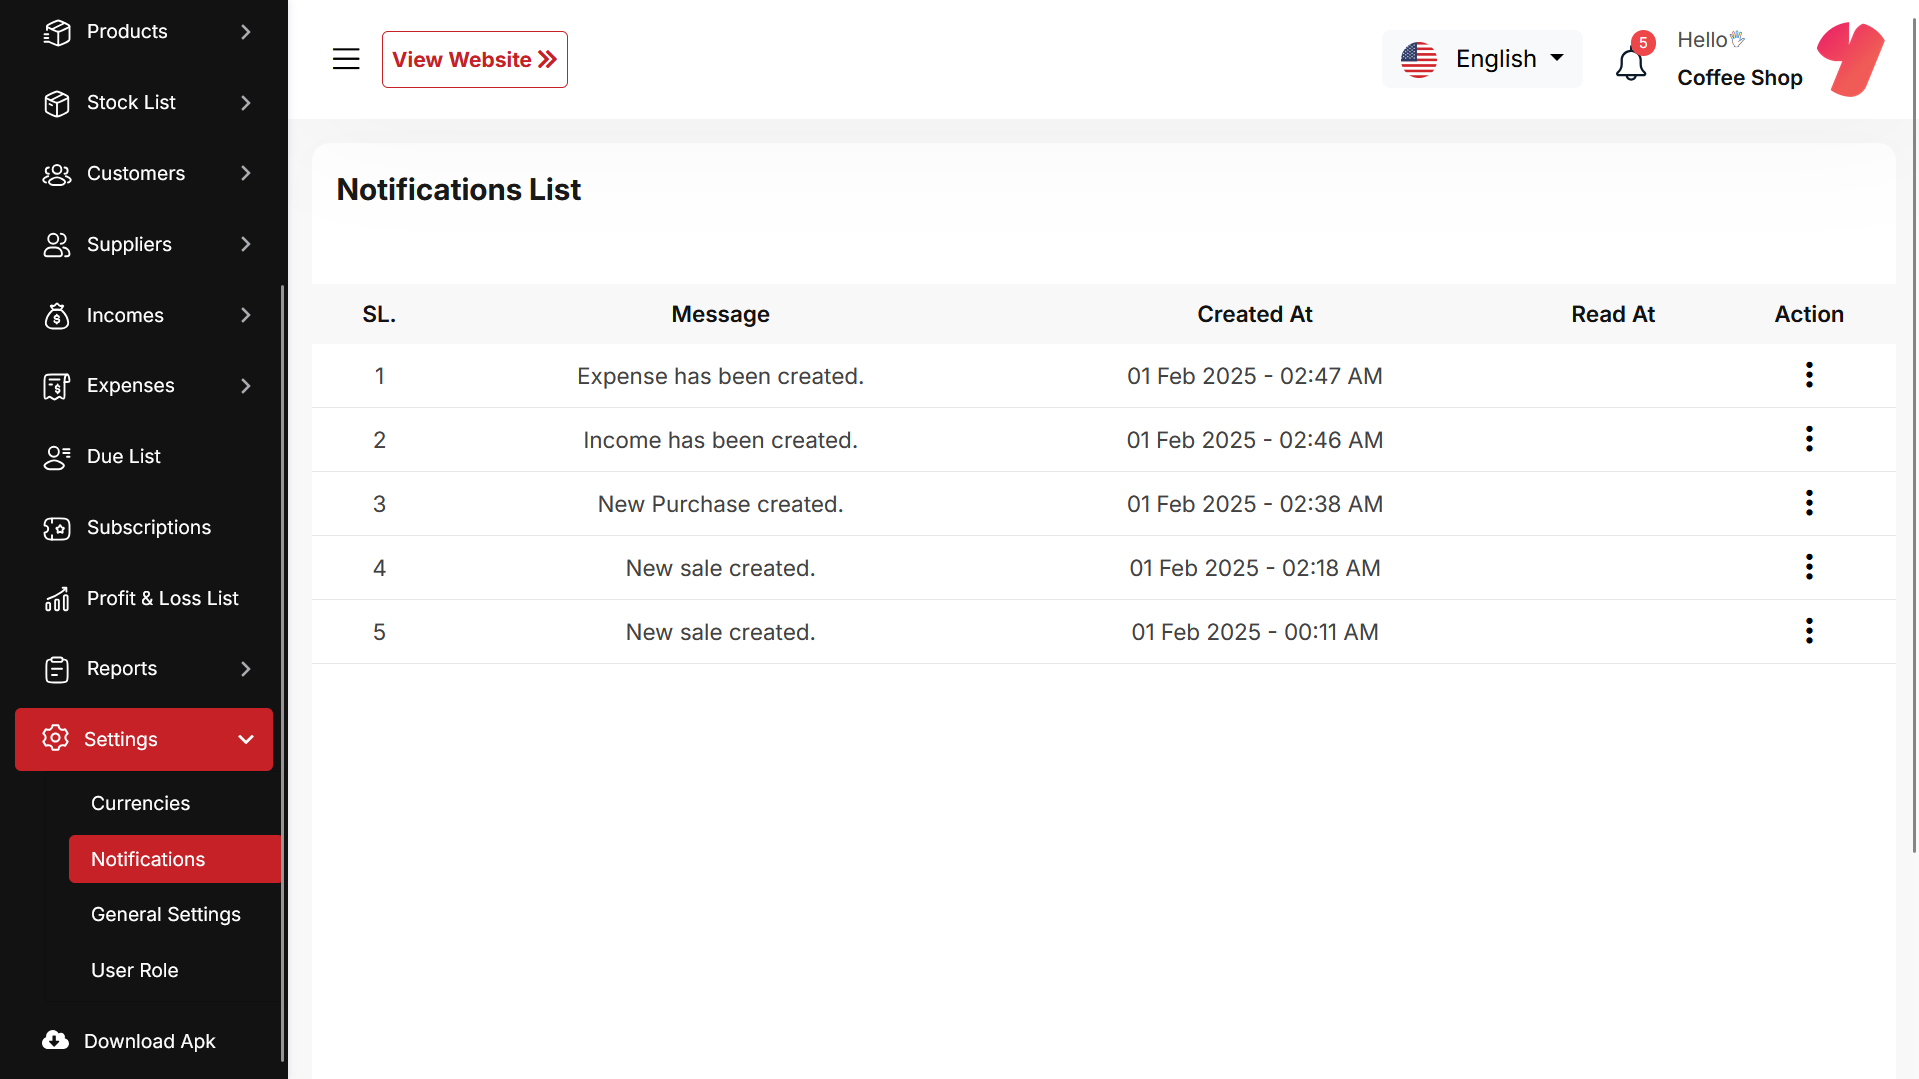
Notification
Here, you can view a list of notifications for Sales, Purchases, Income, Expenses, and Due Collections. You can also filter these notifications using the available criteria. For each notification, clicking the "View" button will display detailed information.
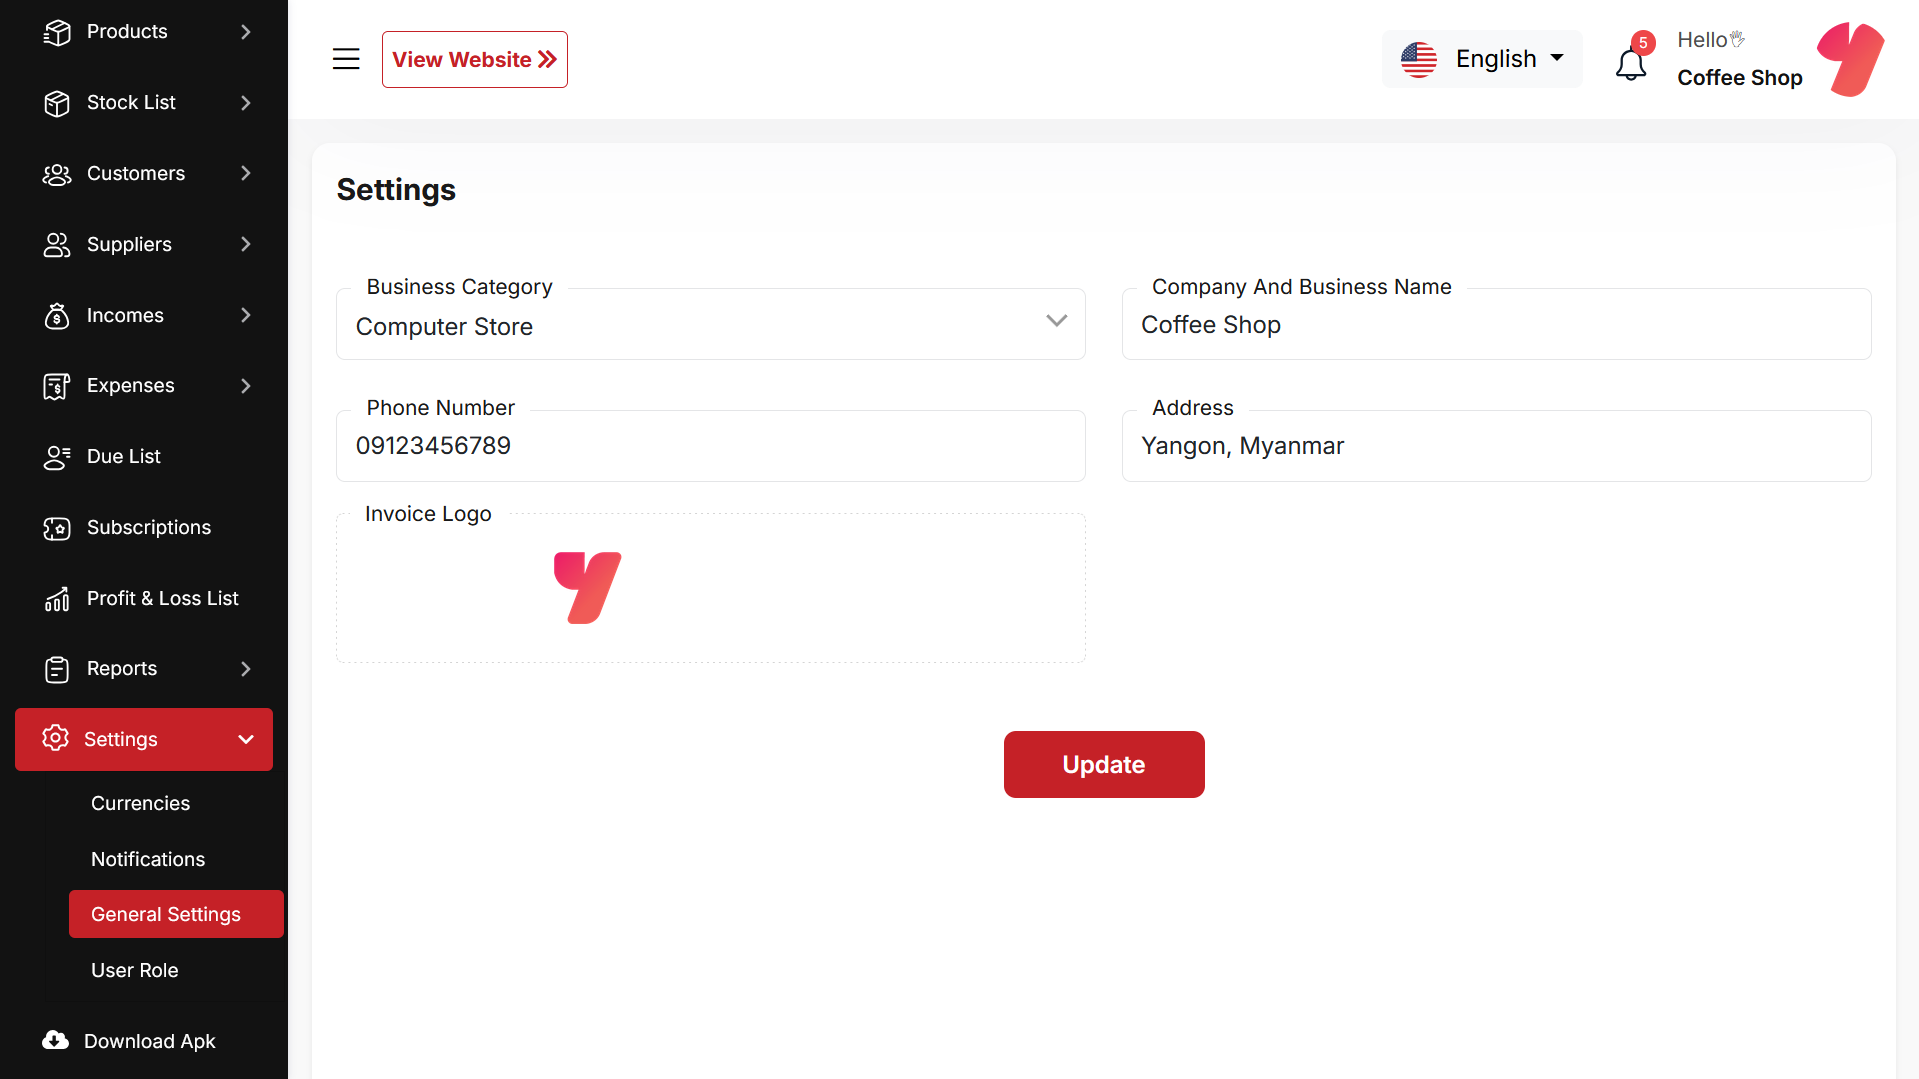
Generale Settings
You have the capability to modify the general project information.
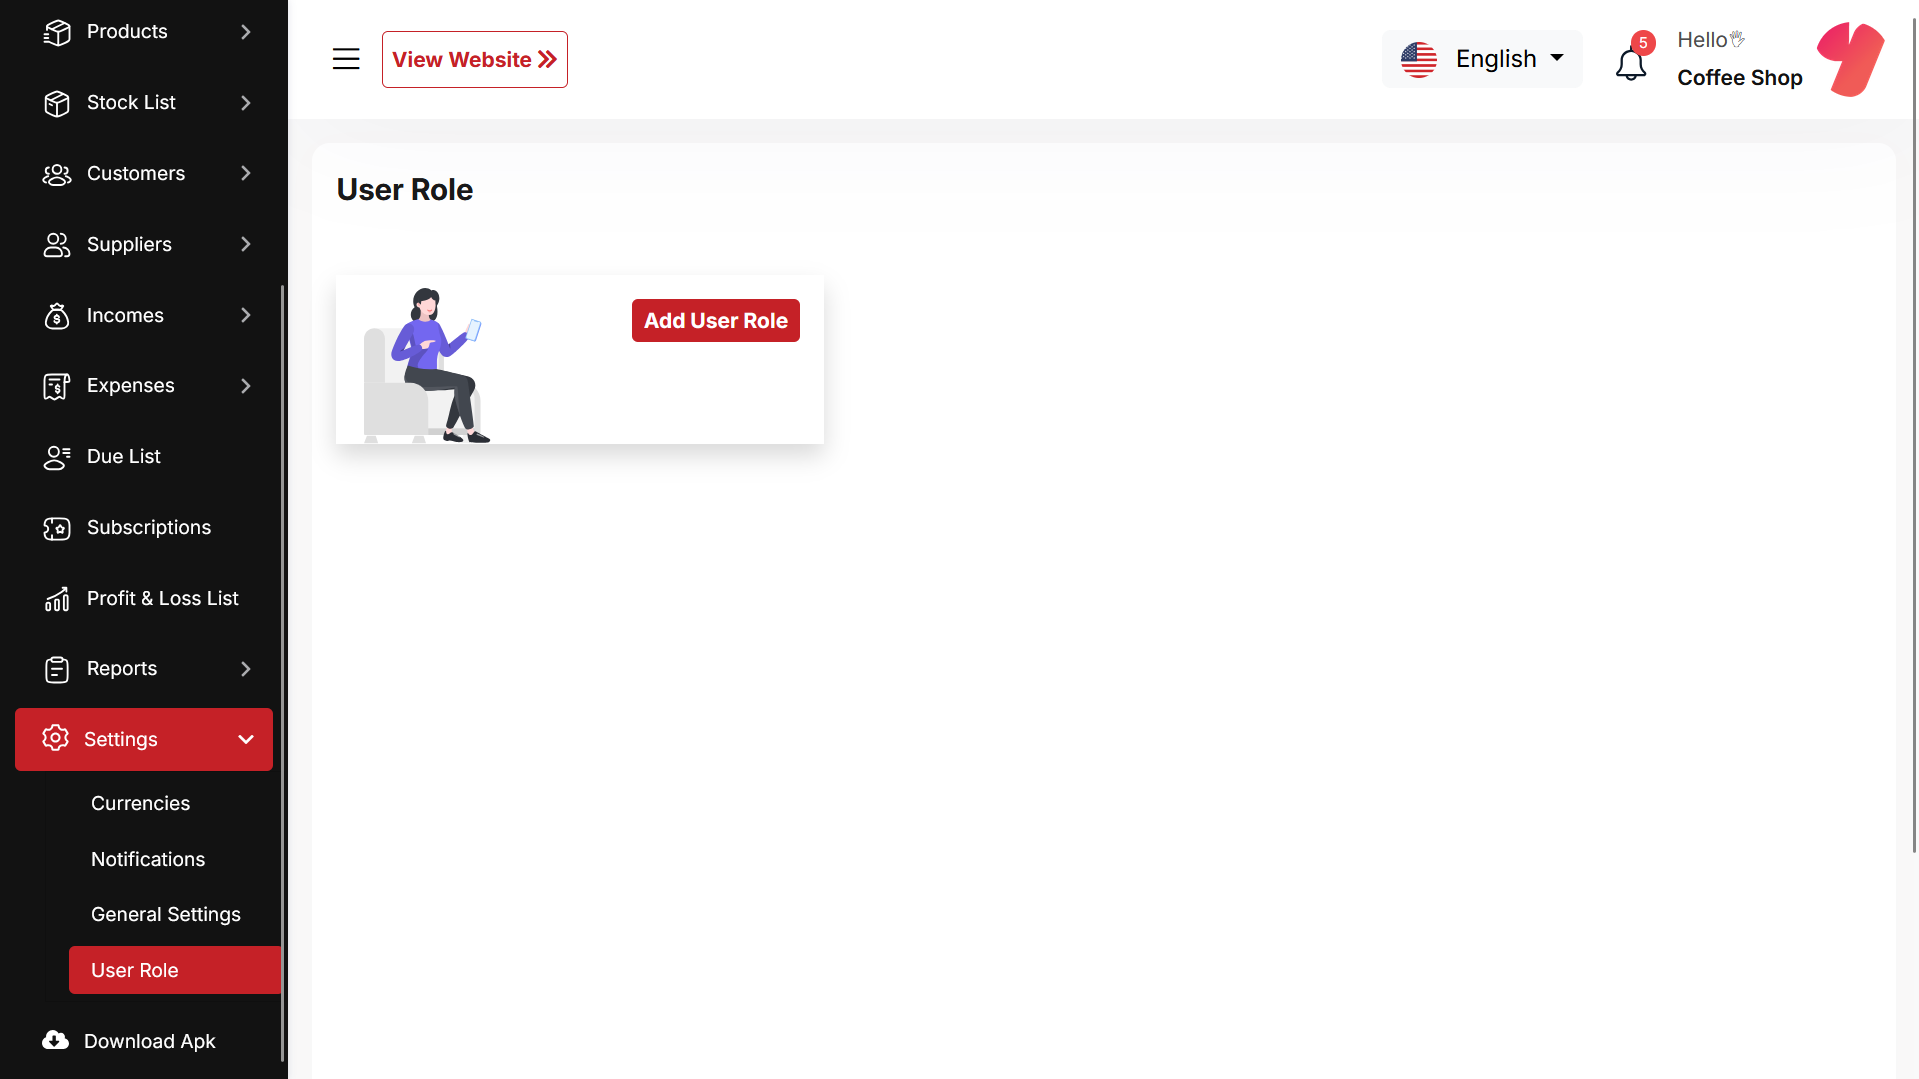
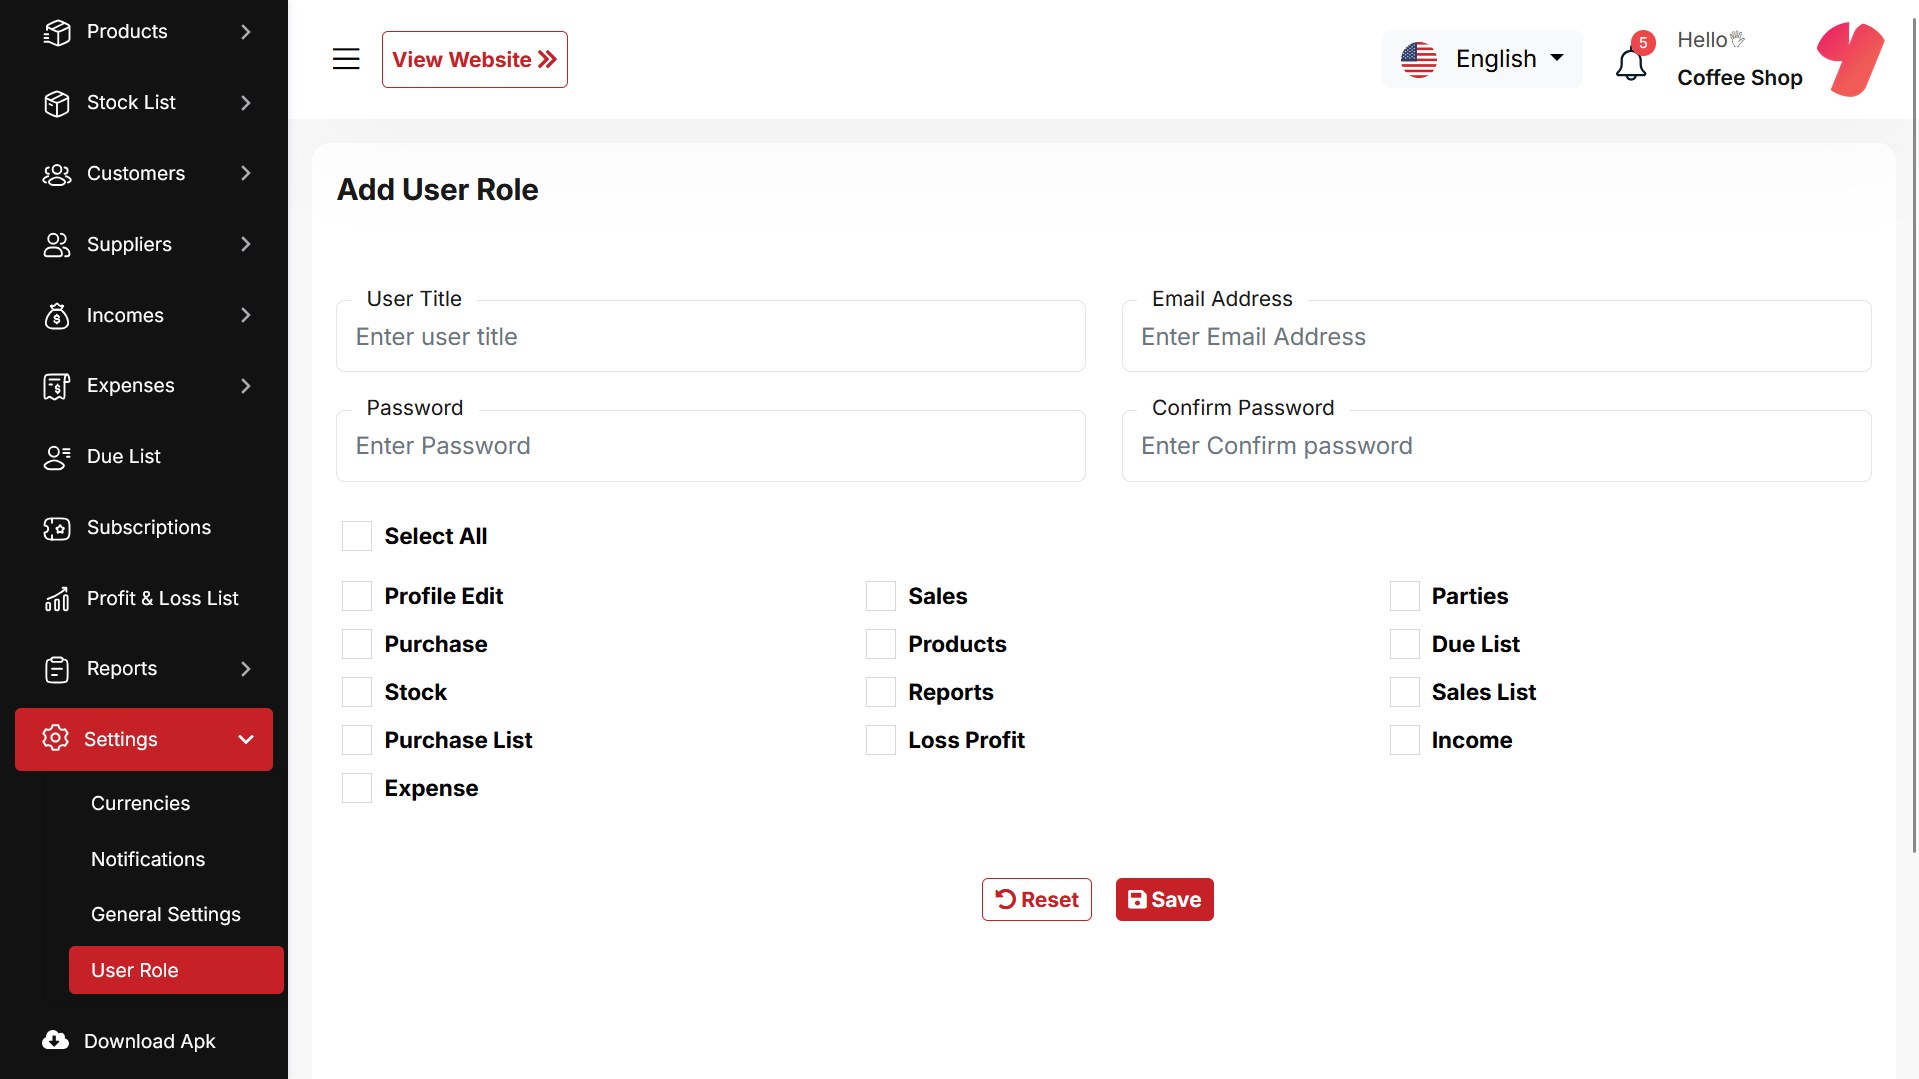
User Role
In this section, you can create new roles, update existing ones, and delete them. While updating roles, you can configure specific permissions to grant or restrict access to various features and functionalities. This enables you to customize user roles according to your organizational needs and security requirements.
Download Apk
After this, you will be redirected to a URL where you can download the APK file
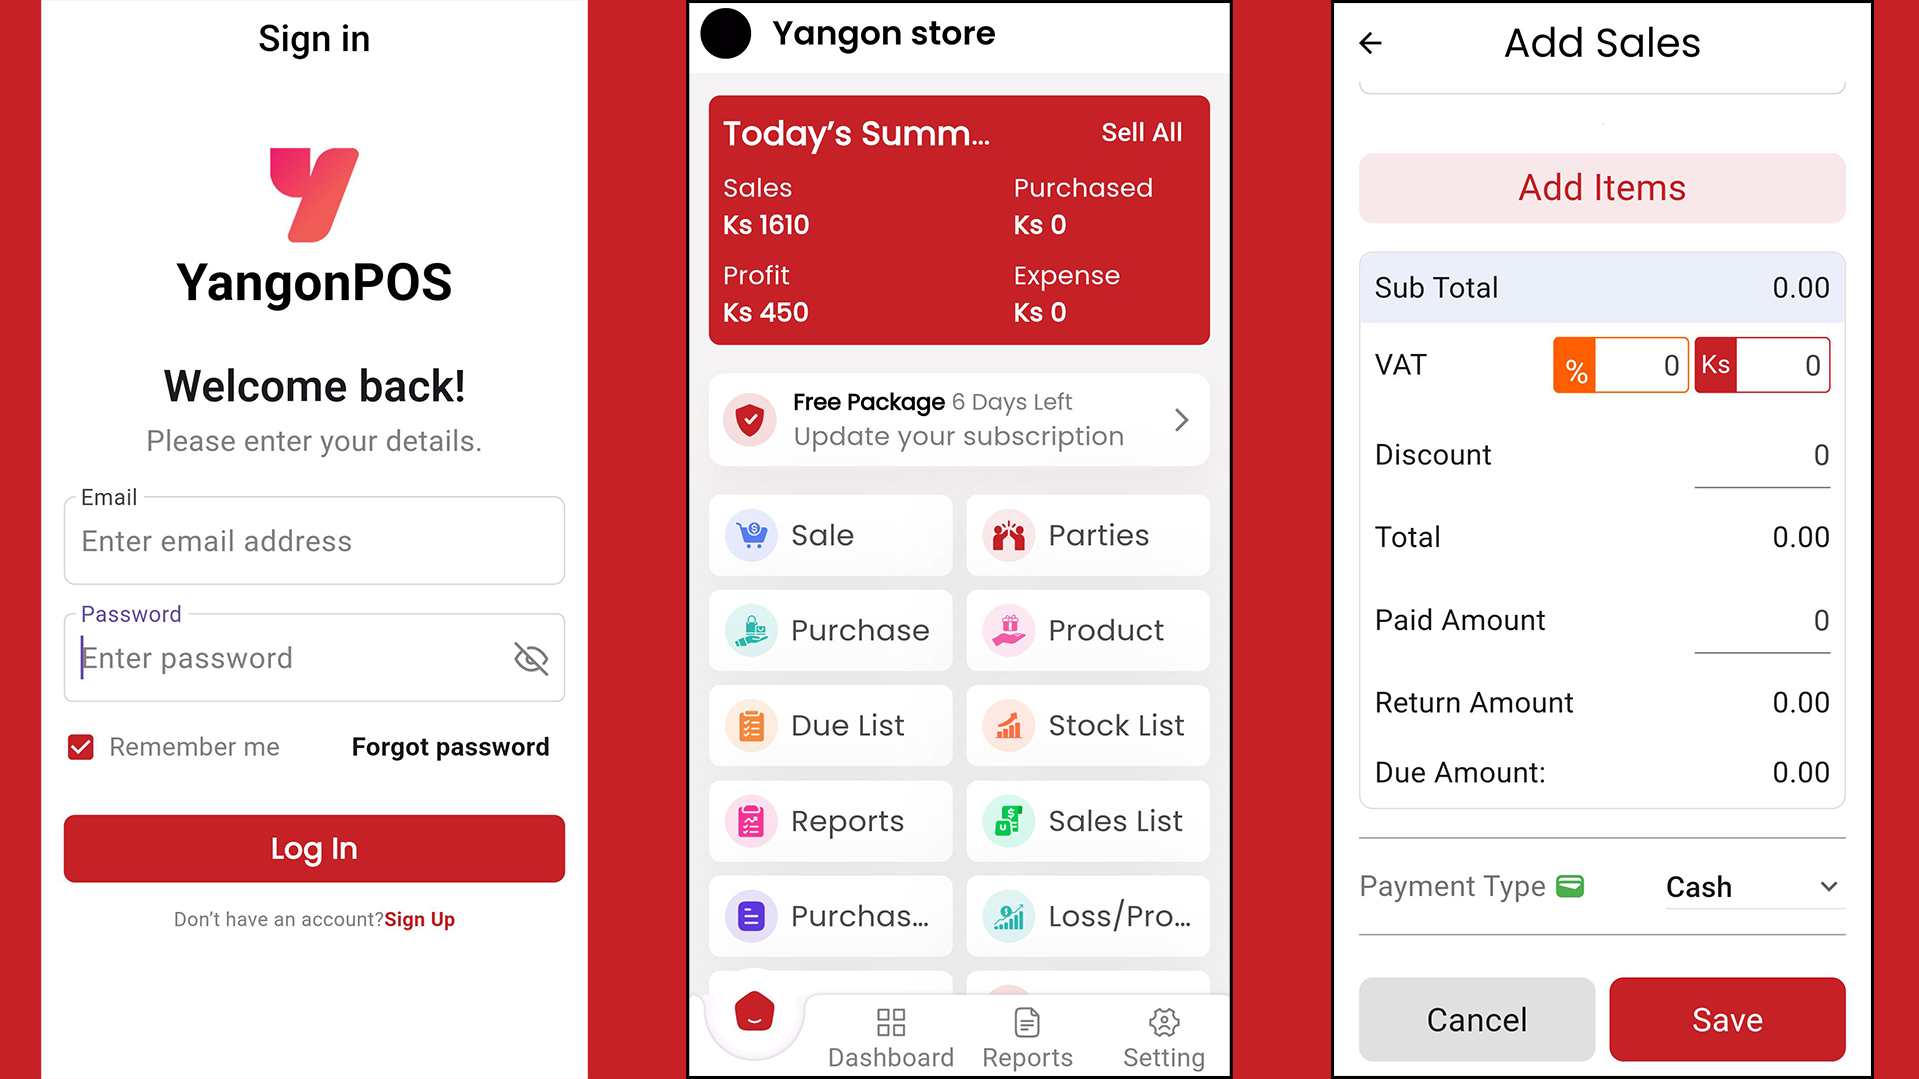
Mobile App
This section provides an overview of the YangonPOS mobile app screens, helping you navigate and use the app efficiently.
HELP & SUPPORT
Welcome to the YangonPOS Help & Support section. This guide provides assistance for setting up, using, and troubleshooting YangonPOS. Whether you're a new user or an experienced business owner, you'll find answers to common questions and solutions to technical issues here.
If you need assistance and information on purchased product that is not covered in documentation, mail them on our support at
You can expect answer within 24-48 hours, usually as soon as possible in the order they were received.